bluename
How to Prune Hoya Krohniana for More Flowers (Step-by-Step)
I killed my first Hoya krohniana because I was too scared to cut it. I figured every vine was sacred, so I let it sprawl into a tangled mess. Eighteen months later, not a single bloom. Here's the truth I wish someone had told me sooner: if you want to know how to prune Hoya krohniana for more flowers, you have to cut it back. Hard. The plant responds to pruning by pushing out new growth, and those new shoots are exactly where the flower spurs form.
I've now grown this little silver-leafed hoya for six years, and I've pruned it every which way — some methods worked, some set me back a whole season. This guide is the honest version, including the mistakes, the two-week observations, and the stuff the pretty Instagram posts never show you.
The Short Answer Before We Get Into It
Prune your Hoya krohniana in early spring, right before active growth kicks in. Remove leggy vines, cut just above a node, and never deadhead the little woody spurs where flowers emerge. That's it in a nutshell. The rest of this article is the why, the when, and the how-not-to-screw-it-up part.
Why Pruning Actually Triggers More Blooms
Hoya krohniana (sometimes sold as Hoya lacunosa 'Krohniana' or the silver splash variety) flowers on short peduncles — little woody nubs that stay on the vine after blooms fade. These spurs rebloom year after year, which is why old vines are so valuable.
But here's the catch. A vine that's stretching for light and never gets cut puts its energy into length, not reproduction. Pruning interrupts that. It forces the plant to branch, and more branches mean more potential bloom sites.
According to the RHS, most flowering houseplants benefit from a light annual trim to encourage compact growth and better flowering. That lines up perfectly with what I've seen with my krohniana.
When I Pruned My Krohniana — And What Happened (2-Week Log)
I did my main prune on March 12th last year. I'm in a zone 7 climate, so my plant lives indoors year-round under a grow light in winter and by an east window in summer. Here's exactly what I observed.
Week 1: Nothing visible. Total stillness. I panicked a little, honestly. I checked the cut ends every day like a weirdo.
Week 2: Tiny red-purple nubs appeared at the nodes below each cut. New growth. That's when I knew the prune had worked.
By week six, those nubs had turned into full branches with three or four leaf pairs each. And by late summer, two of those new branches had peduncles. Two! From a plant that had done nothing for a year and a half.
The Three Mistakes That Kill New Growers
I've made all of these. Every single one. So this isn't me lecturing — it's me confessing.
1. Overwatering
I drowned a beautiful rooted cutting of krohniana because I "loved it too much." Sounds sweet. It's murder.
90% of indoor plants die from overwatering. That's not a scare number. It's the actual leading cause of houseplant death, and hoyas are especially sensitive because they're epiphytes — they grow on trees in the wild and hate sitting in soggy soil.
If your krohniana's leaves are yellowing and mushy, stop watering. Let it dry out completely. I mean bone dry before you even think about the watering can again.
2. Light in the Wrong Spot
I had mine in a north-facing window for months. It survived. It didn't thrive. Not a single peduncle.
Krohniana wants bright, indirect light. Think filtered sun through a sheer curtain, or a few feet back from a south or east window. The AHS notes that most hoyas flower best with several hours of bright indirect light daily. When I moved mine closer to an east window, the difference was night and day.
If your plant is all vine and no flower, look at your light first. Pruning won't fix a light problem.
3. The Wrong Pot
I once potted a krohniana in a pot way too big because I thought "more room equals more growth." Wrong. A too-large pot holds too much moisture around the roots. Root rot. Dead plant.
Hoyas like to be slightly root-bound. Use a pot that's only one size up from the current one. And make sure it has drainage holes. Terracotta is great because it wicks away excess moisture.
My Actual Step-by-Step Pruning Process
Here's exactly what I do now, every spring.
Step 1: Gather Your Tools
You need clean, sharp pruning shears or scissors. I wipe mine with rubbing alcohol before and after every cut. It takes ten seconds and prevents disease. Don't skip it.
Step 2: Look for the Peduncles First
Before you cut anything, find the woody spurs. They look like tiny dried sticks poking out from the vine, usually near a leaf joint. Do not cut these off. Ever. They're your future flowers.
I made this mistake in year two. Cut off three peduncles thinking they were dead growth. I lost an entire blooming season. Still annoyed about it.
Step 3: Identify What to Cut
Cut these:
- Leggy vines with wide gaps between leaves
- Vines that are growing away from the light
- Dead or shriveled stems
- Any vine that's making the plant look unbalanced
Leave these:
- Peduncles (the woody spurs)
- Healthy vines with close-set leaves
- New growth tips if they're already branching
Step 4: Make the Cut
Cut just above a node — that's the bump where leaves and roots emerge. Leave about a quarter inch above the node. Cutting too close can damage it. Cutting too far leaves a stub that dies back anyway.
I use clean, angled cuts. Angled cuts heal faster in my experience. Maybe that's anecdotal, but it works for me.
Step 5: Don't Go Overboard
The first time I pruned, I took off half the plant. It survived but took months to recover. Now I remove no more than one-third of the total growth in a single session. That keeps the plant strong and still triggers branching.
What About Propagating the Cuttings?
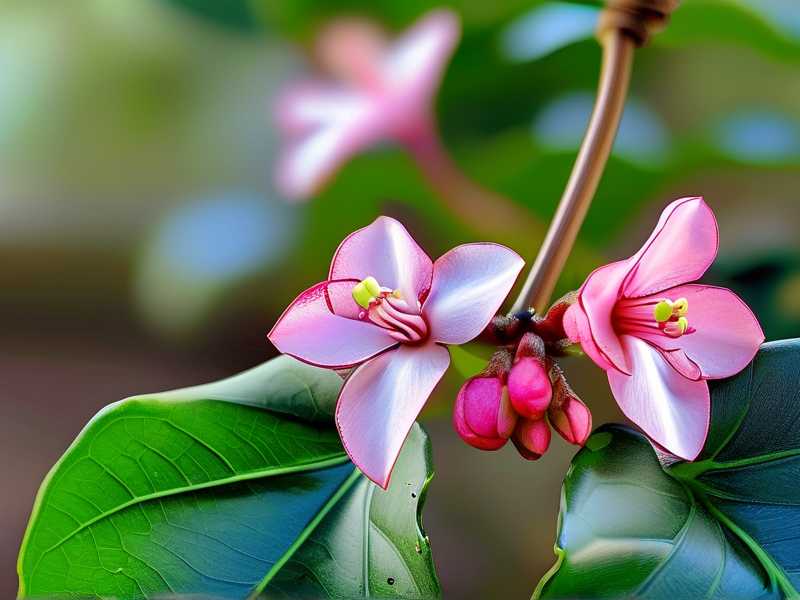
Oh, you absolutely should. Those cuttings you remove? They root easily in water or sphagnum moss.
I've rooted dozens of krohniana cuttings. My favorite method is water rooting in a clear glass. Change the water every few days. Roots appear in two to three weeks. Once they're an inch or two long, pot them in a chunky hoya mix — something like orchid bark, perlite, and a bit of potting soil.
Free plants. It's the best part of pruning, honestly.
The Soil and Watering Routine That Works for Me
After pruning, your plant needs good conditions to push out new growth. That means the right soil and the right watering habits.
I mix my own: two parts orchid bark, one part perlite, one part cactus soil. It drains fast. Hoyas hate wet feet.
I water only when the top inch or two of soil is completely dry. In summer, that's about once a week. In winter, every two to three weeks. I always check with my finger before watering. Always.
Fertilizer After Pruning
Two weeks after pruning, I start a diluted liquid fertilizer routine. I use a balanced houseplant fertilizer at half strength, every other watering during the growing season.
Don't fertilize right after pruning. Give the plant a couple of weeks to recover first. I learned that the hard way when I fertilized immediately after a heavy prune and burned the new growth tips. They turned brown and crispy. Not pretty.
Humidity Matters More Than You Think
Krohniana loves humidity. I run a small humidifier near mine and keep it around 60%. When I skip the humidifier in winter, the leaf tips get crispy. Not fatal, but not attractive either.
A pebble tray works in a pinch. So does grouping your hoyas together. But if you want serious bloom performance, humidity above 50% makes a real difference.
What If Your Krohniana Still Won't Bloom?
Sometimes you do everything right and still no flowers. Here's my checklist:
- Is it getting enough light? Bright indirect, several hours a day.
- Is it root-bound enough? Slightly tight roots encourage blooming.
- Are you fertilizing? Too much nitrogen equals leaves, not flowers. Switch to a bloom-boosting fertilizer with more phosphorus in late summer.
- Is it old enough? Krohniana typically blooms at two to three years old. Cuttings need time.
I've had plants that didn't bloom until year three. Patience is part of the deal.
A Quick Word on Pest Checks
While you're pruning, check the undersides of leaves for mealybugs and aphids. Pruning time is the perfect time for a pest inspection. I keep a bottle of neem oil and some cotton swabs handy. Mealybugs love hoya leaf joints. If you see white fuzz, dab it with alcohol and treat the whole plant.
I found mealybugs on one of my krohnianas last spring during a prune. Caught them early. A few weeks of neem treatments cleared it up. If I hadn't been handling the plant during pruning, I might not have noticed until it was a full infestation.
Two to Three Long-Tail Takeaways I Swear By
Pruning hoya krohniana for more blooms comes down to timing and restraint. Early spring. One-third max. Leave the spurs.
When to prune hoya krohniana is honestly less about the calendar and more about what the plant is doing. If it's actively growing, wait. If it's about to start growing, prune.
And if you're wondering how to get hoya krohniana to flower, pruning is only one piece. Light, humidity, and patience fill in the rest.
FAQ
Can I prune Hoya krohniana in summer or fall?
You can, but spring is best. Pruning in fall can stimulate growth that won't harden off before winter, which weakens the plant. If you must prune off-season, keep it light.
Do I need to remove the dead flowers?
No. Leave the peduncle. The flower petals will fall off on their own. The woody spur stays and will bloom again. Removing it sets you back.
Will pruning hurt my plant if I cut too much?
It can. Removing more than a third of the plant at once stresses it. I've done it. The plant survived but sulked for months. Stick to one-third or less.
Final Thoughts
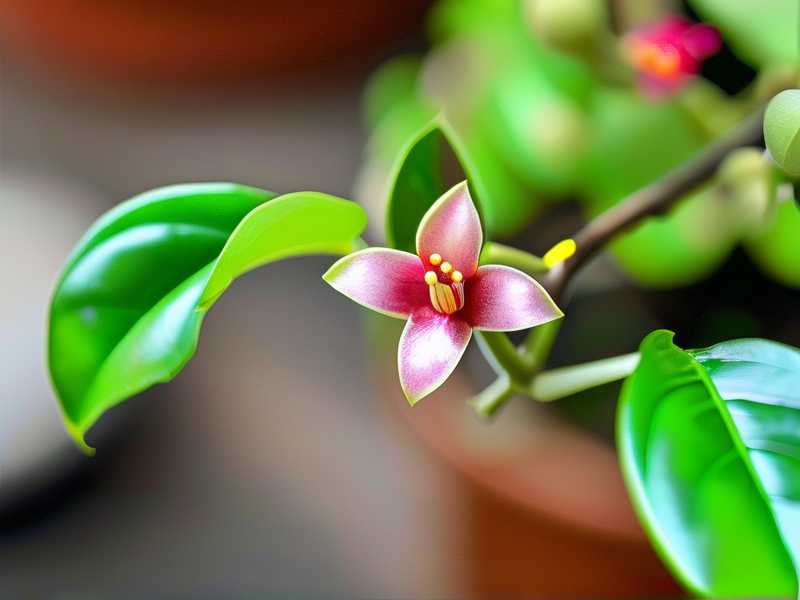
Pruning Hoya krohniana felt scary the first time. Now it's one of my favorite garden tasks because I know what's coming — new branches, new peduncles, and eventually those fuzzy little star-shaped flowers that smell like cinnamon.
Start with a light trim. Watch for two weeks. You'll see the new growth push through. And once you see that, you'll never be scared to prune again.