bluename
How to Grow Galangal from Rhizomes (Complete Guide)
I'll be honest with you: my first attempt at growing galangal ended in a mushy, rotting mess. I had planted the rhizome in a giant ceramic pot, watered it every single day like I was tending to a thirsty tomato, and within two weeks the whole thing turned soft and smelly. That was my wake-up call. Learning how to grow galangal from rhizomes is not complicated, but it does have a few fussy rules. Once I figured those out, I had fresh, aromatic galangal growing on my patio within a single season. This guide is everything I wish someone had told me before I wasted three rhizomes.
Galangal is that piney, peppery cousin of ginger you find in Thai coconut soups and Indonesian curries. It looks similar to ginger at a glance, but the flavor is sharper and more floral. Growing it from rhizomes is basically the only practical way to do it at home, since the seeds are slow and unreliable. The good news is that a healthy rhizome wants to sprout. You just have to stop yourself from loving it to death.
Why Grow Galangal at Home Instead of Buying It
Fresh galangal is expensive and often sad-looking at grocery stores. A small knob can cost you four or five dollars, and by the time you get it home it's already drying out. Growing your own means you can snap off exactly what you need and leave the rest in the soil.
The plant itself is also gorgeous. It throws up tall, blade-like leaves that look tropical and lush. I keep mine in a large pot on a bright patio, and honestly it doubles as an ornamental plant.
The Secret Nobody Tells Beginners
Here's the thing about galangal rhizomes: they are not bulbs. They do not want to be buried deep. If you plant them like a tulip bulb, they will rot before they ever sprout. I learned this the hard way.
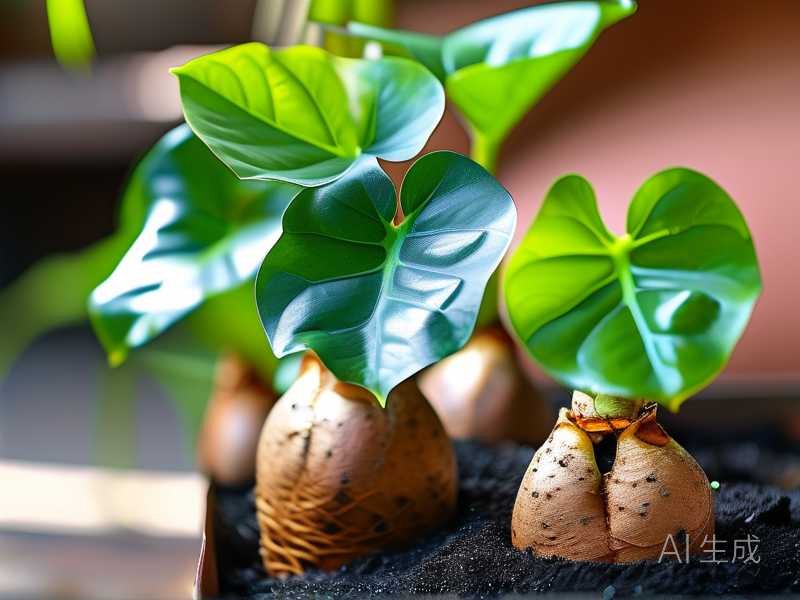
The rhizome should sit just barely under the soil surface. You want the top of it almost poking through. I usually press it down so only about half an inch of soil covers it.
If you take nothing else from this guide, take that. Shallow planting is everything.
Choosing the Right Rhizome
Not every galangal rhizome you find will grow. This is a real problem. Grocery store rhizomes are often treated or chilled in ways that kill the growing buds.
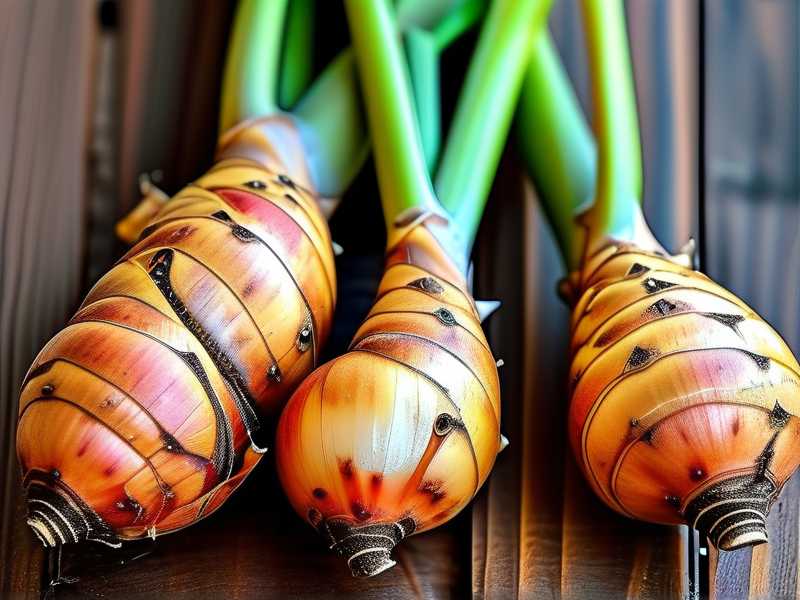
Look for plump rhizomes with visible pink or pale green buds, sometimes called "eyes." If the rhizome is shriveled, soft, or completely smooth with no bumps, skip it. I've had the best luck ordering from specialty herb suppliers or buying from Asian markets where the rhizomes are clearly fresh.
There are two main types you'll run into. Greater galangal (Alpinia galanga) is the big, bold one used in most Thai cooking. Lesser galangal (Alpinia officinarum) is smaller and more medicinal. For home growing, greater galangal is the easier and more rewarding choice.
What You'll Need Before You Start
You don't need much, but getting these basics right saves you a lot of grief.
A rhizome with visible buds. A pot at least 12 inches wide and deep. Loose, well-draining potting mix. A spot with bright but indirect light. Patience, because galangal is not a racehorse.
I mix my own potting soil now. Two parts quality potting mix, one part perlite, and a small handful of compost. Galangal hates soggy roots, so drainage is non-negotiable.
The Three Mistakes That Kill Almost Every Galangal Plant
I want to talk about these plainly because I made all three.
Mistake One: Overwatering
This is the big one. I cannot stress it enough. I once watered a newly planted rhizome every day for two weeks straight because the soil surface looked dry. By day ten, the rhizome was squishy. By day fourteen, it was gone.
Here's a fact that should be on every plant tag: 90% of indoor plants die from overwatering. Galangal is no exception. In fact, it's more sensitive than most.
Water only when the top inch or two of soil feels dry. In cool weather, that might mean once every ten days. In hot summer, maybe twice a week. Stick your finger in the soil. If it's damp, walk away.
Mistake Two: Wrong Light
Galangal is a jungle plant. It wants bright light but not harsh, baking sun. I tried putting mine in full afternoon sun one summer, thinking it would love the heat. The leaves scorched and curled within a week.
The fix is bright, filtered light. A spot that gets morning sun and afternoon shade is perfect. Indoors, a south or east window with a sheer curtain works well. If the leaves start turning pale or crispy at the edges, it's getting too much direct sun. If growth is slow and leggy, it needs more light.
Mistake Three: The Wrong Pot
I killed my second rhizome in a decorative pot with no drainage holes. Never do this. Ever.
Galangal needs a pot with at least one good drainage hole. Terra cotta is great because it breathes. Plastic works too, as long as it drains. I now use a 14-inch fabric grow bag for mine, and the roots love it.
Also, don't go too big. A rhizome in a massive pot of wet soil is a recipe for rot. Start with a pot that gives the rhizome two or three inches of space on each side. Size up only when roots start circling the bottom.
Step-by-Step: How I Actually Plant Galangal Rhizomes
Here is my exact process, refined after several failed attempts.
Step 1: Soak the rhizome for two hours in room-temperature water. This wakes up dormant buds. Don't soak longer than that or it can soften.
Step 2: Fill your pot with moist, not wet, potting mix. Squeeze a handful. It should hold together loosely but not drip water.
Step 3: Lay the rhizome flat on the surface. Buds facing up. If you're not sure which side is up, look for the little pink nubs. Those point skyward.
Step 4: Cover with just half an inch of soil. Press gently. That's it. Do not bury it.
Step 5: Water lightly once. Then leave it alone until you see green.
Step 6: Place the pot in warm, bright, indirect light. Ideal temperature is 70 to 85 degrees Fahrenheit. Galangal sulks below 60.
What Happens in the First Two Weeks
I kept a close eye on my last rhizome and took notes. Here's the honest timeline.
Days 1 to 3: Nothing visible. The rhizome looks exactly the same. Don't panic. Don't dig it up. I made that mistake once and broke off a tiny sprout.
Days 4 to 7: If the rhizome is healthy and the conditions are right, you'll see the first pale green tip pushing through the soil. It looks like a tiny spear. This is the moment I actually cheered out loud.
Days 8 to 14: The spear grows into a rolled leaf that unfurls. By day 14, you should have one or two leaves about three to four inches tall. If you see nothing by day 14, gently tug the rhizome. If it's firm, wait another week. If it's mushy, it's rotted and you need to start over with drier soil and less water.
I've had rhizomes sprout in five days and others take three weeks. Don't give up too early unless the rhizome is clearly dead.
Caring for Galangal After It Sprouts
Once you have leaves, the game changes slightly.
Watering: Now the plant is actively growing, so it drinks more. But the rule stays the same. Check the top inch of soil first. I water deeply until it runs out the bottom, then I don't water again until the top dries out.
Feeding: I feed with a diluted liquid seaweed or fish emulsion every three weeks during the growing season. Galangal is not a heavy feeder. Too much nitrogen gives you massive leaves and tiny rhizomes. I learned that one the hard way.
Humidity: This plant loves humidity. Indoors in winter, I run a small humidifier nearby. A pebble tray also helps. Brown, crispy leaf tips usually mean the air is too dry.
Repotting: When roots start coming out the drainage holes, move up one pot size. I do this in spring, before the growth spurt.
Harvesting Your Galangal
Here's the beautiful part. You don't have to dig up the whole plant.
After about four to six months, the rhizomes under the soil will have multiplied. I gently push back the soil at the edge of the pot, find a plump side rhizome, and snap it off with a clean twist. Then I push the soil back.
The main plant keeps growing. I've been harvesting from the same pot for over a year now. Each piece I take is fresher and more fragrant than anything from a store.
If you want to store some, wrap it in a damp paper towel, seal it in a bag, and keep it in the fridge for up to three weeks. You can also freeze slices, though the texture softens.
What the Experts Say
The Royal Horticultural Society notes that galangal species need warm, frost-free conditions and well-drained soil, which matches everything I've seen in my own garden. The American Horticultural Society also emphasizes that rhizomatous tropicals like this are far more likely to rot in heavy, waterlogged soils than to dry out. That's a polite way of saying: stop watering so much.
Common Problems and How I Fix Them
Yellow leaves: Almost always overwatering. Let the soil dry out more between waterings.
Brown crispy edges: Low humidity or too much direct sun. Move it and add humidity.
No growth for weeks: The rhizome might be planted too deep, or it's too cold. Check depth and temperature.
Soft, smelly rhizome: Rot. Throw it out, start fresh, and water less.
Tiny flying bugs: Fungus gnats, usually from consistently wet soil. Let the top layer dry out and use sticky traps.
Frequently Asked Questions
How long does it take to grow galangal from a rhizome?
You'll usually see the first sprout within one to three weeks if the rhizome is fresh and the soil is warm. Full harvestable rhizomes take about four to six months.
Can I grow galangal indoors year-round?
Yes, as long as you give it bright indirect light and keep the temperature above 60 degrees Fahrenheit. It slows down in winter but doesn't die back completely indoors.
Do I need to bury the whole rhizome?
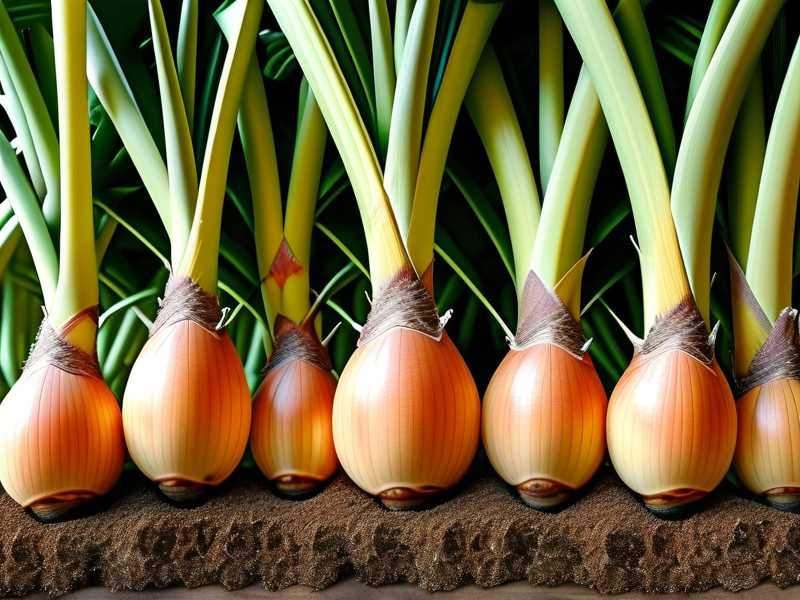
No. That's the number one mistake. Cover it with only about half an inch of soil. The top should be barely hidden.
Final Thoughts
Growing galangal from rhizomes is one of those things that seems tricky until you understand the plant's personality. It hates wet feet. It hates deep burial. It hates scorching sun. Give it warmth, drainage, and a little neglect, and it rewards you with months of fresh, pungent rhizomes.
I lost two rhizomes before I got it right. You might lose one too. That's okay. Now you know the three killers to avoid, and you know the two-week signs to watch for. Grab a plump rhizome, plant it shallow, and please, put down the watering can.