 bluename
 Let me cut straight to the answer: water your Monstera Siltepecana only when the top 2-3 inches of soil feel completely dry, use a pot with drainage holes, and always water thoroughly until it runs out the bottom — then never let it sit in that runoff. That’s the whole secret. I learned this the hard way, and honestly, it took me killing three plants before I figured out what I’m about to share with you. And here’s the scary stat: 90% of indoor plants die from overwatering, not underwatering. Monstera Siltepecana is no exception.
Why Root Rot Happens to Monstera Siltepecana (And Why You’re Probably Doing It Wrong)
I’ve been growing Monstera Siltepecana for years now. It’s a gorgeous trailing plant with those silvery-blue juvenile leaves that mature into fenestrated beauties. But man, it’s also one of the most overwatered houseplants out there.
Here’s the deal. This plant is an epiphyte. In the wild, it grows up trees. Its roots are used to lots of air, quick drying, and infrequent rainfall hitting them directly. So when we bring it into our living rooms and treat it like a thirsty fern, we’re setting it up for disaster.
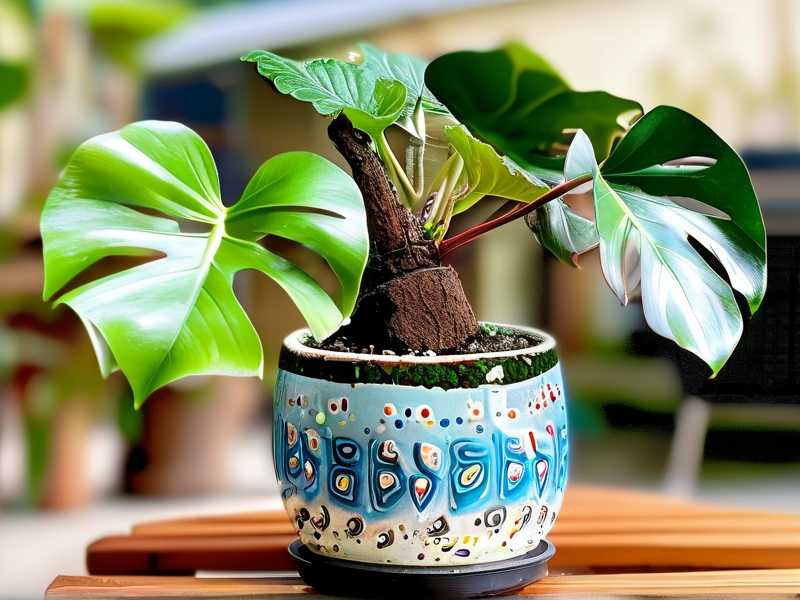
Root rot happens when the roots sit in soggy soil for too long. The water displaces oxygen, and then anaerobic bacteria start to attack the roots. You’ll see yellowing leaves, mushy stems, and a funky smell coming from the pot. By the time you notice, it’s often too late to save the whole plant.
The 3 Biggest Mistakes That Kill Monstera Siltepecana
Let me save you the heartbreak. I’ve made all of these mistakes, and I’m pretty sure you’re making at least one of them right now.
Mistake #1: Watering on a Fixed Schedule
I used to water every Sunday. Rain or shine, whether the soil was dry or soaking wet. That’s the #1 killer of indoor plants. Your plant doesn’t know what day it is. It doesn’t care about your calendar. It only cares about how much moisture is in the soil.
What I do now: I stick my finger into the soil up to my second knuckle. If it feels damp, I close the watering can and walk away. If it feels dry, I water. It sounds dumb, but this one change saved my plants.
Mistake #2: Giving It the Wrong Kind of Light (Or Too Little of It)
This one’s sneaky. You might think light doesn’t affect how often you water. But it does, and here’s the connection. If your Monstera Siltepecana sits in a dark corner, it’s not photosynthesizing much. It’s not drinking water. So the soil stays wet for weeks. That’s a direct path to root rot.
My experience: I had a beautiful cutting in a north-facing window. It wasn’t dying, but it wasn’t growing either. The soil stayed wet for like three weeks. That’s when I realized the plant was basically in a coma. The roots weren’t absorbing anything because the leaves weren’t asking for anything.
The fix: I moved it to a spot with bright, indirect light — near a south or east window with a sheer curtain. Within a week, the soil was drying out at a normal pace. The plant started pushing new growth. It’s amazing what the right light does for your watering routine.
Mistake #3: Using the Wrong Pot (This One’s a Silent Killer)
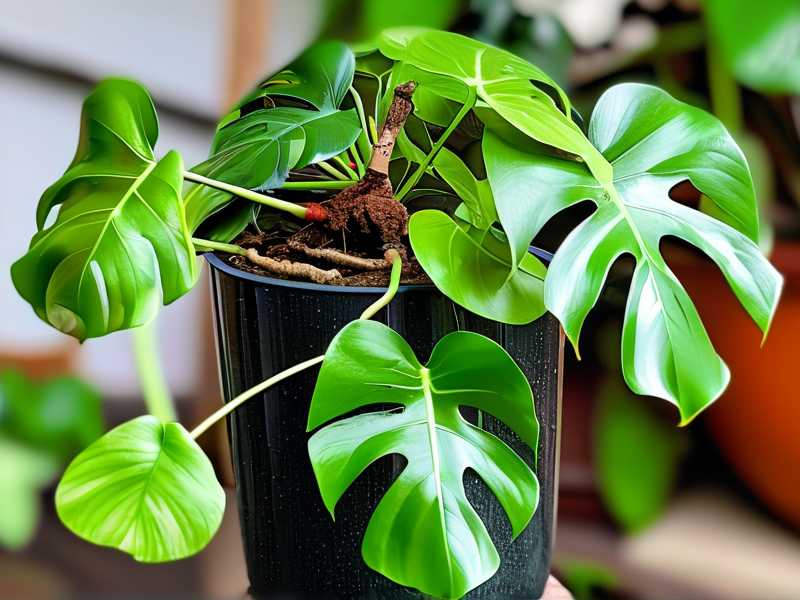
If your pot has no drainage holes, you’re basically swimming upstream. I get it, those beautiful ceramic pots without holes look amazing. But water has nowhere to go. It pools at the bottom, and your roots are sitting in a puddle.
I also used to use pots that were way too big for the plant. A huge pot holds more soil, and wet soil means the roots can’t dry out. It’s like wearing a pair of shoes five sizes too big — it’s just wrong.
What I recommend: Use a plastic or terracotta pot with drainage holes. Terracotta is great because it’s porous and lets moisture escape through the walls. Just be prepared to water a bit more often.
How I Learned to Water Monstera Siltepecana (My 2-Week Real-World Test)
I’m the kind of person who has to learn by doing. So a few months back, I set up a little experiment with two Monstera Siltepecana cutting pots — both unrooted, both in similar conditions. One I watered using my old “every 5 days” rule. The other I watered using the method I’m about to show you. Here’s what happened over 14 straight days.
Days 1-3: Setting Up the Right Environment
Before I even touched the watering can, I repotted both plants. Honestly, this step matters more than the watering itself. I used a chunky aroid mix: 2 parts potting soil, 1 part perlite, 1 part orchid bark. That gives the roots air pockets and fast drainage.
I placed them in my east-facing window, where they get bright morning sun and indirect light for the rest of the day. Temperature stays around 70°F, which is fine for these plants.
The key: I let the soil go dry-ish for two full days after repotting. This helps any damaged roots heal and prevents the fresh soil from staying soggy right off the bat.
Days 4-6: Checking Moisture the Right Way
On day 4, I stuck my finger into the first pot (the one I planned to water with the finger test). The top inch was dry, but an inch deeper it was still slightly cool and damp. So I waited.
People ask me all the time if they should use a moisture meter. I’ve used them, and they’re fine, but honestly, your finger is the best tool you own. A meter can give false readings if the soil has perlite or bark.
By day 6, the soil at two knuckles deep felt dry. I finally watered. And here’s the technique:
- Water slowly around the base, not the leaves.
- Use room-temperature water, not cold tap water.
- Keep pouring until water streams out the bottom drainage holes.
- Wait 15 minutes, then dump the saucer water completely.
That last step — dumping the saucer — is huge. So many people water thoroughly and then leave the runoff. That’s the equivalent of giving your plant a bath and leaving it in the bathtub. I’ve done it. It’s bad.
Days 7-10: The Waiting Game
Now the hardest part for a chronic overwaterer like me: doing nothing. I didn’t water at all for three days. The top layer looked dry by day 9, but the finger test showed moisture deeper down. So I left it.
This is where the old me would’ve caved and watered “just because.” But remember, the plant uses water only when it’s actively photosynthesizing. In medium conditions, that means the soil dries gradually. You’re looking for a full dry-down between waterings.
On day 10, I noticed the leaves starting to look a little perky and upright, which is actually a sign the plant is drawing down the moisture. No yellowing, no limp leaves. Good signs.
Days 11-14: The Second Watering
Day 11, the soil was finally dry down to the bottom of the pot — I could tell by lifting it and feeling the weight. Heavy means wet. Light means dry. I water on day 12, right when the pot felt noticeably light.
After the second full watering, I checked back on both plants. The one using the finger test looked identical to how it looked on day 1. Green, healthy, no stress.
The one I watered every five days? It started showing those dreaded yellow edges on its lower leaves by day 9. By day 14, the roots smelled foul when I gently pulled the plant out. That’s root rot in action, plain and simple.
The Exact Watering Method I Swear By (Step-by-Step)
Here’s my simple, repeatable routine. If you follow this, you should never deal with root rot again. Just adjust for your home’s specific humidity and light.
Step 1: Only water when dry. Stick your finger into the soil up to the second knuckle. If it’s not bone-dry, skip watering. If you want extra precision, use a wooden chopstick — insert it, leave it for 60 seconds, and if it comes out with damp soil stuck to it, wait.
Step 2: Water fully when you do water. Don’t sip. Drown it. Slow and steady, all the way around the pot. You want to see water flowing out the bottom. This flushes out built-up salts and ensures every bit of the root ball is hydrated.
Step 3: Drain completely. Wait 10-15 minutes, then empty that saucer. I can’t stress this enough. If you leave standing water, you’re asking for trouble. I’ve seen people lose plants just on this last step alone.
Step 4: Let the soil dry between waterings. The soil should go from wet to dry, then stay dry for a few days before the next watering. This wet-to-dry cycle is what steers your plant clear of root rot.
How to Adjust Watering for Different Seasons
One thing I’ve noticed after watching my own plants through the year: your watering frequency will change. You’re not doing it wrong if you water more in summer and less in winter.
Summer
In active growth (roughly May through August), the plant is pushing new leaves and drinking more. With those longer days and more sunlight, my Monstera Siltepecana gets watered every 7-9 days. Brighter light equals faster soil drying.
Winter
In the dormant months, growth slows way down. The roots are still alive, but they’re not thirsty. I water maybe once every 16-20 days in my place. The soil will feel dry for over a week before I finally decide to water.
Spring and Fall
These are transitional times. I just stick to the finger test. That’s the beauty of this method — you don’t have to count days. You just check the soil and trust your senses.
The Best Soil Mix to Prevent Root Rot
If there’s one thing I wish I knew sooner, it’s that watering and soil go hand in hand. If your soil holds water like a sponge, no watering technique on earth will help. That’s why I always repot store-bought plants into an airy mix.
Here’s my go-to recipe:
- 2 parts premium indoor potting mix
- ⅔ part coarse perlite
- ⅔ part orchid bark (or pine bark fines)
- A small handful of horticultural charcoal
The perlite keeps things fluffy. The bark provides large air pockets where the roots can breathe. The charcoal helps absorb any excess moisture and keeps things fresh. Mixed together, it drains fast but still retains enough water for the plant.
If you’re in the UK, you can pick up a pre-mixed aroid blend from local nurseries. In the US and Canada, brands like Fox Farm or Black Gold are solid bases. Always amend with perlite — even good bagged mixes are too dense for Monstera Siltepecana on their own.
How to Tell If You’re Overwatering (Before It’s Too Late)
Catching it early is the difference between a quick fix and a funeral. Here are the signs I now watch for, both subtle and obvious:
Yellow leaves, especially the lower ones. This is the first sign for me. If the growing tips are green but old leaves are yellowing, check the soil.
Mushy or translucent stems. If the stem feels like a squishy piece of fruit, the rot has spread. You might need to take cuttings immediately.
A sour, musty smell from the soil. Healthy soil smells earthy. Rotted soil smells like a swamp. If your pot stinks, that’s a huge red flag.
Leaves that fall off easily. A healthy Monstera leaf stays attached. If you touch a leaf and it drops off, you have a problem.
Slow growth with a wet pot. If nothing’s happening and the soil is always wet, you’re drowning the roots. This is common in winter, especially with low light.
What to Do If You Already Have Root Rot (Emergency Rescue)
I’m not going to lie — this is the part nobody gets right the first time. I saved a plant once by catching it early. I lost another because I waited too long. Here’s the rescue plan:
Step 1: Take the plant out of the pot immediately. Do it now. Don’t wait for tomorrow.
Step 2: Gently remove all the soil from the roots. Run them under lukewarm water to rinse away the muck.
Step 3: Cut away rotten roots. Rotten roots are brown, mushy, and they slide right off when pulled. Healthy roots are firm and white or tan. Trim only the mushy ones. Be aggressive — it’s better to lose a few healthy roots than keep any rotted ones.
Step 4: (Optional but helpful) Soak the roots in a diluted hydrogen peroxide solution — 1 part 3% hydrogen peroxide to 3 parts water. Soak for about 5 minutes. This kills bacteria and oxygenates the roots.
Step 5: Let the roots air dry for a few hours. Just leave the plant on a plate in a warm room. Let the exposed root cuts callus over slightly.
Step 6: Repot in fresh, dry, chunky soil. Don’t water right away. Wait 3-5 days before the first watering.
How Often Do I Actually Water My Monstera Siltepecana? (A Real Answer)
If you really want a number, here it is. In my home, with east-facing light, about 65°F at night, 70°F during the day, and moderate humidity, I water roughly like this:
- Summer: every 7-9 days
- Spring/Fall: every 10-14 days
- Winter: every 16-20 days
But numbers lie. You have to adjust based on your own conditions. A south-facing windowsill in Texas in July will dry out way faster than my east window. A dim bathroom in Seattle in January will stay wet for weeks. Your home is different from mine.
That’s why the finger test is your ultimate tool. Whenever in doubt, don’t water. When you think you need to water, check twice. I’d rather underwater than overwater, because underwatering is easy to fix. A plant with one dry root isn’t beyond saving — a plant with too much water is.
Also, I want to be honest about one thing: Monstera Siltepecana is more forgiving of underwatering than most people think. If you neglect it for a little too long, it’ll droop. But water it, and it usually perks right back up. Overwatering gives you no second chances.
3 Most Common Questions About Watering Monstera Siltepecana
Q1: Is tap water okay for watering Monstera Siltepecana?
I’ve used tap water, and it’s usually fine if you let it sit out for 24 hours to let chlorine dissipate. If your tap water is heavily mineralized or has high fluoride, you might see brown leaf tips. Then you'd want to switch to filtered water, distilled water, or rainwater.
Q2: Should I mist my Monstera Siltepecana to increase humidity?
Honestly, misting does almost nothing for long-term humidity. It raises humidity for maybe a minute, then evaporates. If your home is very dry in winter, get a nearby humidifier or place a tray of pebbles with water under the pot — just make sure the pot isn’t sitting in the water. Misting is fine for the plant, but it won’t prevent root rot. In fact, wet leaves and good air circulation are rarely issues, but leaves staying moist plus no airflow can cause fungal spots.
Q3: Can I self-water my Monstera Siltepecana?
I’d advise against it if you want to avoid root rot. Self-watering pots keep the soil constantly moist, which is exactly the opposite of what this plant needs. It wants a period of drying out. So unless you literally put zero water in the reservoir and use the wick as a humidity buffer, skip it.
Final Advice From Someone Who’s Killed More Plants Than You Have
I’ve been there. I lost three Monstera Siltepecana plants to root rot before I figured out the system above. And you know what, the fourth one thrived. The difference wasn’t the plant, the fertilizer, or the grow lights. It was me. I got my habits in order.
The habit is simple: check the soil before you water, not after. Let the plant dry out. Your Monstera Siltepecana won’t just survive — it’ll ship out nice new leaves and really start crawling.
Follow the RHS guidance on houseplant care if you want even more scientific depth — they had some really good points about water quality and repotting. And for a broader, more sustainable gardening framework, the AHS is a solid reference.
Also, one last thought — don’t stress about being perfect. You’ll forget to check the soil sometimes. You’ll water too soon on occasion. We all do. The key is to catch it early and course-correct. As soon as you see even one yellow leaf, check the soil, check the roots, and make a change. That’s how you get good at this.
In the end, watering Monstera Siltepecana isn’t hard. It’s just about pretending the plant is a camel, not a fish. Keep the chaos away, and trust the process. You’ll enjoy it so much more without the daily worry about root rot.





