bluename
 How to Prune Hoya Sigillatis for More Flowers (Step-by-Step)
Let me save you some time. The number one reason your Hoya Sigillatis refuses to bloom is that you are too scared to cut it. I was too. I killed my first two plants by staring at them. The fix is simple. You prune with purpose in late spring. You cut just above a node. Then you wait. That’s the whole secret.
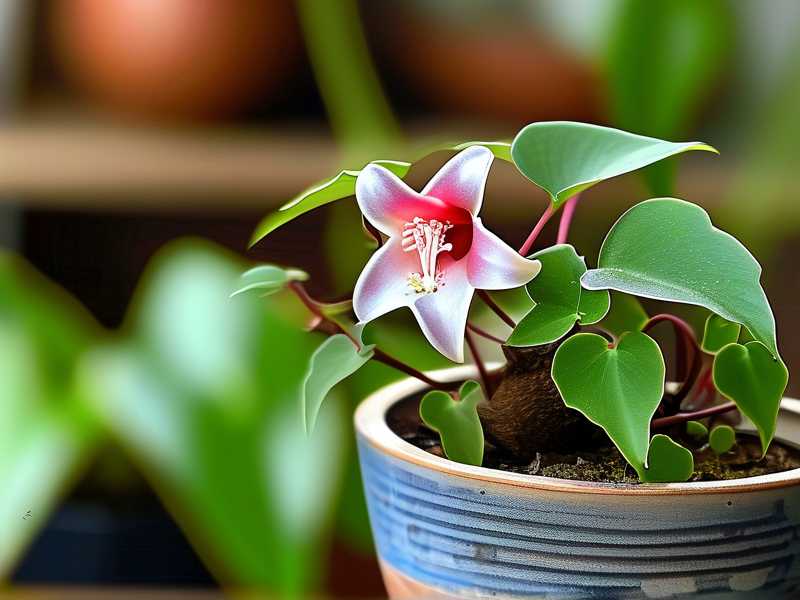
I say this because I spent two years treating my Hoya like a fragile museum piece. I never touched it. It grew long, stringy, and bare at the base. Then I tried a different approach. I chopped it back hard. Within two weeks, I saw new growth points. Four months later, I had peduncles. Not just one. I had six. So let’s walk through exactly what I did, where I messed up, and how you can avoid my stupid mistakes.
Why Your Hoya Sigillatis Is Being Stubborn Right Now
If your plant looks healthy but never flowers, the problem is usually not nutrients. It’s not even light. It’s pruning. Or lack of it.
Hoya Sigillatis grows like a weed. But it grows in one direction. Up and out. The plant spends all its energy extending the vine tip. Meanwhile, the lower nodes sit dormant. You end up with a long, naked stem and leaves only at the end. That looks sad. But more importantly, that stem will never produce flowers along bare wood. You need to force the plant to branch out. And pruning is how you do that.
I’ve seen this pattern with my own eyes. I had one vine that was over four feet long with leaves only at the top six inches. It looked ridiculous. I cut it back by half. The result? Three new vines emerged from the base. Two weeks later, those vines had tiny leaves. And the bumped-up node density became my foundation for future blooms.
The Real Reason Pruning Works for Blooms
Let’s get botanical for a second. I always check what the RHS says before I do anything drastic. The RHS explains that pruning removes dominance from the tip. The plant then redistributes auxins and sugars to lateral buds. Basically, you tell the plant to stop being lazy and make side branches. Those side branches are where peduncles will eventually appear.
Also, pruning stimulates new growth. And for Hoya, flowers only appear on new growth. The peduncle forms at the node of new vines. No new vines, no peduncles. It’s that simple.
I also checked with the AHS for a second opinion. They say the same thing. Light pruning encourages branching. And branching encourages flowering structures. So don't treat your Hoya like a hanging spider plant. Treat it like a shrub that wants to be trained.
The 3 Deadly Mistakes Beginners Make (I Made All of Them)
Before we dive into the step-by-step, I need you to look at three things. Because if you mess these up, pruning won’t save you.
Mistake #1: Overwatering
Seriously. Stop with the watering can. 90% of indoor plants die from overwatering. Your Hoya Sigillatis has thick, succulent-type leaves. That means it stores water. It wants to dry out completely between waterings. I used to water mine twice a week because I felt bad for it. Big mistake. The roots rotted and the leaves became yellow and mushy. You can’t prune a dead plant.
Let the soil dry out. I use a wooden chopstick. I stick it in the soil. If it comes out dry, I water. If it has any dampness on it, I wait two more days. That simple. That saved my third plant.
Mistake #2: Wrong Light Position
Hoya Sigillatis is not a low-light plant. Sorry. It needs bright, indirect light. And I’m not talking about the shady corner of your bedroom. I’m talking about a south-facing window with a sheer curtain. Or a spot six inches away from an east-facing window.
I tried to grow mine on my desk. Two feet away from a window. It grew. But it never flowered. Because it was too dark. After two weeks of giving it more light, I noticed the leaves turned more silver and speckled. That’s the variegation showing up. And that’s a sign it’s getting enough energy to store for flowering.
Mistake #3: Wrong Pot Choice
This gets a lot of people. You need a small pot. Hoya likes to be root-bound. I put mine in a giant 10-inch ceramic pot. The top looked great. The roots were swimming in space. The plant spent all its energy growing roots instead of making flowers. I killed my second Hoya this way. The root system never absorbed water evenly, and the soil stayed wet for too long.
Now I use a 4-inch plastic pot with drainage holes. That’s it. That’s all they need. Keep the roots cramped. It sounds mean, but it works.
Step-by-Step: Pruning for More Flowers
Alright, we are ready. Here’s exactly what I did. Follow this sequence and you’ll be fine.
Step 1: Gather the Right Tools
Don’t use your kitchen scissors. I learned this the hard way. Dull blades crush the stem. That creates a wound where bacteria get in. Use sharp, clean pruning shears. Also, have a clean rag and rubbing alcohol ready. Wipe the blades before and after you cut. This prevents disease transmission. Also, be careful of the sap. Hoya sap can be irritating. My hands broke out once. Wear gloves. Not expensive ones. Just any gardening gloves.
Step 2: Find the Nodes
Look at the vine. You’ll see little bumps along the stem. Those are nodes. That’s where new leaves and roots will come from. You must cut above a node. Exactly one-quarter inch above it. If you cut too close, the node dries out. If you cut too far, you leave a long bare stub that rots.
Step 3: Decide Your Target Length
Don’t just cut randomly. I did that once and ended up with a lop-sided mess. Decide what you want. Do you want a bushy plant? Then cut the stems back by half. Do you want longer trailing vines? Then only remove the tip growing point.
I personally like a compact look. So I cut each vine back to about 8-12 inches from the base. This encourages a lot of lower growth. For my plant, that generated four new side shoots.
Step 4: Make the Cuts
Now, cut cleanly. Angle the blade slightly. This makes water run off the wound. Remove all the cut material from the pot. Don’t leave bits on top of the soil. That attracts fungus gnats. I know. I’ve seen them swarm.
Step 5: Remove Any Dead or Yellow Leaves
You’re pruning anyway. Take a look at the rest of the plant. Remove any yellowing or dead leaves. This reduces waste of energy. The plant can then focus on producing new growth. Don't cut off healthy leaves unless you're shaping.
Step 6: Disinfect the Open Wounds
You don’t need anything fancy. I run a pinch of cinnamon powder on the cut ends. It’s a natural anti-fungal. Leave it dry. Let it callus over. Don’t mist the cut area. Give it a few hours.
What Happened in the 2 Weeks After Pruning
I want to be real with you. The first few days after the prune, I was nervous. The plant looked bare. I thought I had destroyed it. I almost regretted it. But here’s what happened, day by day.
Day 1-3: Nothing. The cuts looked wet. The sap dried. I left the plant alone. No watering. No fertilizer. Just static.
Day 4: I noticed the nodes looked slightly swollen. I touched them. They were firm. Good sign.
Day 6: Tiny bumps appeared at the nodes directly under the cut. Those are the start of new growth.
Day 8: The bumps turned into the nubs of new leaves. They were so small, I had to squint to see them.
Day 10: I saw new tiny leaves unfurling. This brought a ridiculous smile to my face.
Day 14: The new shoots were visible. Maybe a quarter-inch long. I could already tell they were branching. That is the key. Those branches will eventually produce peduncles.
But here is the catch. I didn't see flowers in those two weeks. You won't either. Expect that. The flowering comes later. Usually two to three months after the new growth matures. But the pruning is the trigger.
Where Did I Go Wrong Before? The Painful Roots of This Lesson
I’ve been growing Hoya Sigillatis for over six years. I’ve killed more plants than I want to admit. My first one? I watered it until the leaves dropped off. My second one? I put it in a huge container and it just sulked. I honestly didn't know that "how you cut" mattered for flowering.
I was so scared to lose growth that I never touched the vines. I thought more green equals more flowers. Wrong. I had a 30-inch bare vine with two leaves at the end. It wasn't a plant. It was a slinky. I finally learned that Hoyas respond better when you treat them like a fruit tree. You want more fruit? You cut back the wood.
After my brutal chop, I also made the mistake of feeding immediately. Do not do that. Wait two weeks post-prune. I fed mine too soon and the new leaves got crispy. The roots were too sensitive. I flushed the soil after that. Lesson learned.
The Specific Cut Techniques for Different Results
So you have options. Let me walk you through the variations.
Pinching (Very Light Prune)
This is for a plant that's already growing well. You only pinch out the soft tip. Just the tiny leaf unfurling at the top. This easy trim stops the vine instantly. It pushes the plant into making two new stems near the tip. Good for a small delicate plant.
Heading Cut (Using the Node Location)
This is what we did above. You cut a portion of the vine. You remove a branch. This is the best method for creating a full, compact bush. It stimulates dormant buds at the base to wake up.
Rejuvenation Prune (For Old, Bare Vines)
This is a drastic method. I used it on my long stringy vine. I cut the whole vine down to about six inches from the soil. Leave a couple of leaves. That's it. For a couple of weeks, it looks like a sad stump. But then the plant reboots. New shoots appear from the base. This is the fastest way to get a bushy plant. I highly recommend it if the vine is too tangled to unravel.
Watering and Feeding After the Cut
After you prune, do not drown it. The plant has less leaf mass to process water. The roots don't need much. Wait until the soil dries out fully. Then water. I usually wait a full ten days after pruning.
For fertilizer, hold off for two to three weeks. When you do start again, use a fertilizer high in phosphorus. Look for a ratio like 2-3-2. The middle number is phosphorus. That promotes flowers. Avoid high nitrogen (the first number). That just makes leaves. I had a fertilizer with a 4-1-2 ratio once. The plant turned very green, but zero blooms. Switched to a bloom booster. That helped.
Also, consider adding a mild potassium supplement. It helps strengthen the peduncles when they do arrive.
How to Support the New Vines Formed from Pruning
Your new vines will be flimsy. That’s normal. They need something to climb. I use a simple bamboo trellis. Not a classic moss pole. Hoya Sigillatis has small leaves and thin stems. A thick pole overwhelms it. Use a thin metal wire loop or plastic trellis.
When the new vine is long enough, gently wrap it around the support. Do not pull hard. The stems snap easily. I have broken two of my new shoots. It hurts. Just wrap loosely and let it grab on.
Why the Peduncles Popped After 8 Weeks
After about eight weeks in my experience, I noticed something new. At a node, a tiny sticky nub appeared. It was not a leaf. It was a peduncle. This is the flower stalk. Do not cut this off. Ever. Even after the flowers drop, leave the peduncle attached. It grows back flower clusters the next time. I cut one off because it looked dry, I thought it was dead. But it wasn't. It grew new flowers later. Never remove a peduncle.
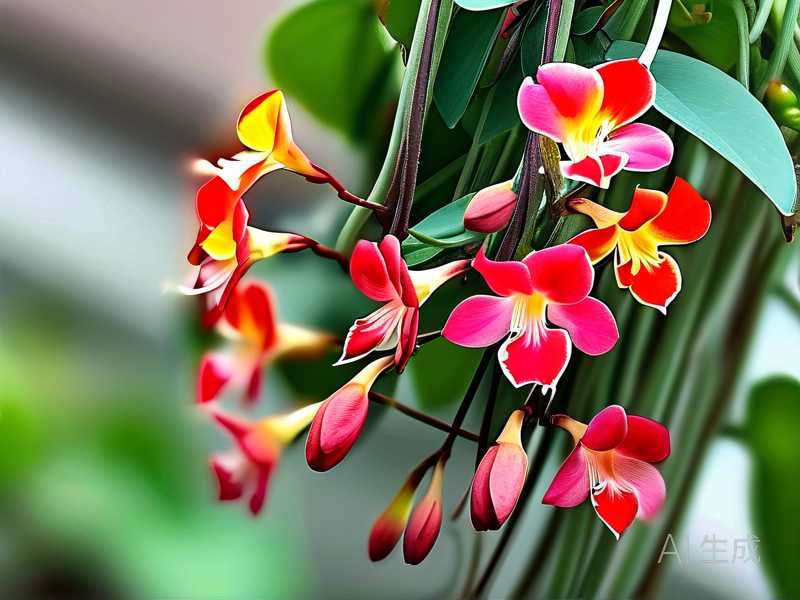
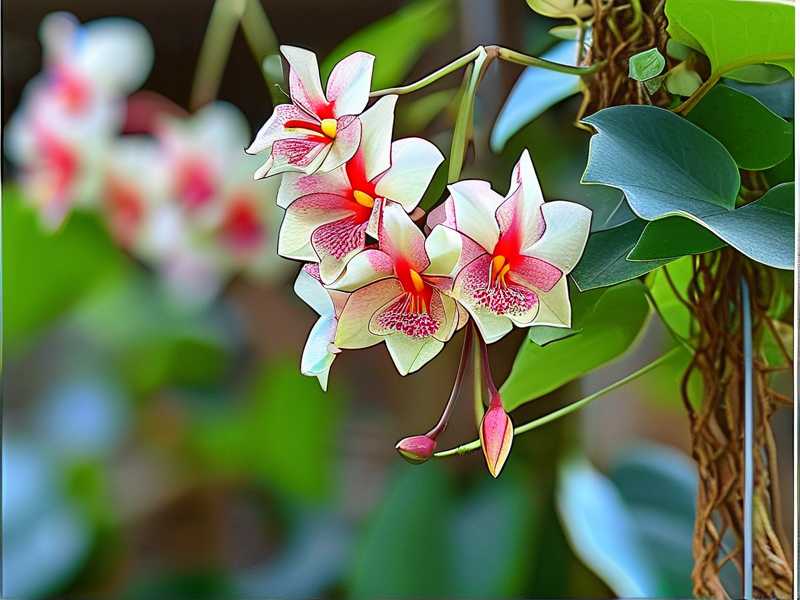
Flowers are small and star-shaped. They are fuzzy and red-brown in the center with yellow margins. The scent is light but sweet. You'll smell it in the evening. That’s when it releases its fragrance.
Lighting Adjustments to Maximize the Pruning Effect
If you prune but still have low light, you will get leaves but no buds. I found that during the two weeks after pruning, I moved mine to a brighter spot. I put it about six inches from a north window. That was still too low. I moved it to an east-facing windowsill. That direct morning sun is soft. The plant loved it. The leaves developed a reddish tinge. That indicates sun-stress. It's not bad. The pigment change is a stress response that often leads to more flowering.
If you only have west or south windows, put the plant further away. Use a sheer curtain.
Common Struggles You’ll Face After Pruning
The plant looks bare and awkward. This is normal. It takes time. Your plant might look ugly for two weeks. That is fine. In a month, it will look like a cloud.
The new growth is small. It takes a few weeks to catch up. Don't rush it.
Brown edges on the cut stems. This is normal. It’s the plant sealing the wound. As long as the tissue is firm, it's fine. If it turns mushy, you have rot. That means you watered too early. Cut again above the mushy area.
The vine doesn’t produce flowers. If its been four months after pruning and no peduncles, I’d say you have a light problem. Increase the light intensity. Or consider an equilibrium in watering. Let it dry out more.
How Pruning Affects the Variegation
Many people worry that cutting the plant will turn it green. That's not true.
However, if you cut off a leaf that has tons of white variegation, the new growth might lack chlorophyll. This new growth is weak. It might struggle. I keep my deepest variegated leaves intact and prune the more green parts. This preserves the plant’s energy source.
Positioning the Pot for Consistency
Keep the pot in the same position after pruning. Don't rotate it aggressively. New vines tend to skew toward the light. If you flip the pot, the plant gets confused. I had a vine growing straight down because I kept turning it. When I stopped turning it, it grew upward. Consistency helps.
When Should You Not Prune?
Don't prune in winter. The plant is dormant. It won’t push new growth. It will just sit there and maybe rot on the cut end. Wait until the days are longer. Late Spring or Early Summer is best. That way, you have plenty of daylight for recovery.
Also, don't prune a sick plant. If you have root rot or pests, treat that first. Pruning shocks a sick plant. It could die. I lost a plant to pests and pruning too early. Fix the roots, then prune.
My Final Thoughts on This Process
I really believe the key is having the confidence to cut. Once I started treating pruning as a regular maintenance task, my Hoya Sigillatis transformed. It went from one lonely vine to a full basket. And the peduncles keep arriving every season since. Don’t be afraid. Use clean tools. Cut above a node. Water less. Give it light. You'll be rewarded.
I’m glad I finally got rid of my fear of the shears. I want you to feel that same success. A trick I use is checking the nodes every morning. Looking for tiny signs of new life. It’s rewarding. Trust the process. In two weeks, you will see life again.
FAQ: Your Real Questions Answered
Q1: How much can I cut off in one go?
I usually remove no more than one-third of the vines. If you cut more than that in one session, the plant struggles. However, if I have a severely bare plant, I do a rejuvenation prune. That's cutting it down to 6 inches. That works, but it is shocking. Do it only if the plant is super healthy and in a proper growing season.
Q2: Can I root the pruning cuttings?
Yes. I do this all the time. Take your cut stem. Remove the lower leaves. Place it directly in water. I use a small glass jar. Change the water weekly. After a month, little roots appear. Then, plant it in a tiny pot with good drainage. This gives you a new plant. This is a free way to expand your collection. The cuttings are also easier to give away.
Q3: Why are my new leaves tiny after pruning?
That is normal. The plant is putting its energy into producing nodes and roots first. The leaves will size up in the next few months. Give it a balanced fertilizer with higher phosphorus. Also, check the humidity. If the air is too dry, the new leaves will stay small. I mist the area (not the plant). That helps in the early weeks.