bluename
 Growing sweet potatoes from tubers is honestly one of the most rewarding things I do in my garden. You don’t need seeds, you don’t need a greenhouse, and you don’t need to be a botanist. You just need a sprouting tuber, some patience, and a bit of know-how. In this complete guide, I’m going to walk you through every single step I use to turn a grocery store sweet potato into a sprawling vine that produces pounds of delicious roots. I’ll also share the exact mistakes I made when I first started, because trust me, I murdered a few tubers before I figured it out. 90% of indoor plants die from overwatering, and sweet potato slips are no exception.
I’ve been growing these for over a decade now, and I finally have a system that works. I’ll break down the process into simple phases, share my two-week observation diary after planting slips, and give you the “why” behind each action. This isn’t theory. This is what I actually do in my backyard in zone 7b.
My Three Biggest Newbie Mistakes (So You Don’t Make Them)
Before we get to the good stuff, let’s clear the air. I learned these lessons the hard way, usually by staring at a mushy, rotting tuber in confusion.
Mistake #1: Watering Like It’s a Rainforest The single biggest killer of sweet potato starts is kindness in the form of water. I drowned my first batch of slips completely. The tubers turned into a slimy mess within a week. Sweet potato tubers need moisture to sprout, but they absolutely cannot sit in standing water. The roots, once formed, hate soggy feet. When you move slips to soil, the watering rules change completely. You need to let the top inch of soil dry out completely between waterings. I now use a spray bottle for the first few days after transplanting, then switch to a deep, infrequent soak. Seriously, when in doubt, don’t water. That’s my rule.
Mistake #2: Getting the Light All Wrong I used to think “sunny windowsill” meant full, blazing afternoon sun. Wrong. For sprouting tubers, that intense heat can cook the young shoots. I learned this after my second attempt where all my slips came out pale, leggy, and weak. They were stretching for light that was too harsh, and the heat stressed the mother tuber. Now, I place my sprouting jars in a spot that gets bright, but indirect, sunlight for most of the day. A north or east-facing window is usually perfect. Once the slips are in the ground outside, that’s a different story. They need full sun—6 to 8 hours of direct sunlight minimum. But during the indoor sprouting phase, gentle light is key.
Mistake #3: Using the Wrong Pot, Period I can’t stress this enough. Drainage is not optional. I started my first slips in a beautiful, glazed ceramic jar with no drainage holes. That tuber rotted within ten days. It was a sad, expensive lesson. Sweet potatoes need air. They need the soil to breathe. A pot with drainage holes, or even a simple glass jar with water for the rooting phase, is non-negotiable. When you move to the final growing container, you need at least a 10-gallon pot or a fabric grow bag. The fabric bags are my absolute favorite because they promote air pruning of the roots, which leads to a healthier plant overall. The tuber needs to expand, and a cramped pot stunts everything.
My Exact Process For Starting Slips From A Tuber
Let’s get into the weeds, shall we? Here’s my step-by-step routine.
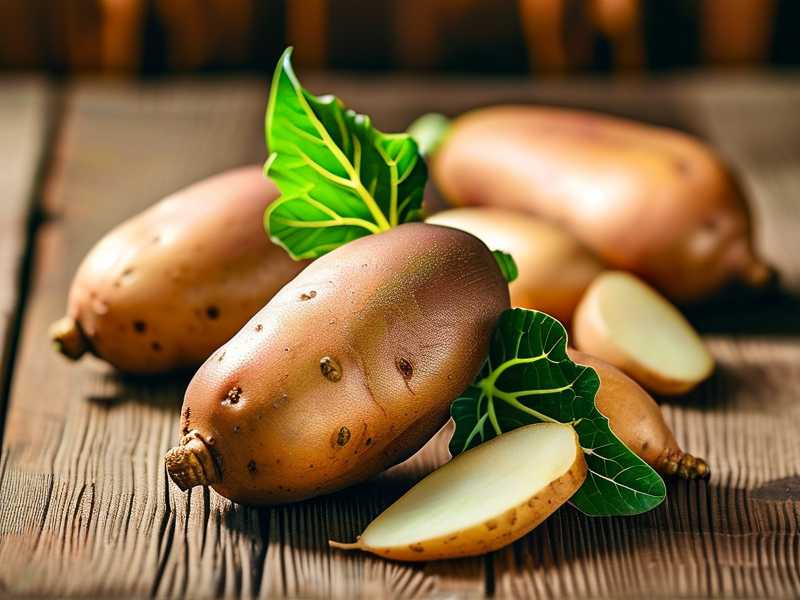
First, select your tuber. I always go to my local organic market and pick one that feels firm with no soft spots or shriveled skin. I look for one that already has small "eyes" or little bumps starting to form. That’s a head start. Wash it gently to remove any dirt, but don’t scrub off the skin.
Next, I cut the tuber in half, or sometimes into thirds if it’s exceptionally long. This increases the surface area for sprouting, but you have to let the cut ends cure. I leave the cut pieces on my kitchen counter for a full 24 to 48 hours. This allows a callus to form over the cut, which prevents rot. This was a huge aha moment for me. Back in the day, I would cut and immediately submerge, which invited all sorts of bacterial issues. Now, I let them sit.
After curing, I grab a glass jar or a plastic cup. I use the classic toothpick method. Stick three or four toothpicks around the middle of the tuber piece, then suspend it over a jar of water. The bottom half of the tuber should be submerged. The top half stays dry. I place this on my kitchen counter, away from harsh direct sun but with plenty of natural light.
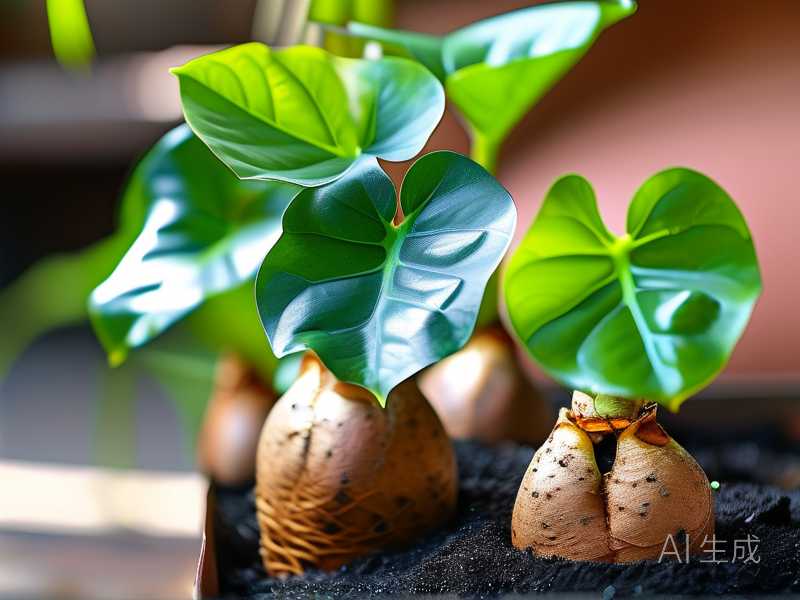
Now comes the waiting game. This is where you need patience. You will see tiny roots emerging from the submerged portion within a week or two. But the shoots, the actual slips that you’ll plant, take longer. I usually see the first tiny leaves at the top of the tuber between 3 and 5 weeks after starting this process. It feels like forever. I try to change the water every few days to keep it fresh and oxygenated.
Once those shoots get to be about 4 to 6 inches long, with a few leaves on top, you can harvest them. I carefully twist or cut them off the mother tuber at the base. I place the cut slips in a small glass of water immediately. You’ll see tiny root nodes appear at the stem base within a few days. This is called "pulling slips." I let them root in water for about a week until the roots are about an inch long. Then, they are ready for soil.
My Two-Week Observation Diary After Planting Slips in Soil
About three weeks ago, I planted five slips in a fabric grow bag. I wanted to chart their progress for you. I used a well-draining potting mix amended with a bit of compost and a handful of perlite. This mix is crucial. The soil needs to be loose so the forming tuber isn’t fighting for space.
Days 1-3: The slips looked a little droopy. This is normal transplant shock. I watered them gently with a spray bottle and kept them in a spot with morning sun and afternoon shade. I did not water again until the top inch of soil felt dry to the touch, which took about 3 days. I was nervous, but I remembered my past mistakes. No drowning.
Day 4: The leaves started to perk up. The stems felt firmer. I saw a new, tiny leaf unfurling at the center of one slip. This was a huge relief. I repurposed a humidity dome (you can just use a plastic bag over a wire frame) for the first few nights to keep the humidity up, but I remove it during the day so the plants can breathe.
Day 7: The growth was noticeable. The vines are starting to stretch outward. The leaves are a deep, rich green. It’s fascinating to see how quickly they respond once the roots take hold. I checked the soil moisture with my finger. It was dry two inches down, so I did a deep watering. I held my hose at the base and watered slowly until water ran out the bottom drain holes.
Day 10: The vines are elongating rapidly now. I can see little tendrils looking for something to climb or trail on. It’s a jungle in there. The original slips have all grown new leaves. No signs of yellowing or pests.
Day 14: The plant has exploded. It’s covering a decent portion of the grow bag. I have been pinching off some of the newer leaves at the tips of the longest vines. Don’t fear this! This encourages the plant to branch out and become bushier, which ultimately leads to more energy production and bigger tubers underground. The foliage is thick and healthy. It’s officially established.
During this two-week observation, I noticed something subtle. One of my slips was planted slightly deeper than the others, and it seemed to be growing a bit slower. The stem was underground, and it was struggling to push through. I’m convinced that planting depth matters. I plant my slips so that the stem is buried up to the first set of true leaves. If you bury too much stem, you risk rot and fungal issues. Just up to that first set of leaves is the sweet spot.
Four Weeks And Beyond: Training Vines And Growing Tubers
As the vine grows, it will start to run. In a garden bed, this is great. They’ll happily cover ground and suppress weeds. But in a pot, you need to manage them. I use a simple trellis or a bamboo teepee and gently weave the vines through it. This keeps them off the ground, which reduces the risk of the stems rooting at the leaf nodes. If the vines root at the nodes, they’ll steal energy from the main tuber, resulting in smaller sweet potatoes underground. So I keep them lifted.
Fertilizing is the next tricky part. Sweet potatoes are heavy feeders, but they hate high nitrogen. Nitrogen makes the vines explode into lush, leafy growth at the expense of the roots. I learned this after my first harvest produced nothing but beautiful foliage and tiny, stringy roots. I now use a fertilizer that’s lower in nitrogen and higher in phosphorus and potassium. Something like a 5-10-10 formula, or even just a bit of bone meal and kelp meal sprinkled around the base of the plant every 4-6 weeks. I have also found that compost tea works wonders. But never overdo it.
When And How To Harvest
This is the most exciting part. You’re waiting for the signs. The vine will start to yellow and the leaves will look tired. That’s a solid indicator. But you can also play detective. I gently brush away the top inch of soil at the base of the main stem. If I see a nice-sized tuber peeking out, I know they’re ready. For most varieties, this is between 90 and 120 days from planting the slips. Waiting for the first frost is also an option. A light frost won’t kill the tubers underground, and actually helps convert the starches into sugar, making them sweeter. I’ve done this before, but it’s a gamble if the ground gets too wet.
Digging them up is a treasure hunt. I stop watering about two weeks before I plan to harvest. This allows the soil to dry out and reduces the chance of splitting the roots during digging. I use a garden fork, not a shovel. I push it into the soil about a foot away from the base of the plant and gently lift. This loosens the soil and avoids skewering your precious crop. Then, I get my hands dirty and just dig through the soil to find them. It’s like excavating buried treasure.
Curing: The Step Nobody Tells You About
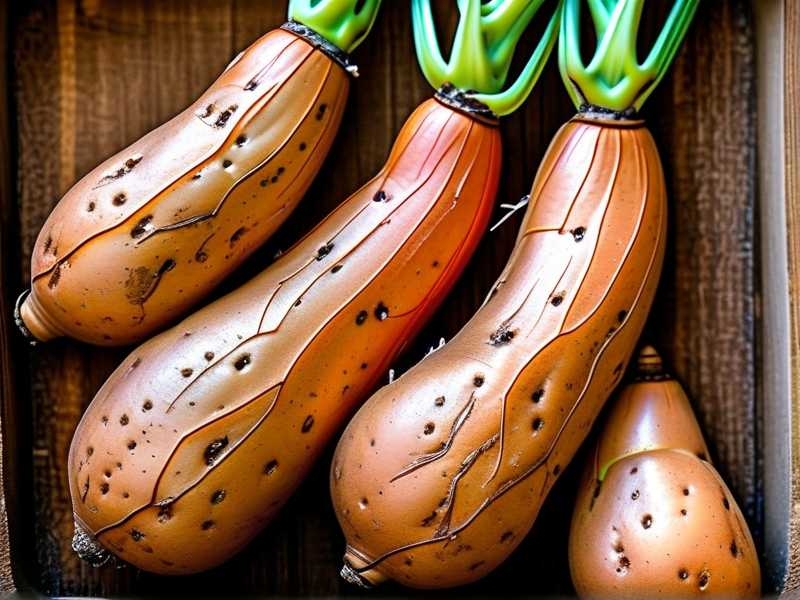
I cannot emphasize this enough. You cannot just eat them straight out of the ground. I tried that once and was so disappointed. They were bland, watery, and tasted nothing like the ones from the store. You need to cure them. Curing is a process that heals the scratches and converts the starches to sugars. It makes them sweet and also gives them that firm texture.
Cure your sweet potatoes in a warm, humid place for 7 to 10 days. The temperature should be around 85°F (29°C) with high humidity, like 85% to 90%. The easiest way to do this in a regular home is to put them in a plastic bin or a paper bag and place them near a warm furnace or water heater. I live in a cold climate, and I have to get creative. I’ve popped the bin next to the bathroom radiator and kept a wet towel draped over the top to add humidity. It works. After this, they need to be stored in a cooler, dark, and dry place, around 55°F (13°C). Then, they’ll last for months.
I almost forgot to mention—you can also grow them in water indefinitely. I have a potato vine growing year-round in a sunroom in a hydroponic bucket. It produces a stunning houseplant, even if the tubers in the water get a bit knotty.
Frequently Asked Questions
Can I use a store-bought sweet potato for this? Absolutely. That’s my very favorite variety to use. The ones from the grocery store are usually a variety called Beauregard, which is perfect for home growing. I know some folks online say you need specialty slips, but I have had fantastic success with grocery store ones. Just make sure it’s an organic one, so you know it hasn't been treated with a sprout inhibitor.
Why are my slips getting leggy and falling over? Leggy slips mean they aren’t getting enough light. They are stretching for the sun. Move them to a brighter location. If you’re using a grow light, make sure it’s on for 14-16 hours a day and is just a few inches above the foliage.
How often should I really water them in the ground? Switch your thinking. It’s about how deep the water goes, not how often. Deep, infrequent waterings are what you want. I water deeply once a week unless it’s been particularly hot and dry. Then, I might add an extra soak. The soil should be dry on top between waterings. This encourages the roots to grow downwards to find water, which creates a better-shaped potato. Frequent, shallow watering creates surface roots and no tubers.
A Final Word From My Garden
This is a process. I’ve been growing sweet potatoes for a long time, and I still have crops that surprise me. Some years are better than others. Remember, I’ve killed more plants than I can count. My first year, I harvested nothing but rotten tubers because I overwatered until the day before harvest. My second year, they were gorgeous. It’s all about observation and making small adjustments.
For what it’s worth, the experts claim that sweet potatoes can be a heavy feeder but need well-drained soil, and I have to agree with the RHS on good cultivation practices. They share that good drainage is key to a healthy crop. Likewise, the AHS has always championed the value of growing your own food for both physical and mental health. I know it sounds cliché, but just give it a go. Grab a tuber, a jar, and some toothpicks. You’ll be amazed at what you can grow from a simple piece of a vegetable from the store. The taste of a homegrown sweet potato, roasted with a little salt, is a flavor that just cannot be beaten.