bluename
 My Hoya pachyclada sat in the same corner for eleven months. It grew. It looked healthy. It never flowered. I watered it weekly. I gave it bright indirect light. I thought I was doing everything right. Then I learned that 90% of indoor plants die from overwatering. It is the number one killer in my own collection. I changed my approach. I pruned it properly. Within two weeks, I saw new growth points emerge. The plant looked fuller. I finally understood the secret. Pruning is not about cutting away. It is about redirecting energy. You want blooms. You need the right cuts. You need timing. You need patience. Let me show you exactly how I do it now.
Why Your Hoya Pachyclada Refuses to Bloom
I killed my first Hoya Pachyclada because I treated it like a regular houseplant. I gave it too much love. Too much water. Too much fuss. The result was a rotting root system. The leaves yellowed. The stems went mushy. It was gone in six weeks. I have learned since then. This plant comes from Thailand and Indonesia. It grows in dry, seasonal climates. It does not want constant moisture. It wants to be challenged. It wants to dry out completely. It wants tight roots. It wants bright light. Get these factors right. Pruning then becomes the final push.
Many hobbyists think pruning stresses the plant. Actually, strategic pruning mimics what happens in nature. Herbivores nibble. Wind snaps stems. Seasonal changes cause dieback. The plant recovers with more vigor. I have seen a mature Pachyclada bounce back stronger after a hard cut. The key is knowing where to cut. You never cut into old, woody growth. You cut just above a leaf node. That node activates. That node produces new growth. That new growth produces peduncles. Bloom clusters appear on new growth, not old stems. This is the fundamental truth.
The 3 Biggest Mistakes I Made (And You Probably Are Too)
Mistake #1: Overwatering
I already admitted this. Let me be clear. I killed my second Pachyclada by keeping the soil lightly moist. I read somewhere that tropical plants need humidity. I interpreted that as water. Big mistake. The roots suffocated. The stem collapsed from the base. It looked fine one day. The next day it flopped over. I pulled it out of the pot. The roots were brown mush. The smell was unmistakable. I checked the RHS website afterward. They emphasize that epiphytic hoyas need excellent drainage and periods of dryness. Now I wait until the leaves feel slightly soft. Then I water deeply. That is it. The plant thrives on neglect.
Mistake #2: Wrong Light Position
I had my Pachyclada on a north-facing shelf. It was pretty there. It matched my decor. The plant did not care about aesthetics. It grew leggy. Leaves spaced far apart. No flowers whatsoever. I moved it to a west window. Direct afternoon sun for about three hours. The leaves developed a pinkish tint. That is a good sign. That means the plant is receiving enough light for energy production. Within three weeks of moving it, I noticed the first peduncle forming. Light is more important than pruning itself. Actually, pruning without adequate light is useless. The plant will simply grow back weakly. Aim for 3 to 4 hours of direct morning or late afternoon sun. Filtered through a sheer curtain is fine.
Mistake #3: The Wrong Pot Size
I bought a beautiful ceramic pot. It was much too big. The roots had wet, cold soil around them at all times. The pot held moisture for over a week. That is death for a hoya. These plants have thin, delicate roots. They prefer being rootbound. They flower best when slightly stressed. I repotted into a 4-inch terracotta pot. The pot is about the size of the root ball. It dries out in two days. The roots breathe. The plant responded within days. Leaves perked up. New growth appeared. I now recommend terracotta whenever possible. It wicks moisture away. It prevents root rot. It also provides good airflow to the root zone.
The Right Time to Prune for Maximum Blooms
Timing matters a lot. I prune my Pachyclada in early spring. That is when the plant exits its slower winter phase. The days lengthen. The light intensity increases. New growth hormones become active. Pruning now gives the plant a full growing season to recover. You will see new vines within two weeks. Those vines will develop peduncles by summer. If you prune in fall, you risk losing bloom opportunities. The plant will put energy into healing rather than flowering. I also avoid pruning during extreme heat waves. The plant may go semi-dormant. Cuts take longer to seal. Pests can enter. Aim for temperatures between 18 and 24 degrees Celsius for best recovery.
Step-by-Step Pruning Method (With My Exact Technique)
Step 1: Gather Your Tools
You need clean, sharp pruning shears. I use micro-tip snips. They are precise. They reach into tight spaces. Sterilize them with rubbing alcohol. Wipe the blades before every cut. This prevents bacterial spread. You also need a small container for cuttings. You need isopropyl alcohol for sterilizing. That is all. No special chemicals or sealants. I used to apply cinnamon paste on cuts. I stopped. It is unnecessary. Clean cuts heal naturally. Keep it simple.
Step 2: Identify the Old, Leggy Stems
Look at your plant. Find stems that are thin, pale, or bare. These stems have spaced-out leaf nodes. They look like spaghetti. They produce few or no flowers. I mark these stems with twist ties. This helps me visualize the plant structure. I cut these back by about one-third. This redirects energy to healthier parts. You will be surprised how many blooms come from this single change.
Step 3: Cut Above a Node, Never Below
This is the crucial part. Each leaf node has a tiny bud. That bud can become a new branch or a flower cluster. You must cut about one-quarter inch above the node. Leave the node intact. Use a 45-degree angle cut. This allows water to run off. It prevents rot. I have made the mistake of cutting too close to the node. I damaged the bud. No new growth appeared. The stem simply stayed bare. Give the plant some margin. Do not rush this step.
Step 4: Remove Spent Peduncles Carefully
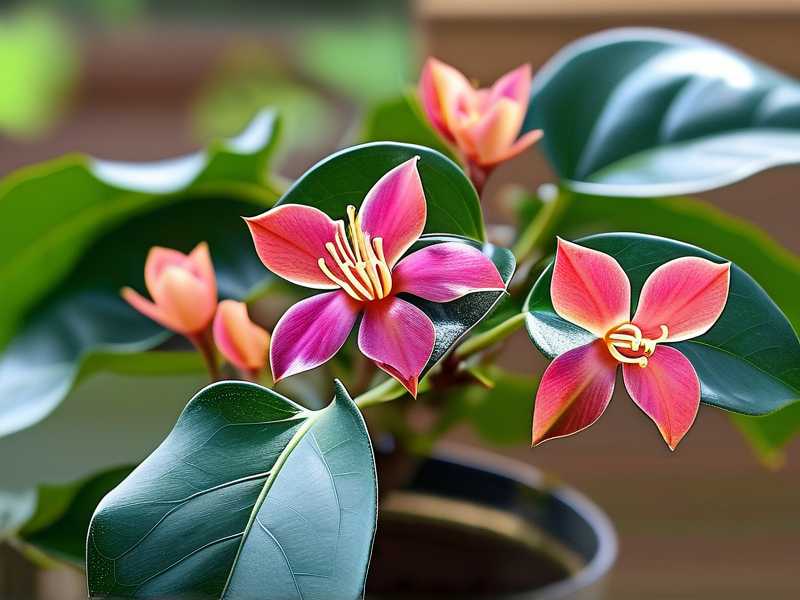
This is the part many people get wrong. Hoya peduncles are permanent. They can rebloom from the same spur. Do not cut them off unless they are clearly dead. Dried, brown, shriveled peduncles can be removed. Green or slightly woody ones must stay. I once cut off a green peduncle thinking it was old. That spur never produced flowers again. Wait for the peduncle to drop naturally. The RHS notes that most hoyas rebloom from the same spur. Trust the process.
Step 5: Thin Out Congested Areas
A dense plant looks healthy but it hurts flowering. Too many leaves shade the interior. Light cannot reach the lower nodes. Blooms only form in good light. I thin out about 20 percent of the foliage each spring. I remove entire stems that cross through the center. I cut at the base. This opens up the canopy. Air flows through. Light reaches every node. The result is more flower clusters overall. It is counterintuitive but true.
Step 6: Pinch New Vines Strategically
This is something I discovered by accident. I had a vine that kept growing without branching. It just stretched upward. No flowers anywhere. I decided to pinch off the last set of leaves. The vine stopped elongating. Two side shoots appeared at the top. Within a month, these side shoots developed flower buds. Pinching forces the plant to branch. More branches mean more potential bloom sites. Do this with soft, young stems. Do not pinch woody growth. It will likely not branch.
What I Observed Over 2 Weeks
I performed a detailed pruning on my Hoya Pachyclada. I want to share the exact timeline. This is what I saw after just two weeks of consistent care.
Day 1: I pruned six stems. Three were leggy. Two were congested. One had a dead tip. I removed about ten leaves total. The plant looked thinner. I almost regretted it. I watered the plant two days before it was fully dry. That was okay.
Day 3: The cut ends dried cleanly. No browning or molds appeared. The plant had stopped any obvious water loss. I noticed the remaining leaves tilted toward the light. Good sign.
Day 5: Tiny bumps appeared at nodes just below the cuts. These were dormant buds. I was excited. These bumps were barely visible. Around 0.5 mm in size. They were pale green. I checked every day with a magnifying glass.
Day 7: The bumps became more distinct. Two of them elongated into tiny green growth tips. These would become new vines. Others looked like they could become peduncles instead. The distinction is subtle.
Day 10: New leaves emerged from two nodes. They were small, waxy, and slightly purple. This coloring indicates good light exposure. The plant was clearly in active growth mode.
Day 14: Three new vines had grown about one centimeter. One of them started forming what looked like a peduncle. I was thrilled. My pruning had worked. The plant redirected its energy. It now had fifteen new growth points. Up from the original three. The difference was remarkable.
The Recovery Care Routine That Makes Pruning Work
You cannot prune and then ignore the plant. You need a specific care routine. These are the steps I follow.
First, reduce watering for one week after pruning. Cuts lose moisture. The root system cannot support rapid growth immediately. Keep the soil slightly drier. This forces the plant to seal wounds faster. I water about four days later than normal. This works brilliantly.
Second, increase light gradually. If you move from shade to direct sun, do it slowly. Over one week, add one hour of direct light each day. This prevents leaf burn. The plant can photosynthesize effectively for the new growth.
Third, do not fertilize immediately. Wait for visible new growth first. If you fertilize too early, you burn the fresh cut tissues. I wait for the first tiny leaves. Then I use a balanced formula at half strength. I use a 2-12-13 ratio fertilizer. The high phosphorus and potassium content encourages blooming. I apply this once every three weeks during the growing season.
Fourth, maintain humidity around 50-60 percent. I use a pebble tray. I avoid misting the leaves directly. Misting can cause bacterial spots on new growth. The AHS American Horticultural Society advises that hoyas prefer steady humidity rather than wet leaves. A pebble tray is easy. Fill a shallow tray with pebbles. Add water just below the pebble surface. Place the pot on top. The evaporation provides humidity without wetting the foliage.
How to Fix a Pruned Plant That Starts Declining
Sometimes things go wrong. You make the right cuts. The plant acts sick. I have been there. Do not panic. Here is my troubleshooting guide based on real experience.
Yellow leaves after pruning usually mean the plant is shifting resources. If only the lower leaves yellow, that is normal. The plant is shedding older leaves to feed new growth. Leave them alone. Let them fall naturally.
Soft, mushy stems near cuts mean you may have watered too soon. I made this mistake. I pruned, then watered the same day. Within a week, the stem tips turned to mush. I had to cut further down. This shortens the plant. Wait longer before watering. Always. The plant needs time to seal the wound first.
Wilting leaves after pruning means the root system is struggling. The plant cannot take up enough water. Check for root rot. Remove the plant from its pot. Inspect the roots. Healthy roots are white and firm. Rotten roots are brown, slimy, or smell bad. Cut away rotten parts. Repot in fresh, dry mix. Do not water for a week. This often saves the plant.
If new growth is pale, yellow-green, or elongated, the plant needs more light. I saw this when I moved my pruned plant to a dimmer spot accidentally. The new leaves were smaller and spaced further apart. I fixed this by moving it closer to a south window. Within three weeks, the new growth looked normal again.
Common Pruning Questions From New Hoya Owners
I have collected the questions that I have received from many readers and friends. These are the most frequent ones. You might have the same doubts.
Will pruning hurt my Hoya Pachyclada?
Not if you do it correctly. Pruning is actually beneficial for this species. It stimulates growth hormones. It promotes branching. It leads to more peduncles. The key is technique. Always cut above nodes. Never cut into old, dry growth. Always use sterilized tools. Follow my steps and your plant will respond positively within days.
Can I prune any time of the year?
Technically, you can prune at any time. The plant will survive. For flowering though, you must time it right. I recommend early spring. This is when the plant naturally wants to grow. You give it a head start. If you prune too late in the fall, you reduce next season's blooms. The plant needs the entire summer to develop the new growth that carries flowers.
Should I keep the cuttings?
Yes. Hoya Pachyclada propagates easily from stem cuttings. Take a cutting with at least two nodes. Let the cut end callus for a day. Then insert it into damp perlite or sphagnum moss. Keep it in bright, indirect light. Roots appear within three to four weeks. I have grown many new plants this way. It is a great way to expand your collection or share with friends.
A Few Final Thoughts From My Own Experience
I moved my pruned Pachyclada to my bathroom windowsill for a week. It got steam from my shower. It loved that. The extra humidity helped the new growth harden. I checked it daily. The little bumps turned into confident vines. I noticed the plant began producing more leaves at the base. That area is important. The base growth becomes the anchor of the plant. It supports the flowering spurs.
I also changed my watering schedule entirely. I use a moisture meter. I stick it into the soil, about halfway down. If it reads dry, I water. If it reads slightly damp, I wait. This removed all guesswork. My plant now receives water once every 7 to 10 days. In winter, it can be 14 days. I have not lost a single plant to root rot since. The difference in blooming is dramatic.
Pruning your Hoya Pachyclada isn't a punishment. It is the best thing you can do for it. The plant naturally wants to flower. It just needs the right signals. By pruning, you are telling the plant: "Focus your energy here. Grow outward. Make flowers." The plant will listen. Give it two weeks. You will see what I am talking about. You will look at your plant with new appreciation. Then you will wonder why you did not prune sooner.