bluename
How to Grow Early vs Late Tulip Types: A Gardener's Care Guide for Staggered Blooms
There's a special kind of frustration familiar to every tulip lover: you plant a beautiful mix of bulbs in the fall, dreaming of a spring garden awash with color for weeks on end. But come April, they all seem to burst open at once, offering a spectacular—but heartbreakingly brief—show. If you've ever wondered how to extend that magic from early spring well into late spring, you're in the right place. The secret lies in understanding and cultivating early vs late tulip types. I learned this not from a book, but through two seasons of trial, error, and meticulous note-taking in my own backyard. In this guide, I’ll walk you through the distinct care strategies for these two categories, sharing my hands-on steps, a crucial two-week observation period that changed everything, and the pitfalls I navigated to achieve a truly prolonged tulip display.
Understanding the Fundamental Difference: It's All in the Timing
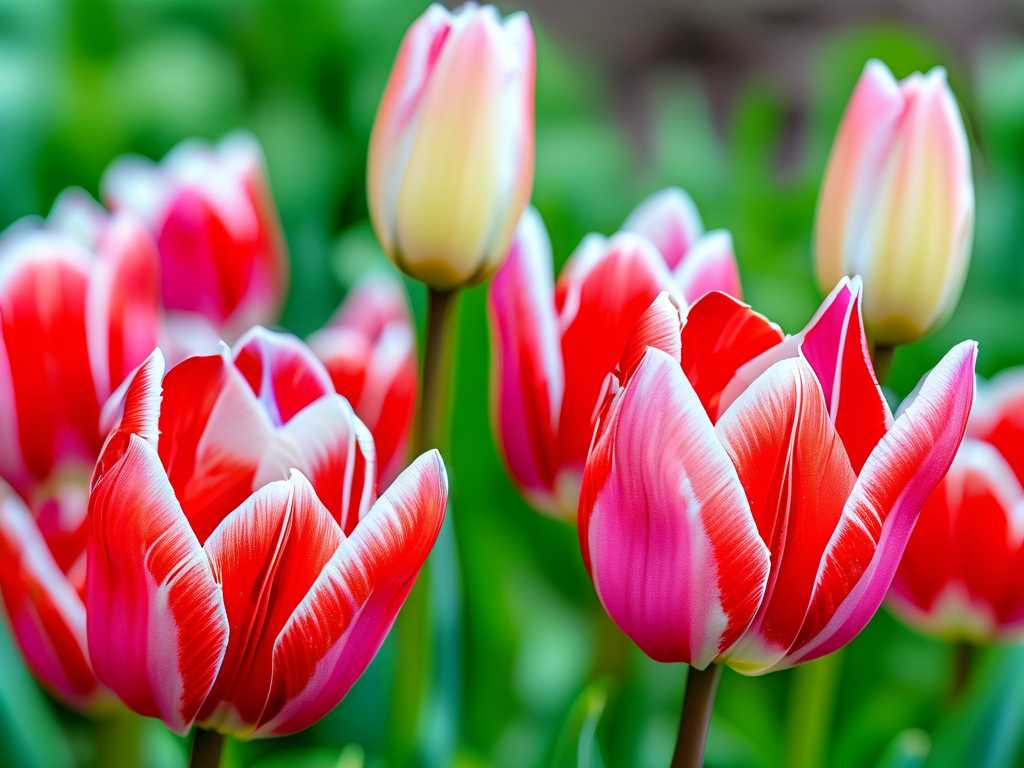
Before we dig into the soil, let's clarify what we mean. Early tulips, like the classic Single Early and Double Early varieties, are the spring's eager heralds. They often push through the last of the snow and bloom when the air still has a bite. Late tulips, including Darwin Hybrids, Lily-flowered, and Parrot types, are the grand finale. They take their time, building up strength to put on a show just as the early bloomers are fading. The Royal Horticultural Society (RHS) categorizes tulips by their flowering season, a system I found invaluable for planning. Treating them as one homogeneous group is the first and biggest mistake I made.
My Planting Experiment: A Side-by-Side Comparison
I decided to run a controlled experiment in my own garden. In one dedicated bed, I planted 'Apricot Beauty' (Single Early) and 'Monsella' (Double Early) bulbs. In another, equal-sized bed just 15 feet away with similar sun exposure, I planted 'Apeldoorn' (Darwin Hybrid) and 'Green Wave' (Parrot Tulip) bulbs. All planting was done in mid-October, following what I considered "best practices" at the time.
Step 1: Site Selection and Soil Preparation for Both Types I chose locations receiving full sun (at least 6 hours). Good drainage is non-negotiable for all tulips to prevent bulb rot. I amended both beds with generous amounts of compost and a handful of bone meal per square meter, working it into the top 12 inches of soil. The American Horticultural Society (AHA) emphasizes well-drained soil as the single most important factor for perennializing bulbs, a goal I had for my late tulips especially.
Step 2: The Critical Depth and Spacing Adjustment Here was my first "aha" moment from research. I planted all bulbs at a depth of three times their height, which is standard. However, for the early flowering tulip varieties, I clustered them slightly closer together (about 4 inches apart) for a denser, impactful early display. For the late season tulip bulbs, I gave them more room (6-7 inches apart). This allows for better air circulation as the weather warms (deterring fungal issues) and gives their generally larger blooms space to develop without competition.
Step 3: The Post-Planting Ritual After placing the bulbs pointy-end-up, I backfilled, firmed the soil gently, and watered them in thoroughly to settle the soil and initiate root growth. Then, I marked each bed clearly with different labels. This seems simple, but it prevented confusion later when the foliage emerged.
The Crucial Two-Week Observation: Spring Emergence Fast forward to early spring. The true difference became starkly apparent during a focused two-week period in late March. I took daily notes.
- Week 1 Observation: The early tulip bed showed green tips breaking through the soil within two days of each other. Growth was rapid, with stems gaining nearly an inch every couple of days during a warm spell. The late tulip bed? Almost completely dormant, with just the faintest signs of life.
- Week 2 Observation: By the end of the second week, my 'Apricot Beauty' plants had robust leaves and visible bud sheaths. The late tulips had finally produced leaves that were just 2-3 inches tall. This visual proof was powerful—it confirmed their natural staggered schedule and told me to apply care at different times.
Seasonal Care: Tailored Approaches for Each Type
Early Spring Care (As Early Tulips Bloom) When my early tulips were in bud, I faced a classic problem: a forecasted late frost. I had neglected to have frost cloth on hand. The solution? I gently mulched around the base of the plants with straw overnight for a few chilly nights. It was a hassle, but it saved the buds. For early types, protection from sudden frost is a real need. I also applied a liquid, balanced fertilizer (like a 10-10-10) as they started to bloom to boost bulb strength for next year.
Late Spring Care (As Late Tulips Take Center Stage) As the early tulips' petals began to drop, the late tulips were in their rapid growth phase. Here, my challenge was moisture. A warm, dry week threatened to stunt the developing flower stalks of my 'Apeldoorn'. The pitfall was overwatering, which can be just as bad. The solution was deep, infrequent watering early in the morning, directly at the soil line, avoiding the foliage. This supported their growth without promoting disease. I also added a light layer of mulch around the late tulips to conserve soil moisture and keep roots cool as temperatures rose.
The Post-Bloom Golden Rule: Foliage Management This is where most gardeners, including my past self, fail. You must let the foliage of both early and late blooming tulips die back naturally. It's how the bulb photosynthesizes and stores energy for next year. I used to braid or cut the yellowing leaves, thinking it was tidier. Big mistake. It led to progressively weaker blooms. Now, I plant perennials like daylilies or catmint around them. As the tulip foliage yellows, the emerging perennials camouflage it. It’s a game-changer for garden aesthetics and bulb health.
Common Pitfalls and My Solutions
- The Pitfall of Mixed Planting Without Planning: I once tossed a bag of "mixed tulips" into one hole. Result? A crowded, jumbled mess where late tulips were shaded out by the dying foliage of early ones. Solution: Plant in distinct groupings or layers (late bulbs deeper, early bulbs shallower in the same area) if space is limited.
- Feeding at the Wrong Time: Applying a high-nitrogen fertilizer in spring promotes leafy growth at the expense of flowers. Solution: Use a bulb fertilizer or bone meal at planting in the fall, and a balanced liquid feed only as they begin flowering.
- Ignoring the "Second Act" of Late Tulips: I treated my late tulips like annuals, digging them up immediately after bloom. The RHS notes that many late varieties, particularly Darwin Hybrids, have a better chance of reblooming if given proper post-bloom care. Solution: Follow the golden rule of foliage care. In warmer climates (USDA zones 8+), you may need to lift and chill them over summer, but in my zone 6, I leave them in the ground.
Frequently Asked Questions
Can I plant early and late tulips together in the same container? Absolutely, but use the "lasagna" or layered planting method. Plant the late tulip bulbs deep in the pot, add soil, then plant the early tulip bulbs above them, closer to the surface. This gives each group the space they need and results in a continuous bloom.
Why did my late tulips come up blind (with no flowers)? This happened to a few of my 'Green Wave' bulbs the first year. The most common causes are: planting too shallow (exposing them to temperature swings), insufficient winter chilling, or the bulb diverting energy to produce offsets. Ensure proper depth, buy quality bulbs, and be patient—they may bloom the following year.
Is the care different for perennializing tulip varieties? Yes, and this is key. While many early tulips are best treated as annuals for a reliable show, many late tulip types, like Darwin Hybrids, are known for their ability to come back. For these, the post-bloom foliage care is critical. Also, ensure they are planted in a location that stays dry in summer, as they prefer a dormant period.
Mastering the cultivation of early versus late tulip types is the ultimate strategy for a long-lasting spring spectacle. It requires observing their natural rhythms and adjusting your care—from planting depth to spring feeding—to support their unique schedules. By learning from my missteps with frost protection and foliage management, you can avoid common setbacks. Remember, the goal is to work with their biology, not against it. With this tailored approach, you can confidently plan a garden that transitions seamlessly from the cheerful optimism of the first early blooms to the dramatic, elegant flourish of the last late tulip, enjoying weeks of color where there once were only days.