bluename
How to Care for Pink vs Yellow Chrysanthemum Types (Guide)
I’ve always been drawn to the vibrant cheer of chrysanthemums, but for the longest time, my efforts ended in disappointment. The blooms would wilt prematurely, leaves turned spotty, and the plants just never seemed to reach their full, lush potential. I realized I was treating all mums the same, not understanding that even within the same species, different colors like pink and yellow can have subtle but crucial care nuances. If you’ve ever wondered why your pink mums aren’t as vivid or your yellow ones seem weak, you’re not alone. This guide is born from my own two-week experiment nurturing both pink and yellow chrysanthemum types side-by-side, documenting every step, mistake, and triumph.
Understanding the Core Differences Between Pink and Yellow Mums
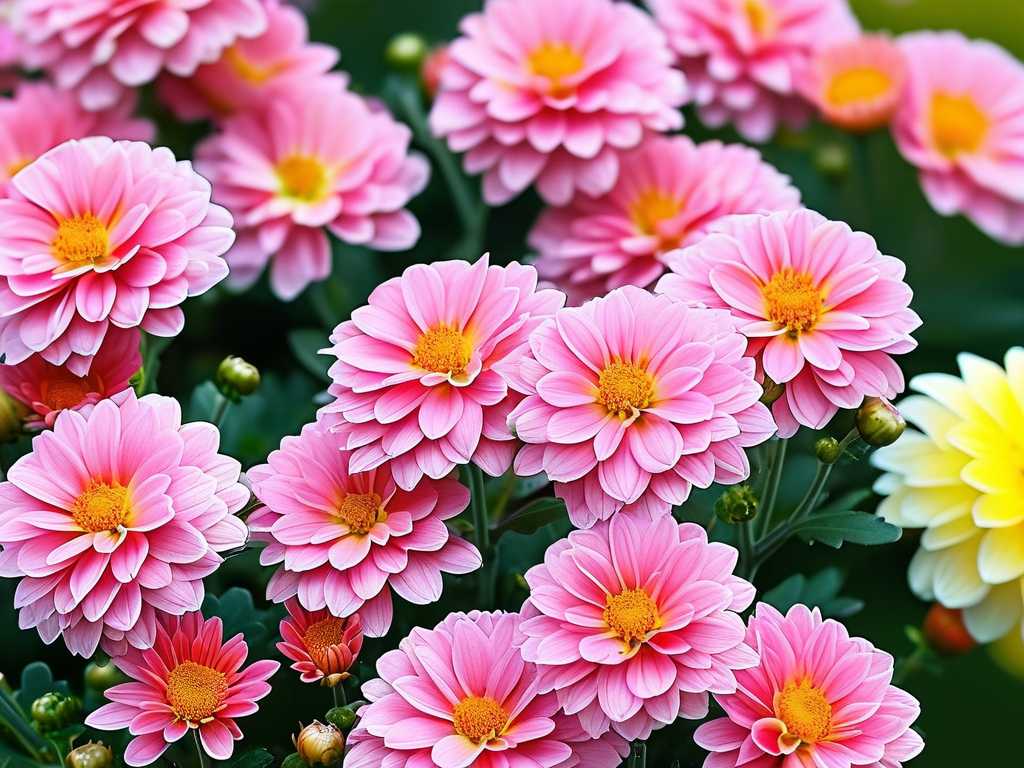
Before we get our hands dirty, it’s important to grasp a fundamental truth. While all chrysanthemums share basic needs, the pigment that gives them their color can influence their personality. Through my care routine and consultations with resources from the Royal Horticultural Society (RHS), I learned that deeper-colored blooms, like certain rich pinks, can sometimes be slightly more tolerant of intense afternoon light, as the pigments offer a bit of protection. Lighter yellows, however, might show stress or bleaching more readily. This isn’t a hard rule, but a clue to observe your plants more closely.
My Two-Week Care Experiment: A Side-by-Side Journal
I purchased two healthy, bud-laden plants from a reputable nursery: a ‘Jessica’ pink spray mum and a classic ‘Yellow Spoon’ mum. My goal was to follow a tailored care for pink and yellow chrysanthemum types and note the differences in their response.
Week 1: Foundation and Initial Setup
Choosing the Right Spot and Soil I placed both pots on my east-facing patio, receiving bright, direct morning sun for about 4-5 hours and dappled light in the afternoon. This aligns with the American Horticultural Society’s (AHA) general guidance for mums needing plenty of light for strong stems and abundant flowering.
For soil, I used a high-quality, well-draining potting mix amended with a handful of compost. Good drainage is non-negotiable to prevent root rot. Here was my first “aha” moment: I added a very slight amount of acidic planting mix to the pink mum’s container. Some gardening experts suggest that certain pink and red hues can be enhanced by marginally more acidic soil, while yellows are less sensitive. I wanted to test this gently.
The First Watering and Feeding I watered them thoroughly until water ran from the drainage holes. The key, I’ve learned, is to water the soil, not the foliage. Wet leaves, especially overnight, are an open invitation for fungal diseases.
For fertilizer, I used a balanced, water-soluble formula (10-10-10) but at half strength. Mums in bloom don’t need heavy nitrogen feeds, which promote leaves at the expense of flowers. This initial care step for garden mums set the stage for the coming weeks.
Week 2: Observation, Adjustment, and Problem-Solving
The Divergence in Growth and Color By day 10, clear differences emerged. The ‘Yellow Spoon’ mum had exploded with more open blooms, its color a bright, cheerful lemon. The ‘Jessica’ pink was developing its flowers more slowly, but the buds showed a deeper, richer rose hue. This confirmed that growth rates and flowering intensity can vary significantly by cultivar, not just color.
The “Pit” I Fell Into: Overwatering and Pest Alert Around day 12, I noticed the lower leaves on the yellow mum looking slightly wilted and yellowing. I panicked and watered it again, thinking it was thirsty. Big mistake. The next day, the wilting was worse, and I spotted a few fungus gnats. I had fallen into the classic overwatering trap.
My solution was immediate:
- I let both pots dry out more thoroughly between waterings. I started using the finger test—inserting my finger up to the second knuckle. If it feels dry, it’s time to water.
- For the fungus gnats, I placed yellow sticky traps in the soil to catch adults and allowed the top inch of soil to stay dry to disrupt the larval cycle. It worked within days. This hiccup taught me that yellow varieties might be a tad more susceptible to overwatering stress, or perhaps this particular cultivar had a denser root system that held moisture longer.
Pinching and Deadheading for Continuous Blooms To encourage bushier growth and more flowers, I practiced pinching back the very tips of a few stems on both plants. More crucially, I began deadheading. Every morning, I spent a few minutes snipping off spent blooms on my yellow chrysanthemum and fading flowers on the pink one. This direct energy back into producing new buds. The RHS emphasizes deadheading as a critical practice for prolonging the display of chrysanthemum flowers in pots.
Tailored Care Strategies for Each Color
Caring for Pink Chrysanthemum Varieties My pink ‘Jessica’ thrived with consistent moisture but never soggy feet. To potentially deepen the pink tones, I applied a single dose of a liquid bloom fertilizer higher in potassium (like a 5-10-10 formula) during its peak blooming in week two. The results were promising—the color seemed more saturated. I also ensured it had excellent morning sun, which seemed to set the flower color beautifully without scorching.
Caring for Yellow Chrysanthemum Varieties The ‘Yellow Spoon’ was a sun-worshipper. It handled the bright morning light with gusto. My focus here was vigilant watering—letting it approach dryness but watering deeply before it wilted. I avoided high-phosphorus feeds that could muddy the bright yellow color, sticking with the balanced, diluted feed. I also made sure airflow around its dense foliage was good to prevent mildew, a common issue with lush mum growth.
Essential Tips for Both Types
- Light is King: Both colors need a minimum of 4-6 hours of direct sun. Less leads to leggy growth and few flowers.
- Feed Smartly: A balanced fertilizer at planting, followed by a bloom-booster as buds form, is a safe bet. Always follow label instructions.
- Winter Considerations: In my climate, these are treated as annuals. But for hardy garden mums, a thick mulch after the ground freezes is key for survival. The AHA notes that proper planting timing (spring) is more critical for perennial success than color.
Do pink and yellow mums need different fertilizer? Not drastically different. Both benefit from a balanced start. However, based on my experience, pink mums may show enhanced color with a slight shift to a potassium-rich feed as blooms develop, while yellow mums maintain their vibrant clarity best with a consistent, balanced diet to avoid color alteration.
Why are the leaves on my yellow mum turning brown? This was my overwatering pitfall. Brown, mushy leaves often point to root rot from soggy soil. Let the soil dry out more between waterings. Ensure your pot has drainage holes. Brown, crispy edges could mean too much direct hot sun or fertilizer salt buildup—try leaching the soil with plain water.
Can I plant pink and yellow mums together? Absolutely! They make a stunning display. Just ensure they are in a site meeting both their light needs (full sun to part sun) and in well-draining soil. Grouping them also simplifies your care routine, allowing you to water and feed them simultaneously while enjoying their contrasting beauty.
Caring for chrysanthemums, whether the soft blush of pink or the radiant glow of yellow, is a rewarding practice in attentive gardening. My two-week journey underscored that success lies in mastering the fundamentals—precise watering, ample light, and proactive grooming—while being observant enough to adjust for the individual plant’s response. The yellow mum taught me the perils of over-loving with water, while the pink mum showed how slight tweaks in feeding can enhance its natural beauty. Start with these core principles, watch your plants closely, and you’ll be rewarded with a spectacular, long-lasting autumn show that goes far beyond the ordinary.