bluename
How to Grow Large vs Small Gladiolus Types: A Gardener's Care Guide
I've always been fascinated by the dramatic height and vibrant colors of gladiolus, but for years, my results were hit or miss. My large, showy types would sometimes topple over before blooming, while the charming miniature varieties seemed to disappear in the garden bed. The core challenge for any gardener is understanding that how to grow large vs small gladiolus types requires distinct strategies, not a one-size-fits-all approach. After a season of dedicated experimentation and careful observation, I've cracked the code. This guide will walk you through the exact steps I took, the mistakes I made along the way, and the proven care tips that finally delivered a spectacular display of both towering giants and delightful dwarfs in my garden.
Understanding Your Gladiolus: The First Critical Step
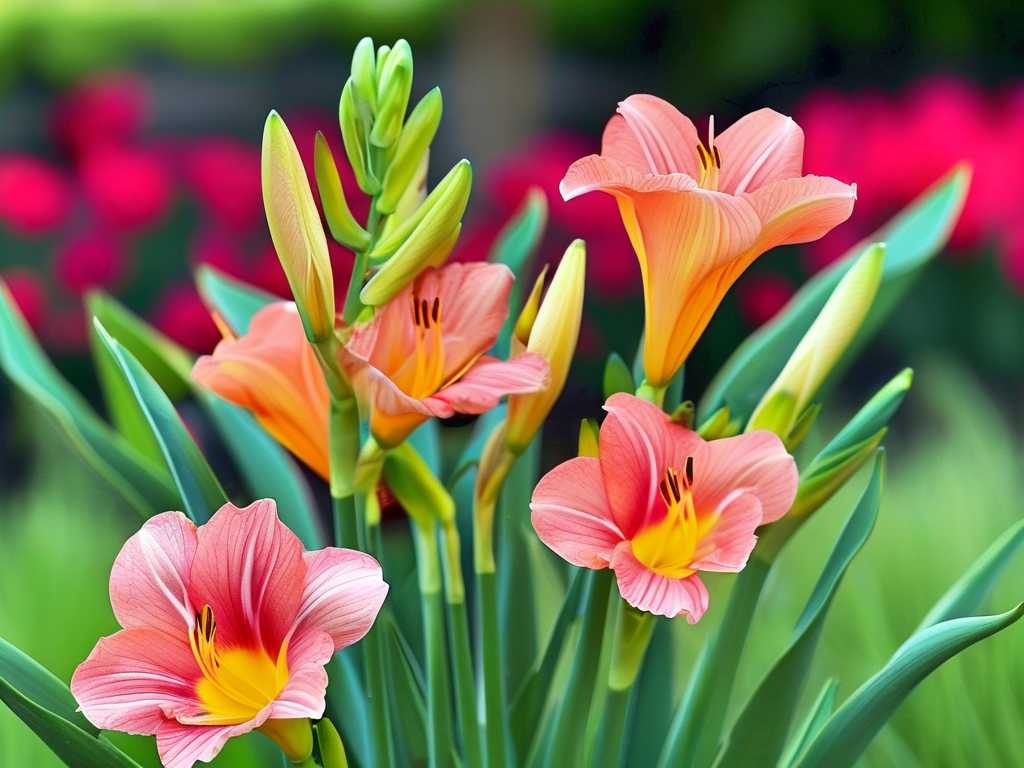
Before you plant a single corm, you must know what you're growing. Large gladiolus, often called "grandiflora" types, can soar to 5 feet or more with flowers spanning up to 6 inches across. They are the stars of the back border and the cutting garden. Small gladiolus, frequently labeled as "nanus," "primulinus," or "dwarf" varieties, typically stay between 1 to 3 feet tall with more delicate, often hooded blooms. I learned this the hard way when I planted a mix of unnamed corms and ended up with my petite 'Charm' variety completely shaded out by the monstrous 'Violetta'. Now, I meticulously label every batch.
For authoritative classification, I rely on resources from the Royal Horticultural Society (RHS), which provides clear guidelines on species and cultivar groups. Knowing the expected mature size is 80% of the battle in planning their care.
Site Selection and Soil Preparation: Building the Foundation
Both types demand sun—at least 6-8 hours of direct, unfiltered light daily. However, their site needs diverge from there.
For Large Gladiolus: Think Stability and Richness These giants need protection from wind and incredibly fertile ground. I chose a site against a south-facing fence for support. The soil prep was intensive:
- I dug down to a depth of 12 inches, breaking up any compaction.
- I incorporated a 4-inch layer of well-rotted compost and a balanced, slow-release granular fertilizer as per package instructions.
- To improve drainage—critical to prevent corm rot—I mixed in a generous amount of horticultural grit. The goal is rich, moisture-retentive yet free-draining soil.
For Small Gladiolus: Focus on Drainage and Visibility Dwarf types are more susceptible to rotting in wet soil. I planted them in a raised bed section with exceptional drainage.
- The soil mix was lighter: two parts garden soil, one part compost, and one part sharp sand.
- I placed them nearer the front of the border where their finer details can be appreciated. The American Horticultural Society (AHS) emphasizes the importance of "right plant, right place," and this is especially true for smaller-scale blooms that can be lost if planted too far back.
The Planting Process: Depth, Spacing, and Timing
This is where most mistakes happen, and I made my share. The universal rule is plant corms 2-3 times their height deep. But "depth" means different things for different sizes.
Planting Large Gladiolus Corms For a corm that's 1.5 inches tall, I plant it 4-5 inches deep. This deep planting is non-negotiable for two reasons: it provides a stable anchor for the tall flower spike and helps regulate soil temperature. I space them a solid 6-8 inches apart. For a continuous bloom, I practiced successional planting, putting in a new batch every two weeks from my last frost date until early summer.
Planting Small Gladiolus Corms The smaller corms, perhaps only an inch tall, go in about 3 inches deep. Planting them too deeply can exhaust the plant before it reaches the surface. I space them closer, at 4-5 inches apart, to create a lovely clustered effect. They can go in a little earlier in spring as they are often slightly hardier.
My Major Mistake and Fix: One rainy spring, I planted a batch of dwarf 'Atom' corms at the same depth as my large ones. After two weeks of watching for sprouts and seeing nothing, I carefully excavated one. The shoot was pale, elongated, and struggling. I immediately replanted the entire batch at the proper 3-inch depth. Within another 10 days, healthy green spears emerged. The lesson was clear: proper planting depth for gladiolus size is critical for timely emergence and plant vigor.
Watering and Feeding: A Tailored Nutritional Plan
Watering Wisdom Both types need consistent moisture from shoot emergence until flowering finishes. My regimen involved a deep watering once a week if rainfall was absent, ensuring the water penetrated 6 inches into the soil. The key difference is in method:
- Large Types: I used a soaker hose at the base to avoid wetting the foliage, which can encourage disease on these dense plants.
- Small Types: Gentle overhead watering in the morning was fine, allowing the foliage to dry during the day.
The Feeding Schedule That Transformed My Blooms This was my breakthrough. I followed a three-stage feeding program over 14 weeks and documented the effects.
Weeks 1-4 (Post-Sprouting): Once shoots were 6 inches tall, I applied a liquid fertilizer higher in nitrogen (like a 10-5-5 formula) to boost strong leaf and stem growth. I applied this every two weeks.
Weeks 5-10 (Spike Formation): As the flower spike began to emerge from the center leaves, I switched to a balanced liquid fertilizer (5-5-5). This supported both continued growth and the developing buds. The large gladiolus visibly thickened their stems.
Weeks 10-14 (Bud to Bloom): At the first sign of color in the buds, I changed to a fertilizer higher in phosphorus and potassium (like a 2-6-4 formula) to enhance flower size, color intensity, and corm development for next year. This made a dramatic difference, particularly in the large types; the florets were more substantial and the colors more vibrant.
Observation: After two weeks on the high-phosphorus feed, my large 'Black Star' gladiolus developed a deeper, velvety maroon color compared to previous years. The dwarf 'Green Star' had more florets open at once on its spike. The tailored nutrition directly addressed the specific care tips for large gladiolus (needing support for massive blooms) and care tips for small gladiolus (promoting floriferousness).
Staking and Support: Preventing Heartbreak
My most common garden fail was watching a perfect spike of 'Priscilla' snap in a summer storm. Staking is mandatory for large types and often beneficial for small ones.
For Large Gladiolus: I now place a sturdy 5-foot stake into the ground at planting time, right next to the corm. As the plant grows, I tie the stem to the stake loosely every 12 inches using soft garden twine. Planting in groups of 5-7 also allows them to support each other somewhat.
For Small Gladiolus: Most dwarfs are self-supporting. However, in my exposed raised bed, I used a discreet grid of pea netting stretched over the area when they were about 1 foot tall. They grew through it, and it provided invisible support during windy days.
Overwintering and Corm Storage: Saving Your Investment
You cannot discuss growing gladiolus of different sizes without a plan for winter. After the foliage has yellowed (I wait for at least 50% browning), I carefully lift all corms with a garden fork.
- Curing: I shake off soil, cut the stem to 1 inch, and let them dry in a single layer in a warm, airy place for 2-3 weeks.
- Cleaning & Sorting: Once dry, I break off the old, shriveled mother corm from the base of the new plump corm. I then dust them with a fungicide powder. This is crucial: I store large and small corms in separate, clearly labeled paper bags. The small corms (and cornlets) dry out faster and need checking more frequently.
- Storage: The bags go into a cardboard box in a cool (40-50°F), dark, and dry place like a basement. I check monthly for rot or desiccation.
My Storage Mistake: One winter, I stored all corms together in a plastic bin. By spring, a few rotten large corms had created moisture that spoiled a whole batch of precious dwarf 'Nymph' corms. Now, paper bags and separation are my non-negotiable rules.
What is the best time to plant gladiolus corms? Plant after all danger of frost has passed and the soil has warmed to at least 55°F. For a prolonged bloom, plant large types in succession every two weeks until early summer. Small, hardy types can be planted a couple of weeks earlier in spring and some can even be left in the ground in warmer zones (7+).
Why are my tall gladiolus falling over? This is usually due to a combination of insufficient depth at planting, lack of staking, and/or inadequate nutrition. Ensure you plant large corms at least 4-5 inches deep, stake them early, and follow a feeding schedule that promotes strong stem growth, particularly with enough potassium.
Can I grow small gladiolus in containers? Absolutely! Dwarf gladiolus are excellent for containers. Use a deep pot (at least 10-12 inches) with drainage holes and a quality potting mix. Plant corms 3 inches deep and 3-4 inches apart. They will need more frequent watering and feeding than those in the ground, but the display is worth it.
Growing magnificent gladiolus, from the majestic to the miniature, is deeply rewarding. It requires moving beyond generic advice and embracing the specific needs of each type. By focusing on tailored planting depth, a staged feeding program, and appropriate support, you empower these corms to perform at their peak. The journey from a dormant corm to a towering spire of color or a graceful cluster of delicate blooms is a testament to a little knowledge and attentive care. Start with the right corm for your garden's vision, prepare their stage with care, and you'll be guaranteed a summer performance that stops every passerby in their tracks.