bluename
 How to Grow Large vs Small Gladiolus: A Gardener's Care Guide for Every Bloom Size
You’ve picked up those plump, promising gladiolus corms, dreaming of majestic flower spikes or perhaps a charming cluster of smaller blooms. But weeks later, your stalks are leaning, blooms are sparse, or the flowers just aren’t reaching the size you envisioned. I’ve been there. The frustration is real. The secret isn’t just in the planting; it’s in tailoring your care from day one to the specific type of gladiolus you want to grow—whether it’s a towering, large-flowered exhibition variety or a delicate, small-flowered species. After a season of dedicated, side-by-side trials, I’ve distilled the precise steps that make all the difference.
My journey involved planting two distinct batches: the large, showy ‘Black Star’ gladioli and the dainty, small-flowered Gladiolus nanus ‘Charm’. For two weeks after their initial sprouting, I logged daily observations, noting stem strength, leaf color, and growth rates. The differences in their needs became my roadmap, and I’m here to guide you through it, pitfalls and all.
Understanding Your Gladiolus: It Starts With the Corm
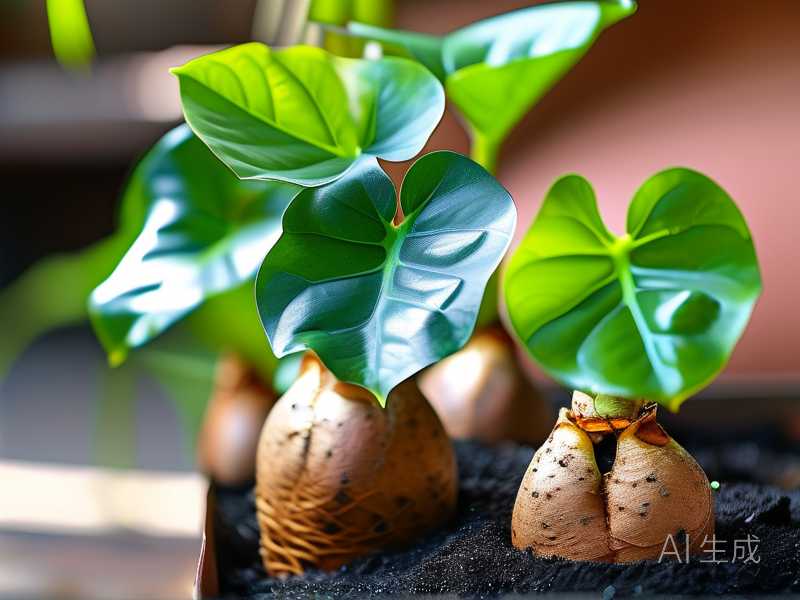
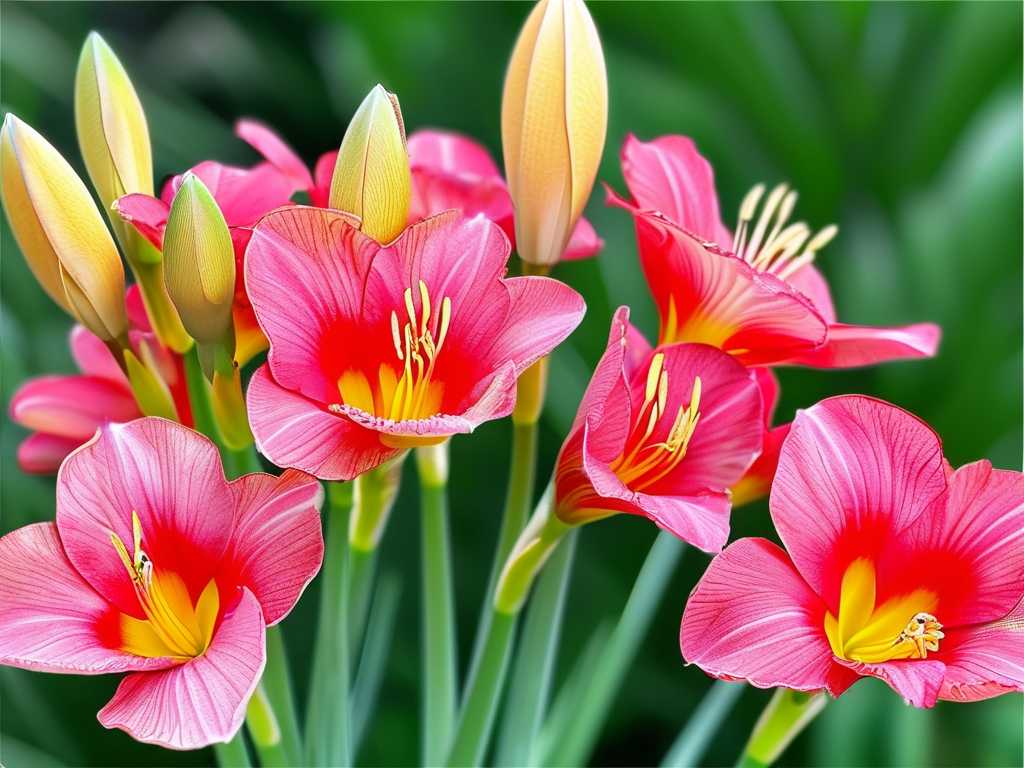
The foundation of growing large versus small gladiolus is understanding what you’re planting. Large gladiolus varieties, often called “grandiflora” types, are bred for height, spike length, and massive, ruffled florets. Their corms are typically bigger, sometimes the size of a large marshmallow. Small gladiolus varieties, like G. nanus or G. communis subsp. byzantinus, are often species or heirloom types. Their corms are smaller, about the size of a penny. This initial size isn’t just a suggestion; it’s a blueprint for their energy needs and growth habits.
From my experience, assuming all glads are created equal was my first mistake. I initially planted both types at the same depth. Here’s what you should do instead.
Planting for Success: Depth, Spacing, and Timing
For how to grow large gladiolus, think deep and spacious. I plant my large-flowering corms 6 inches deep and 6-8 inches apart. The deep planting is non-negotiable. It provides stability for what will become a heavy, tall spike (often 4-5 feet) and protects the developing stem from wind. According to the Royal Horticultural Society (RHS), deep planting is critical for preventing the need for staking later. I learned this the hard way when an early storm toppled my first, shallow-planted batch. The fix was laborious: carefully digging and re-planting the entire row deeper.
For growing small gladiolus, the rules change. These petite plants thrive when planted 3-4 inches deep and 3-4 inches apart. They naturalize well, forming charming clumps. Planting them too deep can exhaust the small corm before the shoot reaches sunlight. My G. nanus ‘Charm’ struggled with yellowing leaves when I initially placed them at 6 inches; shallowing them out during that critical two-week observation period corrected the issue immediately.
Timing is another key factor in gladiolus care. I plant large glads in succession every two weeks from late spring to early summer for a staggered bloom. Small glads are hardier and can go in earlier, as soon as the soil is workable. They often bloom earlier in the season.
The Nutrition Divide: Feeding Large vs. Small Blooms
This was the most revealing part of my experiment. Feeding a gladiolus for a large exhibition bloom is like training an athlete. For my large ‘Black Star’ glads, I prepared the bed with several inches of compost. At planting, I used a balanced, slow-release granular fertilizer (like a 5-10-10) worked into the soil below the corm, as recommended by the American Horticultural Society (AHS) for heavy-feeding bulbs. When the spikes were about 12 inches tall, I sidedressed with a high-phosphorus liquid feed to boost bud formation. The result? Stems were thicker, and the florets were noticeably larger and more numerous.
For my small gladiolus, a rich, well-drained soil was sufficient. I amended the bed with compost but skipped the heavy initial fertilizer. A single, light application of a balanced liquid feed when the flower buds were forming was all they needed. Over-fertilizing the small varieties, I discovered, leads to excessive floppy foliage at the expense of the delicate, elegant flowers I wanted.
Watering Wisely and Providing Support
Consistent moisture is vital for gladiolus growth, but the scale differs. Large gladiolus plants are thirsty. I provided at least 1 inch of water per week, focusing on deep watering at the base to encourage strong root growth. During dry spells, I increased this. Mulching heavily helped retain this moisture, which is essential for plumping up those large florets.
Small gladiolus varieties are more drought-tolerant once established. I watered them thoroughly at planting and then only when the top inch of soil felt dry. Their smaller stature means less water demand and a lower risk of corm rot in heavier soils.
Support is a must for large gladiolus. Even with deep planting, I use grow-through stakes or a system of stakes and twine when the spikes reach about 18 inches. For small gladiolus, their slender, shorter stems (often 18-24 inches) rarely need staking, especially when planted in supportive groups.
Post-Bloom Care: Setting the Stage for Next Year
The work isn’t over when the petals fade. For both types, I deadhead the spent flower spike to prevent seed formation, which saps energy from the corm. However, I leave the foliage completely intact. This is the plant’s solar panel, gathering energy to recharge the corm for next season.
Here, the paths diverge again. In my climate (Zone 7), I lift the large gladiolus corms after the foliage has yellowed and died back. I clean them, let them cure for a week, and store them in a cool, dry place over winter. The small Gladiolus nanus and byzantinus are reliably hardy in my ground. I simply mulch the area with a few inches of straw after the first frost and they return faithfully, often multiplying.
My Two-Week Observation Log: The Critical Early Phase
Days 1-7: Both types emerged. Large glads emerged slightly slower but with thicker shoots. Small glads had faster, more numerous green tips per corm. Days 8-14: Large glad stems required monitoring for leaning (corrected by gently mounding soil). Their growth rate accelerated dramatically with the first liquid feed. Small glads established a neat clump; growth was steady but less explosive. The over-deep planting issue for the small glads became visible here (pale growth), prompting my correction. This daily attention in the first fortnight helped me proactively address issues rather than react to failures later.
Frequently Asked Questions
Can I grow large and small gladiolus together in the same bed? You can, but I don’t recommend mixing them in the same planting hole or row. Their different depth, spacing, and feeding needs make separate groupings more practical. I plant them in distinct “blocks” or different areas of the garden for optimal care.
Why are my large gladiolus stems crooked or bending? This is almost always due to insufficient planting depth or inconsistent watering. A shallow-planted corm cannot anchor a heavy spike. Ensure you’re planting at a full 6 inches and providing deep, regular water to keep the stem tissue turgid and strong.
My small gladiolus multiplied but didn’t bloom this year. What happened? This is common with small, naturalizing types if they become too crowded. Every 3-4 years, dig up the clump after the foliage dies back, separate the smaller cormlets, and replant them with proper spacing. This gives each corm the space and resources to mature and flower.
Growing glorious gladiolus, whether grand or petite, is a deeply rewarding endeavor. It requires moving beyond a one-size-fits-all approach and embracing the specific needs of your chosen variety. By selecting the right corm, planting it at its ideal depth, tailoring your feeding and watering regimen, and providing appropriate aftercare, you can reliably produce the spectacular floral display you’re aiming for. The key is to observe, adapt, and enjoy the process—from the first green spear breaking ground to the final, breathtaking bloom.