bluename
Growing water lilies from tubers changed my whole approach to ponds. I killed three pots of them before figuring out the real problem. It wasn’t the plant. It was me. Actually, it was mostly overwatering, wrong light, and a pot that was way too small. So here is the straight answer: plant your tuber horizontally in a wide, shallow pot with heavy clay soil, cover the soil with gravel, sink it 15-30 cm below the water surface, and wait for full sun. That’s it. The rest is patience. And believe me, I learned that the hard way.
I’ve been growing aquatic plants in my backyard for six years now. My first attempt ended with a rotten tuber that I fished out of the mud with a pool skimmer. It smelled terrible. My second one floated to the surface and got eaten by a squirrel. Or maybe a bird. I never found out. By the third try, I sat down, did the research, and basically talked to every pond expert I could find online. Now I have four healthy water lilies blooming every summer from late May to September. This guide covers everything I wish someone told me back then.
Why Most Tubers Fail Before They Even Sprout
Most people think water lilies are hard to grow. Actually, they are tougher than you expect. The real issue is that we treat them like regular houseplants. That’s wrong on every level. Proper planting depth, soil type, and pot width matter more than anything else. The tuber is a storage organ. It holds energy for the plant. If you bury it too deep, it suffocates. If you leave it exposed, it rots. If you use potting mix with too much organic matter, it ferments underwater and kills the tuber within two weeks.
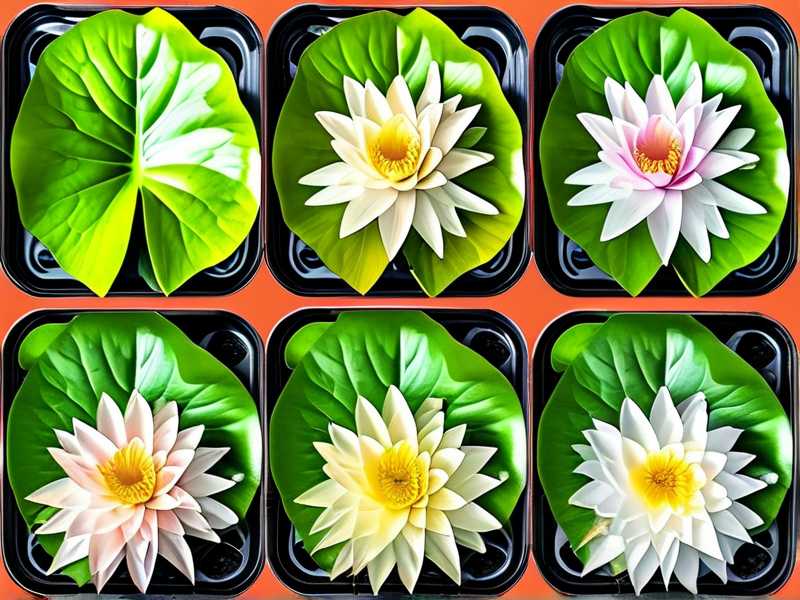
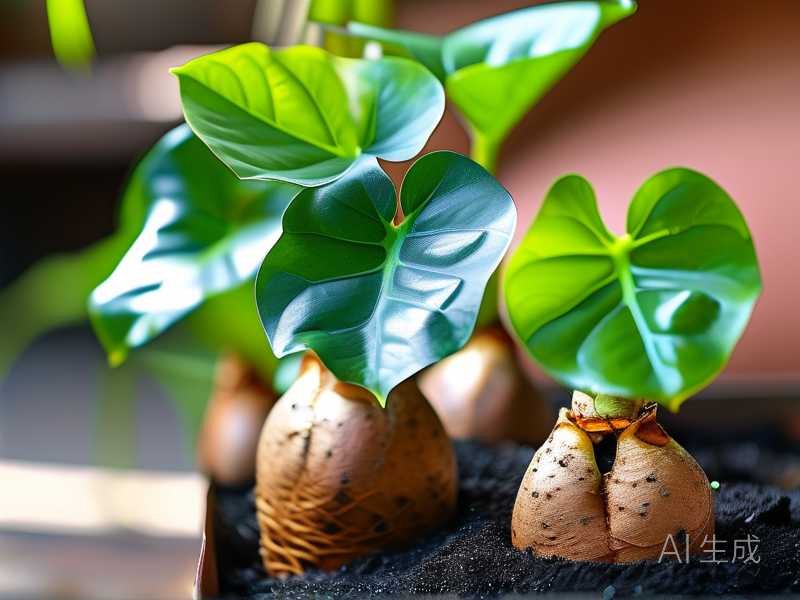
The first thing I do now is inspect the tuber. Look for firmness. A healthy tuber feels like a potato. If it feels mushy or has soft spots, throw it away. Also check the growth point, which looks like a small spike at one end. Some tubers arrive dormant. That’s normal. They wake up when water temperatures reach around 15°C. If you’re in a colder region like the UK or Canada, wait until late spring. If you’re in Australia or the southern US, you can start earlier.
I remember ordering tubers online in early March one year. Big mistake. The weather was still freezing. The tubers sat in my garage for three weeks before I planted them. By then, they had started to shrivel. I lost two out of the three. So please, time your purchase carefully. Match it with your local frost dates. In fact, the RHS recommends planting hardy water lilies from mid-April to September in most regions. That’s a solid window to aim for.
Mistake #1: Overwatering (Yes, It’s Possible)
Here is something that sounds crazy at first. You cannot "overwater" an aquatic plant, but you absolutely can over-saturate the tuber. 90% of indoor plants die from overwatering, and the same rule applies to tubers that haven’t sprouted yet. When the tuber sits in water that’s too deep before it establishes roots, it simply drowns. The pores clog. Bacteria multiply. The tissue breaks down.
I almost gave up after my first attempt. I filled a bucket with water, tossed the tuber in, and waited. Two weeks later, it was mush. I reached out to a pond specialist at a local nursery, and she laughed. Actually, she was nice about it, but she explained that the tuber needs oxygen. The water that deep cuts off the oxygen supply.
The correct method is to start shallow. Place the tuber in a planting container and keep the water level just slightly above the soil, around 2-3 cm. This allows the plant to breathe while still staying wet. Once the first leaves appear and start reaching the surface, you can gradually lower the pot into deeper water. I did this over ten days. Every two days, I added 5 cm more depth. This gradual approach mimics natural water level changes in ponds and lakes. It helps the plant adapt without drowning.
Mistake #2: Wrong Light Exposure
Water lilies are sun worshipers. They need at least 6 hours of direct sun per day, and honestly, they do better with 8. My third attempt almost failed because I placed the pot under a birch tree. The morning sun was fine, but by noon, the tree shadow covered the pond. Leaves grew thin and pale. They stretched toward the light and looked awkward, like the plants were reaching for something that never came.
I moved the pot to an open area and within ten days, new pads appeared. They were thicker and greener. Some even had purple mottling. That was the moment I understood. Aquatic plants don’t just like sun. They require specific light intensity to trigger blooming. Without enough light, they might grow leaves, but they won’t flower.
The AHS suggests positioning water lilies in locations that receive no less than 6 hours of direct sunlight. But I would push for more. After tracking my pond for two summers, I noticed that the plants in full sun bloomed at least twice as often as those in partial shade. If your pond is mostly shaded, you need a different plant. Tropical water lilies are more tolerant, but they still need a lot of light. My honest advice? Watch your pond for a day. Map the sun patterns. Then choose the spot.
Mistake #3: Using the Wrong Pot
The size of the container matters more than most guides mention. Water lilies spread horizontally. They don’t grow deep roots. So a tall, narrow pot is useless. I tried one of those tall planters once. The tuber settled at the bottom, and the crown was buried under 20 cm of soil. It took weeks before I figured out why the plant wasn’t forming pads. It was suffocating under the weight of the soil.
Your plant pot should be wide and shallow. I now use a plastic mesh basket that is 30 cm wide and 15 cm tall. The wider the pot, the more room the tuber has to extend its roots sideways. That, in turn, encourages more leaves and more flowers. A good rule of thumb is to use a pot that is at least 25 cm wide for dwarf varieties and 40 cm wide for standard ones.
And here is a detail almost every beginner misses. If the pot has drainage holes, you need to line it with hessian or landscape fabric. Otherwise, the soil will wash out through the holes in a day. I learned this after my pond turned muddy brown within hours of planting. I had to drain half the pond water, let everything settle, and start over. What a headache.
Step-by-Step Guide to Planting Water Lily Tubers
Let me walk you through my current process. I have repeated it with several varieties now, from hardy pink cultivars to tropical night bloomers. The steps are nearly the same across the board.
Step 1: Prep the Tuber
Start by inspecting your tuber. Rinse off any old soil or shipping medium. Trim away broken roots but never cut the crown. The crown is the growing point at the end of the tuber, and it is the lifeline of the plant. If you cut it off, you have nothing left. Let the tuber sit out for 30 minutes to dry slightly. This helps seal any cuts or nicks.
Step 2: Choose the Right Soil
Aquatic soil is different from regular potting mix. Commercial aquatic compost contains heavy clay and minimal organic matter. Regular potting mix has peat, bark, and fertilizers that decay underwater. They turn acidic and create a foul environment. I tried standard potting soil once and the water went green with algae within a week. The worst part? The tuber started to rot from the bottom.
If you cannot find aquatic soil locally, you can use pure clay cat litter, as long as it is non-clumping and fragrance-free. I know that sounds strange, but many seasoned pond keepers swear by it. It holds its shape underwater and doesn’t float away.
Step 3: Fill the Pot Halfway
Add soil to your basket until it is about halfway full. Press it down firmly. Then place the tuber horizontally on the soil. The crown should point upward at a slight angle. Do not bury the crown vertically. Position it near the edge of the pot, facing inward. This gives it room to spread across the pot as it sends out new tubers.
Step 4: Cover with a Thin Layer of Soil
Sprinkle soil over the tuber until it is lightly covered. Make sure the crown is still exposed. I repeat, keep the crown visible. This is one of the most common mistakes. Covering the crown completely will often result in rot or delayed sprouting. In my experience, even a thin layer of soil over the crown reduces sprouting speed. The plant spends energy trying to push through the soil, which slows it down.
Step 5: Add a Layer of Gravel
Gravel is not decorative. It prevents soil from floating up and cloudy water. It also stops fish like koi from digging up the tuber. I personally use pea gravel at about 2 cm thick. Rinse it thoroughly before adding. Dust from gravel clouds the water otherwise. Trust me, you don’t want a dusty pond right after planting.
Step 6: Water In Very Gently
Place the pot in a shallow container of pond water. Let it soak from the bottom. Avoid pouring water from above, which can wash the gravel away and disturb the soil. Soak for 10 minutes, then lift the pot, let it drain briefly, and place it into your pond at the correct depth.
Step 7: Start Shallow, Then Descend
This is the step I always share with friends now. Place the pot so the waterline sits just above the pot rim. Add 5-7 cm of depth every two days. My diary notes show that after two weeks, the plant develops strong roots and starts forming pads at the surface. At that point, you can lower it to the final depth of 30-45 cm, depending on the variety.
My Two-Week Observation Log
After I started this planting method, I tracked the progress every day. Here is what I recorded to show you what to expect.
Day 1-3: Adjusting to Water
The tuber sat in shallow water. I saw no visible changes. The water temperature averaged 18°C in my pond. I checked the crown regularly to make sure it wasn’t mushy. No movement yet. That is normal. Some tubers take days to realize they’re no longer dormant.
Day 4: First Signs of Life
At dawn, I noticed a small green tip emerging near the crown. It was barely 5 mm long. I was so relieved. I texted my neighbor who also grows water lilies. She said to leave it alone. Don’t reposition the pot. Don’t poke at the tip. Just wait.
Day 5-7: Root Development
Roots started appearing from the sides of the tuber. They dived into the soil and anchored the plant. At this stage, I added a bit more water depth, about 5 cm. The green tip extended to about 2 cm. It looked like a small spear pointing up.
Day 8-10: First Leaf Reaches Out
On day eight, the stem broke the surface. A tiny leaf was curled at the tip. It looked fragile, almost translucent. I was worried it might burn under direct sun, but the plant knew best. The leaf opened within a day and floated flat on the water. It was about 3 cm wide. A true baby pad.
Day 11-14: New Roots and Pads Appear
By day eleven, two more pads pushed up. They were reaching for the light. I lowered the pot another 5 cm. On day fourteen, the original pad grew to 8 cm across and a second pad was almost 5 cm. The tuber felt firm and solid when I gently pressed the soil. No mush. That told me new roots were active and the soil conditions were right.
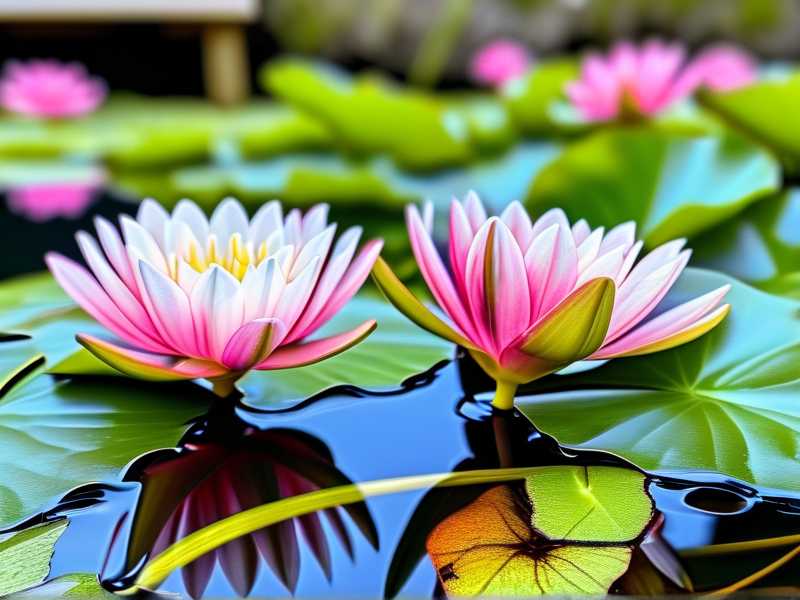
At the two-week mark, I placed the pot at its final depth, around 30 cm below the surface. From that point, the plant grew quickly. By week four, I saw my first flower bud. It emerged from the water on a stiff stem and opened into a yellow blossom three days later. Incredible feeling.
Growing Seasons and Dormancy for Different Regions
Water lilies follow seasonal patterns that vary by region. In the US and Canada, hardy varieties go dormant in winter. Tubers survive underwater as long as they don’t freeze solid. If you live in zones 6 and colder, lower the pot to the deepest part of the pond before frost hits. Some gardeners remove the tubers and store them indoors, but I prefer to leave them underwater. My pond is 90 cm deep at its lowest point, and that has protected my plants through several harsh Ohio winters.
If you are in the UK, the RHS advises lifting and storing tropical water lilies indoors because they cannot survive freezing winters. Hardy ones are fine as long as the water doesn’t freeze solid. Australian gardeners in warmer states can grow tropical varieties year-round. But even in Perth or Brisbane, winter lows can stress tubers. When water drops below 10°C, the plant goes dormant. Growth slows significantly. Don’t fertilize during that period.
Feeding Your Water Lily Tubers After Sprouting
Once your tubers sprout and show their first leaves, they need nutrients. Aquatic fertilizer tablets work well. I press two tablets into the soil around the tuber every four weeks during the growing season. It sounds simple, but timing pushes bud formation. Fertilize too early while the crown is not yet sprouted, and you risk burning the young roots. Trust the two-week rule before feeding.
The tablets contain stabilizing nitrogen and potassium that delay algae growth. I actually learned this from a pond supply store owner in Missouri. He pointed out that slow-release aquatic formulas release nutrients beneath the soil rather than into the water. If you use liquid fertilizer, algae feast on it. Surface algae blooms take over and block light for your water lily. So stay away from liquid feeds.
Choosing the Right Varieties for Your Climate
Different water lily types work better in different climates. Hardy water lilies are forgiving, and they tolerate cooler water. They are the best choice for first-time growers in the UK, Canada, and northern US areas. They bloom from late spring to early fall. Popular options include 'Marliacea Chromatella' with pale yellow flowers and 'Attraction,' which produces rich red-pink blooms.
Tropical water lilies are another breed. They demand warm water, above 20°C minimum. If you have a greenhouse or live in a hotter part of Australia or the southern US, tropical ones give you larger flowers and some bloom at night. They are stunning. But they need precise care. I tried a tropical blue one and it was more sensitive to cold snaps. One early autumn chill and it stopped blooming altogether.
If you want fragrance, go for tropicals. Some hardy ones are scented too, but not as strongly. For any beginner, I strongly recommend starting with a hardy dwarf. They need less space, more forgiving heating, and produce flowers in smaller ponds or even large containers on a balcony.
Repotting and Dividing Water Lily Tubers
Every two to three years, your water lilies will outgrow their pots. You will notice fewer blooms or pads pushing up above the waterline. That is a clear signal. It is time to divide.
I divide mine in early spring, just as new growth appears. Lift the pot out of the water. Remove the tuber mass and rinse off the soil. You will see a series of connected tubers branching out like ginger rhizomes. Use a sharp knife to cut segments with at least one growth zone each. Replant these as if they were new tubers. Each piece can carry new life. I gave away around seven divisions to my neighbors over the past two years. They all grew into blooming plants.
Wait for the last frost date before you divide. If you divide too early and put the pieces back into cold water, they may go into shock. I made that mistake in March one year, and two of my largest divisions simply melted into jelly. They were fine before I messed with them. Patience is the whole game here.
A Word on Pests and Common Diseases
When I moved to my pond, aphids were everywhere. This tiny green insect loves new water lily pads. They sit underneath the leaves, sucking sap and causing yellow spots. I tried spraying them off with a jet of water, but they returned the next day. Honestly, the easiest control is to introduce ladybugs, or simply crush them by hand if the plant count is small. I spent two mornings picking aphids off and then the leaf beetle population took over.
Leaf beetle larvae can skeletonize a whole pad in a week. The adults create oval-shaped holes. You can float a small piece of wood in the pond to let beetles climb on, then remove it. If you have fish, they will also eat the larvae. In my pond, goldfish help massively.
Crown rot is the deadliest disease for water lily tubers. It turns the tuber into soft brown mush. If you notice a bad smell and dark staining on the tuber, discard it immediately and replace the soil. The longer it sits there, the more likely it spreads to other pots. I only dealt with this once, and since then, I sterilize my cutting tools with alcohol before working on other plants.
Three Common Beginner Questions
How deep should I plant a water lily tuber?
Start with the pot about 5 cm below the surface. Over 2 weeks, lower it gradually to a final depth of 20 to 45 cm, depending on the variety. Dwarf types sit at around 15-25 cm. Full-size varieties can be at 30-50 cm.
Can I grow water lilies from tubers in a container without a pond?
Yes. Use a large, waterproof container, like a half-barrel or a big plastic tub. Fill it with water, place a potted tuber inside, and follow the same sun and depth rules. The main difference is that smaller water volumes heat up and cool down faster, so your tuber may behave differently during weather swings. Keep an eye on water temperature, especially in early spring.
When will my water lily tuber bloom?
It depends on the variety and temperature. Usually, you will see the first flower anywhere from 4 to 8 weeks after planting. If your tuber shows pads but no flower after 8 weeks, it usually means insufficient light, water too deep, or lack of feeding.
Final Thoughts from Real Experience
Growing water lilies from tubers does not require a natural green thumb. You need common sense and patience. Pick a sunny spot, choose a shallow wide pot, use clay-based soil, and never submerge the pot too deep too quickly. That simple outline saves you every failure I went through.
My successes now outnumber my failures ten to one. Watching a pad unfold on the surface, then seeing a bud break the water, and finally witnessing that flower opening in the morning sun, feels more rewarding than any regular plant bloom. I genuinely cannot recommend this enough. Forget the fear. Try one tuber in a basket this season, and I promise you will learn more from that single experience than from a year of tutorials.