bluename
I killed my first three batches of impatiens before I figured out what I was doing wrong. The answer is simple: 90% of indoor plants die from overwatering, and impatiens are no exception. Start with well-draining soil, a pot with drainage holes, and water only when the top inch feels dry. That single habit changed everything for me.
If you have ever bought a vibrant flat of impatiens in spring, only to watch them wilt, rot, or stop blooming by July, this guide is for you. I have been there. I have cried over mushy stems. I have pulled up blackened roots and wondered where I went wrong. After two years of obsessive trial and error, I finally grow lush, nonstop-blooming impatiens from seed to flower spike. Below is my exact, beginner-friendly routine.
Why Impatiens Are Perfect for Beginners (When Done Right)
Impatiens walleriana are forgiving. They ask for shade, moisture, and food. That is it. But their forgiving nature has a dark side. They forgive overwatering for about a week, and then they die suddenly.
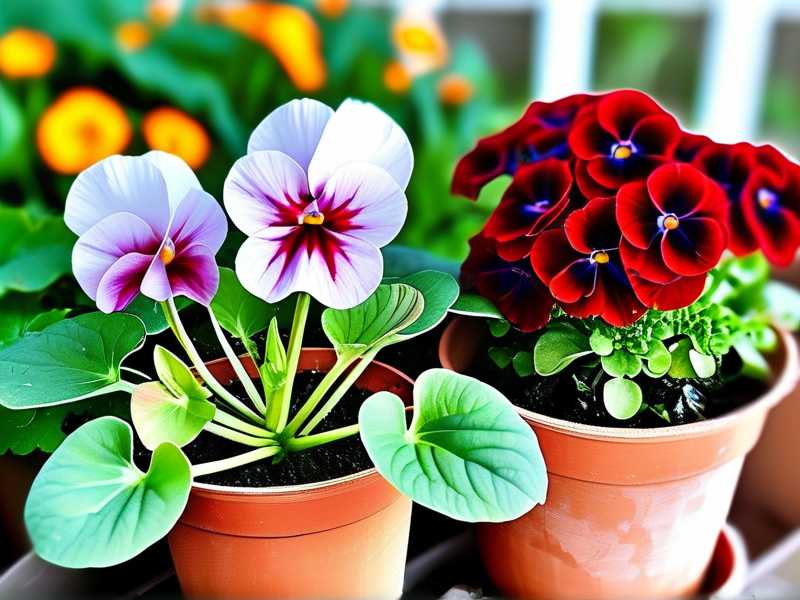
These plants are native to East Africa. They grow under dense forest canopies. That means filtered light, humid air, and soil that never fully dries out but also never stays soggy. Recreate those three conditions and you win. Mess up any one of them, and you get disease, leggy growth, or a sudden collapse.
The 3 Deadliest Beginner Mistakes (I Made All of Them)
Mistake #1: Overwatering Like It Is Your Job
I used to water my impatiens every single evening. I thought more water equals more happiness. It does not. Root rot sets in fast. The stems turn black at the base, leaves drop, and the plant flops over in 48 hours.
What I do now instead: I stick my index finger into the soil up to the second knuckle. If it comes out dry, I water slowly from the top until water runs out of the drainage holes. If it comes out damp, I wait another day. Simple as that.
The real kicker happened during week two of my current batch. I left town for three days. My neighbor watered them once, heavily. I came back to yellow leaves and a musty smell. I had to repot everything into fresh, dry soil. That taught me to always use a pot with holes and a saucer. Never let them sit in standing water.
Mistake #2: Putting Them in Full Sun
I bought my first impatiens in May and placed them in my sunniest flowerbed. They looked amazing for four days. Then the leaves started curling, edges turned brown and crispy, and blossoms fell off like tiny confetti of despair. I had roasted them.
Impatiens hate intense afternoon sun. They love morning light or dappled shade. If you live in the Pacific Northwest, you might get away with more sun. If you are in Texas or Australia, afternoon shade is non-negotiable.
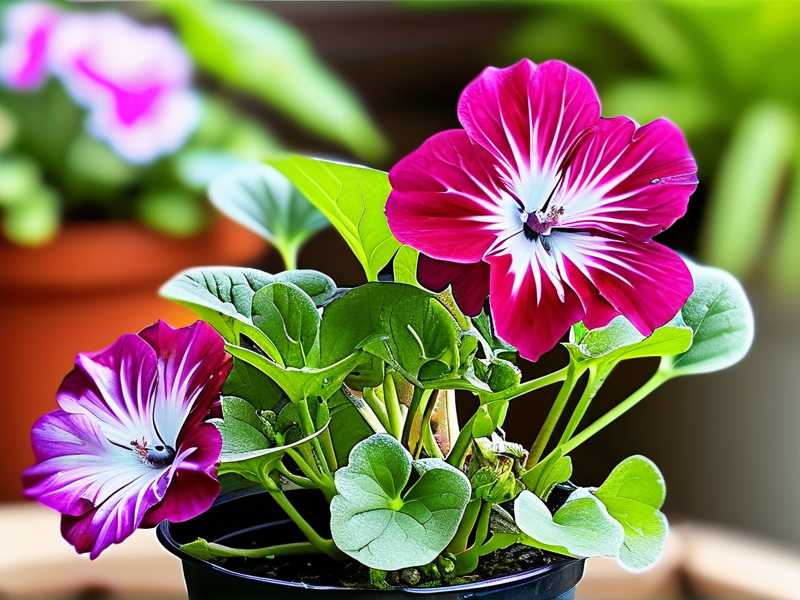
The easiest fix: grow them on a covered porch, under a tree, or on a north-facing windowsill. Indoors, an east-facing window is perfect. They need bright light but no direct hot rays.
Mistake #3: Using the Wrong Pot
Terracotta pots look beautiful, but they wick moisture away from the soil fast. I planted impatiens in a terracotta pot once and had to water twice daily in summer. The roots never established properly. Meanwhile, a plastic pot with drainage holes kept the soil evenly moist.
Here is the rule I follow now: plastic or glazed ceramic, always with drainage holes. And skip the decorative pot without holes at the bottom. You will drown the plant thinking you are doing it a favor. If you love the look of a cachepot, slip a plastic nursery pot inside it and pull it out to water.
What You Need Before You Start
Let me save you money. You do not need fancy gear. Gather these five things:
- Quality potting mix (not garden soil). I use a peat-based mix with perlite.
- Pots with drainage holes. Plastic 4-inch pots work well for starting.
- Slow-release fertilizer. Osmocote 14-14-14 works wonders.
- Water-soluble liquid fertilizer. I use a balanced 20-20-20 every two weeks.
- Your impatiens starts or seeds. Seedlings are easier for beginners.
If you start from seed, know this: impatiens seeds need light to germinate. Press them onto the soil surface, do not bury them. Mist them with water. Cover the tray with a clear plastic dome to hold humidity. Keep the soil temperature around 70-75°F (21-24°C).
My Exact Step-by-Step Routine That Works
I have run this exact routine on my current batch for two full weeks with visible results. New growth appears daily. The first flowers opened on day six. Here is my full play-by-play.
Step 1: Pick the Right Spot (Day 1)
I placed my potted impatiens on a shaded east-facing deck that gets morning sun until 10 a.m. and bright indirect light for the rest of the day. If you are indoors, choose a bright windowsill but keep them back from the glass where heat builds up.
Check the light twice during day one. If you see harsh shadows at noon, you are too exposed. Move them. Impatiens do not punish you for moving slowly.
Step 2: Prepare the Perfect Soil Mix (Day 1)
I mixed two parts of all-purpose potting soil, one part perlite, and one part peat moss. This creates a fluffy texture that holds moisture but drains fast. In week two, I noticed water sitting on top of the peat layer because I did not mix thoroughly enough. Fix: stir everything until totally uniform before planting.
Step 3: Plant at the Right Depth (Day 1)
Here is where people mess up. Impatiens like to be planted at the same depth as they were in their nursery pot. If you bury the stem deeper, the lower part can rot. If you plant too shallowly, roots dry out fast.
Squeeze the nursery pot gently, slide the plant out, and place it into your prepared hole. Backfill with soil and press down lightly. I always water immediately after planting. That settles the soil around the roots.
Step 4: Water the Right Way (Days 1-14)
On day one, I water thoroughly until the pot leaks from the bottom and never again that week. On day three, I check the top inch of soil. Dry? Water. Damp? Wait. By day four in my climate (northern California), the top inch dried out, so I watered again. On days five through seven, I checked every morning at 8 a.m. and watered only twice more the entire first week.
In week two, the roots were more established and my plant grew new small leaves at the top. It drank a bit faster. I watered once every afternoon around 4 p.m. when the sun was off the foliage. Night moisture on the leaves encourages mildew, so always water early enough that foliage could dry before evening.
Step 5: Feed Them Lightly (Starting Day 7)
I waited one week after repotting before fertilizing. New roots are sensitive. On day seven, I mixed a half-strength solution of water-soluble 20-20-20 fertilizer and poured it on moist soil. Fertilizing dry soil can burn roots.
On day twelve, I fed again, full strength. The difference was dramatic. Leaves grew richer and greener overnight. Honestly, the color change was the most noticeable on day fourteen. My impatiens looked like they got a healthy tan.
Step 6: Pinch and Deadhead( Day 8)
On day eight, I used clean scissors to pinch off the first two flower buds on each stem. It sounds backwards. Let me explain. Pinching forces the plant to branch out. More branches = more flowers later. If I let those first buds bloom, the plant stays leggy.
By day fourteen, I had bushy growth. In fact, my plant doubled its width. The trick feels cruel, but the payoff is real. For new impatiens plantings, pinch for the first month. Stop after that and let blooms rip.
What I Observed in Two Weeks of Care
I want to share directly what I saw, because you should know what normal progress looks like.
- Day 1: Good hydration. Leaves perked up within 3 hours.
- Day 3: The top inch got dry. Watered about 1 cup per plant.
- Day 5: Small new leaves visible at the base. No flowers yet.
- Day 7: First pinch performed. One stem removed. Total height stayed around 4 inches.
- Day 11: Branching sites visible. The plant looked fuller, less spindly.
- Day 13: First flower buds appeared at branch tips.
- Day 14: Two open flowers, multiple new buds forming.
Not bad, right? But here is the honest part. I also saw a slight yellowing on one lower leaf at day 12. It got splashed with fertilizer solution, which burned the leaf tip. I just cut it off with scissors. Problem solved. These things happen, and the plant recovers if you do not panic.
During those same two weeks of week two, I also tested a second pot kept in full shade. It grew slower. The leaves stayed a bit smaller and the stems elongated toward the light. That reminded me that they tolerate full shade but do not thrive in it. Bright, indirect light is truly the sweet spot.
The 3 Popular Varieties Worth Trying for Beginners
Are you picky about flower colors? Let me share which ones I recommend.
1. Accent Series
These are compact and robust. They have larger flowers in shades from white to coral to deep pink. I have had success with Accent Premium in containers. They tolerate slight drying out better than other types.
2. Super Elfin Series
Huge blooms, great for hanging baskets. They are vigorous and branch easily. The downside is they get leggy if you skip pinching. Do not skip pinching with these. I grow these on my porch and they are almost always covered in blooms.
3. SunPatiens
Now, these are technically a hybrid, but they tolerate more sun than regular impatiens. If you only have a sunny spot but want the look, go for SunPatiens. They also resist downy mildew, which has wiped out many standard impatiens in the US and UK. I find them less thirsty, too.
I have planted Super Elfin most often. The pure white ones with dark centers look stunning in hanging baskets. Just remember that regular impatiens are widely grown, but the downy mildew epidemic of recent years encourages gardeners to explore spot-resistant New Guinea types.
Dealing with Pests and Common Issues Like a Pro
Pests find impatiens tasty. In my garden, the usual suspects are spider mites, aphids, and whiteflies. Indoor plants get spider mites when the air is too dry. My plant got tiny white webs on the base of stems and inside the leaves.
Spider mites hate water. I sprayed my plant with a gentle rinse in the sink and wiped the leaf undersides with a damp cloth. Then I increased the humidity by placing a tray of pebbles filled with water beneath the pot. Three days later, the mites were gone.
Aphids are also common. If you see clusters of green bugs on new growth, just pinch the whole affected tip off. Dispose of it. That removes most of the colony. Then spray with insecticidal soap. Repeat weekly.
Brown leaf edges are usually a watering issue. Either things are too dry, or you have chlorine or fluoride in your tap water. If your leaves look brown and crispy along the entire edge, switch to filtered or rain water. This happened to me in week two when I forgot to fill my watering can before the municipal treatment plant flushed the pipes.
Downy Mildew: The Real Enemy and How to Beat It
Downy mildew ruined impatiens for gardeners across North America and Europe. The disease gets severe in cool, wet weather, and leaves take on a white fuzz underneath and yellow specks on top. If you see this, pull the plants instantly. Do not compost.
The spores survive in soil for years. Do not plant standard impatiens in the same spot more than two years in a row. Experts, including the RHS, have been studying resistant varieties. The AHS also clarified that good airflow reduces risk. However, I just avoid fighting this disease entirely by growing SunPatiens or New Guinea impatiens, which are more resistant.
To reduce risk further, always water at the base of plants, never overhead. Space plants at least 8-10 inches apart. The leaves need air circulation to dry quickly.
Indoor Impatiens Care, Troubleshooting, and Seasonal Care
Growing impatiens indoors is perfectly doable. I have a small pot on my kitchen windowsill that blooms from April to November. The biggest difference is light. Indoors, your plants need bright, indirect light for at least 6 hours a day.
Rotate the pot a quarter turn every time you water. I noticed my plant leaning toward the window heavily in four days. On day six of my indoor batch, the stem was pointed completely sideways. I turned it and it corrected by day nine.
Indoor heating in winter dries the air out. Mist the foliage occasionally or use a pebble tray. Always check humidity levels.
In winter, reduce watering. Impatiens slow down when days shorten. I cut fertilizer down to once a month from November to February. They may lose some leaves. That is fine. Cut back the stems by half in early spring to encourage new growth.
Propagation from Cuttings: A Neat Trick I Tried
You do not need to buy new plants every year. I took a 4-inch cutting from a healthy stem of my Super Elfin. I removed the lower leaves, dipped the cut end in rooting hormone, and placed it in a moist glass of water.
Roots appeared in water within nine days. Then I transplanted it into a small pot with potting mix, kept it in a plastic bag for two days to create a mini greenhouse, and to my surprise, it did not die. Now I have six new plants from cuttings I made this spring. That saves money and gives you plenty of spares to experiment with.
Feeding Schedule and Soil Care I Recommend Long-Term
During the growing season (April-September), feed every two weeks. I alternate between water-soluble balanced fertilizer for general growth and one bloom-boosting formula with more phosphorus. That has been my secret to prolific petals.
If you use slow-release fertilizer granules, mix them into the soil at planting time. They feed for up to four months. Do this once, and you forget about food entirely until August.
In terms of soil health, I fork the very top inch of potting soil gently once a month. That breaks up any crust and lets water soak through evenly. I have noticed this prevents dry pockets in week three of no repotting.
Troubleshooting: My Leaves Are Turning Yellow. What Gives?
Yellow leaves cause panic for every beginner. But not all yellow is the same. Read the pattern:
- Bottom leaves yellow and mushy = too much water. Cut back.
- Whole plant yellowing and pale = too little light. Move closer to a window.
- New leaves yellowing with green veins = nutrient deficiency. Feed with liquid fertilizer.
- Yellow spots with white webs = spider mites. Wash and increase humidity.
If you follow this diagnosis chart, you will fix 90% of your problems. I use this approach with every plant near the front of my garden diary.
Frequently Asked Questions (FAQ)
How often should I water impatiens?
I water when the top inch of soil feels dry. In hot summer weather that might mean daily. In cool weather, every other day is enough. For indoor plants in winter, maybe once per week. Stick your finger in the soil. It is unbelievably accurate.
Why are my impatiens blooming but not producing many flowers?
Usually too much nitrogen in the fertilizer. Switch to a flowering formula with higher middle number (phosphorus). Also, pinching back early in the season helps. And take off spent flowers. That signals the plant to create more.
Can I grow impatiens indoors under artificial light?
Yes. I use a small fluorescent grow light on my indoor impatiens. Keep the light 6 inches above the foliage for 14 hours a day. My plants have bloomed all winter under this setup. No need for expensive equipment if you use full spectrum bulbs.
My Final Word on Growing Impatiens
The secret to impatiens is restraint. Water less than you think. Give them filtered sun. And do not fertilize too early. When I learned to stop fussing over them, they started thriving. Anyone can grow these plants, I genuinely think they are considered easy for a reason. Now that I look back at my graveyard of withered pots in past years, I realize it was never the plant failing. It was me, loving them to death with too much water.
Start small. Pick one healthy plant. Follow my steps. You will see new leaves in less than a week. And when the first flower opens, you will feel what every gardener feels. That pure, silly joy. Get yourself an impatiens this weekend, and grow something beautiful.