bluename
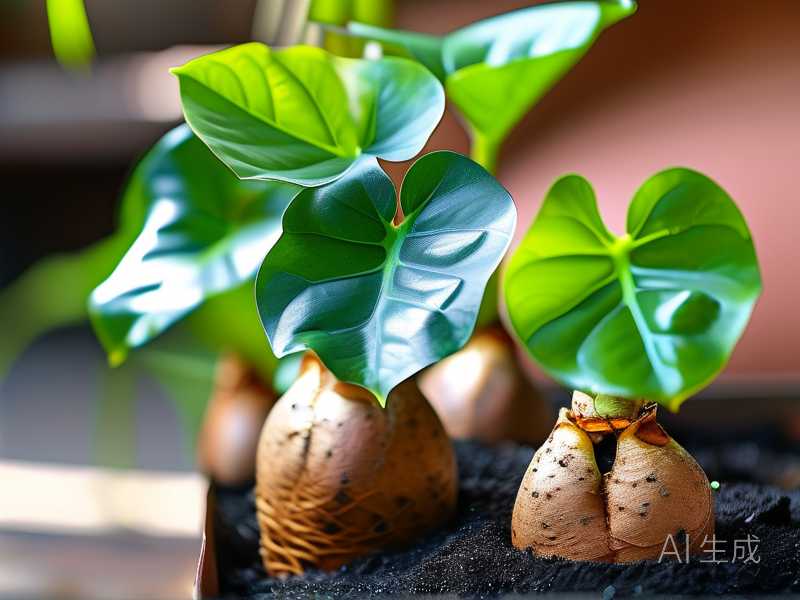
 Growing yams from tubers is easier than most people think, but it is also incredibly easy to mess up. I have killed more sprouting tubers than I care to admit. I am here to give you the direct answer first: plant your tuber piece in loose, sandy soil, 4 inches deep, in full sun, and do not water it again until the first green shoot appears above the soil. That is the whole secret. If you water before the sprout emerges, the tuber rots. Stop watering, and you win.
I have been growing these vining beauties for years, and I still remember the disappointment of digging up mushy, rotten tubers that never had a chance. Before we get into the soil and sunlight specifics, I need you to understand that yams are not sweet potatoes. They are tropical vines that demand heat. They sleep in the soil, and they only wake up when the ground temperature stays above 70°F consistently. We will cover all that, but first, let me tell you about the three massive mistakes that kill 90% of beginner attempts.
The 3 Fatal Mistakes That Kill Your Yams
You want to know why your tubers turned to mush? I will tell you exactly why. You watered too early. You stuck the pot in the wrong spot. Or you picked a pot that was way too small.
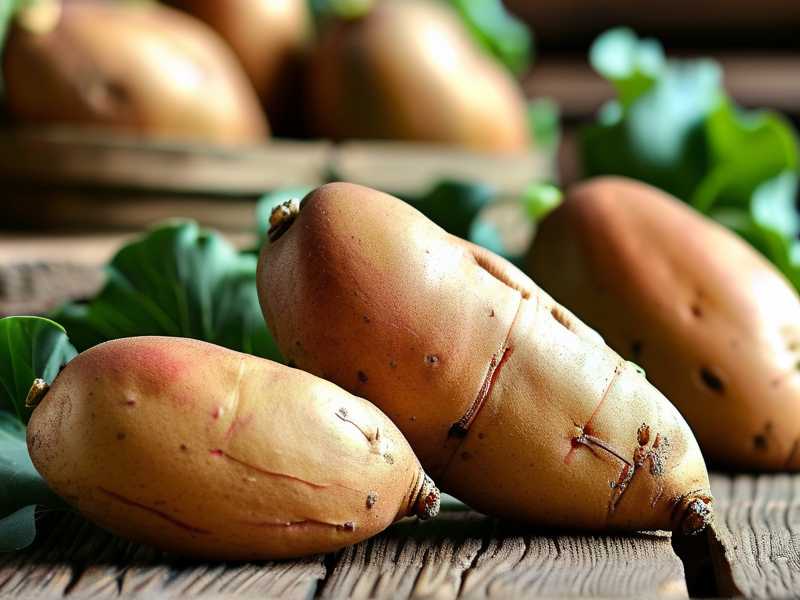
Fatal Mistake #1: Overwatering (The Silent Killer) Let us be brutally honest here. I have said it before, and I will say it again: 90% of indoor plants die from overwatering, and yams are even more sensitive because they are literally a water-storage organ. If you drown them, they burst. I lost my first batch because I thought they were thirsty after planting. I watered them like a lawn, and within 10 days, they were soft, smelly, and absolutely destroyed. The soil has to be barely moist. Actually, it should be almost dry to the touch until that first sprout arrives.
Fatal Mistake #2: Wrong Light Exposure Yams love heat and sun. I tried growing them in a bright kitchen window once, thinking it was enough. It was not. The soil stayed cool, and the tuber sat there doing absolutely nothing for three weeks. Then it rotted. These plants need full sun for at least 6 to 8 hours a day. If you are in the UK or Canada, you will likely need a south-facing window that catches every ray, or a greenhouse spot. They chase the light, and so should you.
Fatal Mistake #3: The Wrong Pot Size I tried a beautiful, shallow ceramic bowl once. It looked cute. My yam gave me nothing but grief. Yams vine upwards and the tubers dive deeply down. A shallow pot constricts them. They need depth. I recommend a 15-gallon pot at minimum, or a grow bag that is at least 18 inches deep. They need room to stretch their roots and produce multiple tubers. Cramped pots cause stunted growth, and sometimes, the tuber literally just stops and goes dormant.
Understanding the Tuber vs. The Soil
Here is the thing about yams. They are subtropical and tropical plants. They hate the cold, and they hate wet feet. The Royal Horticultural Society (RHS) highlights that these are tender climbers that need a warm, sheltered spot. They flourish when we replicate a jungle floor, not a swamp, but also not a desert. The soil should be loose, well-draining, and rich in organic matter. I mix in a good amount of compost and some horticultural sand to ensure it drains quickly. Soggy soil is the number one reason for failure, in my experience.
The pH should be slightly acidic, between 5.5 and 6.5. I use a cheap soil tester for this, because blindly guessing caused me issues early on. If your clay soil is heavy and refuses to drain, do not plant in the ground. Use pots. It is that simple. I lost a whole year growing in the ground in my heavy clay garden. It was a heartbreaking dig-up filled with rotten mush.
Starting Your Sprouts: The Chitting Process
Do not throw your whole yam in the ground and hope for the best. You need to "wake them up" first. I call this chitting. Start this indoors about 6 to 8 weeks before the last frost. This gives you a huge head start, especially if you live in a cool climate like the northern US or most of the UK.
I take my tubers and stand them upright in a seed tray on a bright windowsill. No soil needed. Just the tuber alone. I keep the room warm, about 75°F. After a couple of weeks, small bumps or "eyes" will start appearing. I have been doing this since I learned that directly planting dormant tubers usually means they just rot in the cold earth. Do not rush this step. Patience is your friend here.
Once those eyes develop into small shoots about an inch long, they are ready for the next stage. If you have a small tuber, you can plant it whole. If it is massive, cut it into chunks, making sure each chunk has at least two eyes. I made the mistake of cutting pieces too small once, with only one eye. They never grew. They just shriveled up. Let the cut pieces dry out for a day, so they form a callus. This prevents rotting in the soil.
Planting Day: Step-by-Step
Alright, let us get our hands dirty. This is the part that I love. It takes me about 15 minutes to set up a single pot.
Step 1: Choose Your Container and Fill It Grab your 15-gallon grow bag or deep pot. Fill it with your loose, sandy compost mix. Make sure the container has drainage holes. I cannot stress that enough. No holes, no yams.
Step 2: Plant the Tuber Create a small mound of soil in the center of the pot. Place your sprouted tuber or piece on top of this mound, with the shoots pointing upwards. Gently cover it with soil to a depth of about 4 inches. Do not press the soil down hard. Forget that. The looser, the better. I like to just backfill and brush lightly.
Step 3: Water - The Crucial Step Here is where I did it wrong the first three times. Water the pot thoroughly right after planting. Then, walk away. Do not water again for two weeks, or until you see that green sprout poke through the soil. I know it feels wrong. You want to nurture it. But trust me, that tuber has enough moisture inside to survive. It needs oxygen, not water. I check the soil in my pots every day, but I force myself not to water until the sprout appears.
My Two-Week Observation Log
I kept a physical diary when I planted my last batch, and here is exactly what I saw.
Day 1: Planted three eye-d slices in separate pots. Soil is barely moist. The pot feels heavy but not soaked.
Day 3: Nothing on the surface. I fight the urge to dig up the tuber to check it. I do not touch it.
Day 5: I notice the soil is beginning to dry out on top. It looks a bit pale. I leave it alone. The house is at 75°F.
Day 7: Still nothing. I am starting to get anxious. I remember my old habit of watering here, but I stop myself. I have killed too many plants this way.
Day 10: A tiny crack appears in the soil surface. I see a pale green tip. Finally! The tuber is waking up. I still do not water. That shoot needs to find its own way.
Day 12: The shoot is now an inch tall and a lovely green color. This is my signal.
Day 14: I finally water the pot deeply. The shoot is growing fast, about 3 inches tall now, reaching towards the window. The waiting game is over, and the growth phase has begun.
The Growth Phase: Training and Feeding
Once that vine starts moving, it does not stop. It is a true vine, and it will crawl over anything. I learned that I needed to install a trellis or bamboo canes pretty early on, or I would have a messy, tangled knot in a week.
I aim for a strong single stem or two. If I see more shoots appearing from the same tuber, I remove the smaller, weaker ones. This allows all the energy to go into the main stem. This has given me bigger harvests in the past. It seems counterintuitive to remove plants, but it is necessary.
The vine grows rapidly, sometimes 6 inches in a day. I remember checking my container garden every morning and seeing visible changes. Once the vine reaches about a foot tall, I start side-dressing it with a high-potassium fertilizer. Tomatoes love potassium, and so do yams. I use a liquid seaweed feed every two weeks. The AHS suggests using a balanced slow-release fertilizer at planting time, but I find that liquid feeds give me more control, especially for container growing.
Watering Routine (Once They Wake Up)
After that initial growth burst, the rules change. They are thirsty now, but they still hate sitting in water. I water deeply whenever the top inch of soil feels dry to the touch. In the middle of summer, this might be every day. But I always check first. I stick my finger in the soil. If it is dry, I water. If it is damp, I wait.
I have a simple rule for the active growing season: consistent moisture. Fluctuating between bone dry and soaking wet will cause the tubers to split. I saw this happen to me. I let a pot dry out completely during a heatwave, then gave it a huge drink. The next week, a crack appeared in the soil, and I later found a cracked tuber. It was ugly and not good for storage. Keep it steady.
Light and Temperature Demands
Yams need full sun. I cannot emphasize this enough. They are like sun worshippers. If you live in zones 8-11, you can grow them outdoors in the ground easily. But if you live in zones 5-7, like me, you need to use containers and move them to the warmest, sunniest spot you have.
I keep mine against a south-facing brick wall. The wall absorbs heat during the day and releases it at night. This micro-climate is perfect for them. I also use black pots to help warm up the soil faster in spring. This is a trick I picked up from growing peppers, and it works beautifully for tropical yams.
Do not even attempt to put them outside until the night temperatures are firmly above 60°F. Anything lower will shock them. If they get cold, the leaves turn yellow and the vine stops growing. That is a sign of stress. The RHS confirms that tropical tubers like these need a minimum soil temperature of 68°F to grow reliably.
When To Harvest (The Hardest Part)
Waiting is the most challenging part of growing yams. The vines must die back before you harvest. You have to let the leaves turn yellow and wither. This is hard because it looks like the plant is dying, but it is just transferring energy down to the tubers.
I harvested my first batch too early because I was impatient. The tubers were tiny. I learned my lesson. It takes anywhere from 120 to 180 days, depending on the variety. Short-season varieties are your best bet in cooler climates. Trust me, wait for the die-back.
When the vine is completely dead and dry, cut it off at the base. Then, gently dig around the edges of the container. Do not stab the tubers with your fork. I use my hands for the last few inches of soil. The tubers are delicate, and any cut will encourage rot during storage.
Curing and Storing Your Harvest
After you have pulled up these beautiful golden tubers, they need to be cured. I used to skip this step, and my tubers went soft within a month. Curing is essential. It sets the skin and heals any micro-cuts.
Place the freshly harvested tubers in a warm, humid place (about 85°F) for a week to ten days. I use my garage in the summer heat. After this, move them to a cooler, darker spot. They will easily keep for several months if the temperature stays around 60°F. This has changed my storage game completely.
Common Pests and Problems
Yams are pretty robust, but they are not invincible. Aphids are my main issue. They love the new succulent growth at the tips of the vines. I spray them off with water, but for heavier infestations, I use insecticidal soap. I refuse to use harsh chemicals on food crops.
I also watch out for spider mites. They thrive in dry, dusty conditions. Increasing humidity around the plants helps, and so does a weekly foliar spray of water. The biggest issue I face, as I mentioned earlier, is root rot. The solution is good drainage and restraint. Always let the top of the soil dry out a little between waterings.
Container Growing vs. Planting in the Ground
You can do both, but they are very different. In the US South, in-ground planting is common and leads to massive yields if you have sandy soil. The issue is vine weevil and gophers. They find the tubers, too.
In containers, I have complete control over the soil and the moisture. It reduces the risk of pests and makes harvesting a breeze. I just empty out the pot. The trade-off is that I have to water more often in the summer heat. If you are in the Pacific Northwest or the UK, I would not even attempt in-ground planting unless you have a heated greenhouse. Containers are your safest bet for consistent warmth.
I remember the first time I successfully grew two decent-sized yams in a pot on my balcony in Toronto. It was a triumph. They were not huge, but they were mine. The taste was incredibly earthy, much better than anything from the store.
Frequently Asked Questions
Q: Can I grow yams from grocery store tubers? Yes, you can, but you have to check if they have been treated with a sprout inhibitor. Sometimes these chemicals prevent them from ever sprouting. I always buy organic tubers from a local nursery or a seed company. It is the safest way to guarantee germination. If you see small shoots already starting, that is a great sign.
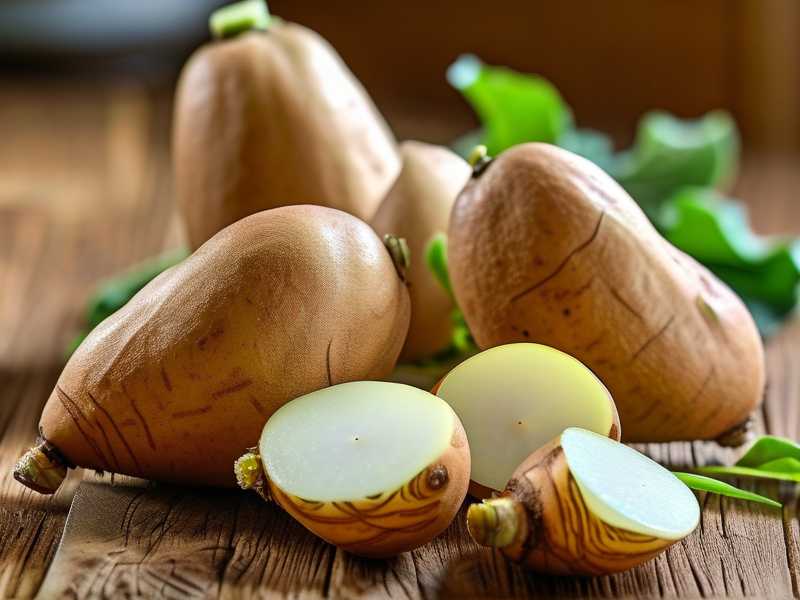
Q: How many yams will one tuber produce? In a container, you might only get one or two large tubers. In the ground, you can get more, sometimes up to five or six. The size of the pot restricts the number. I do not plant more than one sprout per 15-gallon pot, or I get a bunch of skinny, useless tubers.
Q: Why are my yam leaves turning yellow during the summer? This is usually a watering issue, either too much or too little. It could also be a lack of nitrogen. I start with a nitrogen-rich feed in the early growing season and switch to potassium-rich feed once the tubers are forming. Also, check the soil moisture; they do not like to be bone dry.