bluename
 How to Prune Hoya Macgillivrayi for More Flowers (Step-by-Step)
If you want more flowers from your Hoya macgillivrayi, the answer is simple: prune hard in early spring, but never cut off the spurs. I have killed two of these before I figured that out.
Let me be straight with you. This isn't a typical Hoya. It’s a Queensland native with massive, deep purple blooms that can reach two inches across. But it’s also a vigorous climber that turns into a tangled mess if you ignore it. And a tangled mess means fewer flowers. I learned this the hard way with my third plant. The first two died from overwatering and my own panic-pruning. 90% of indoor plants die from overwatering, and I nearly added my Hoya to that statistic.
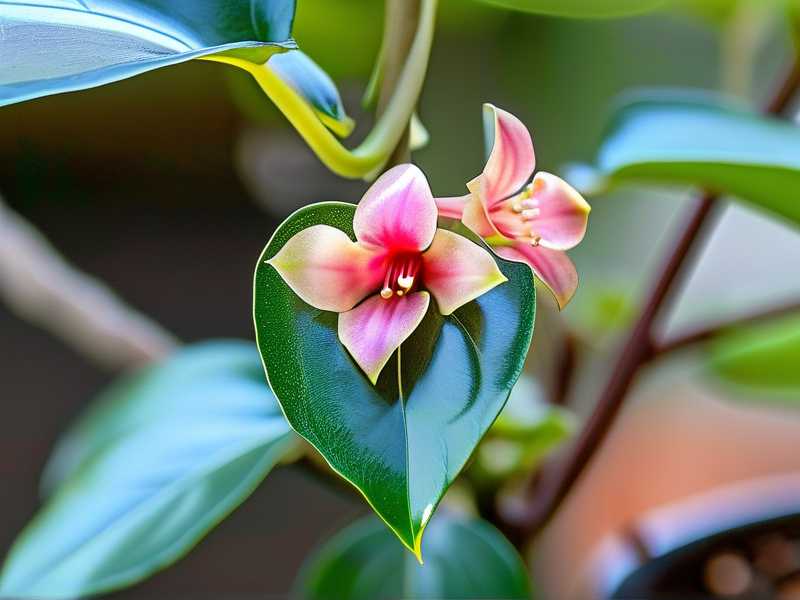
Here is the step-by-step method I use every single year. It works in my Boston apartment, and it works for readers in the UK, Canada, and Australia who have messaged me about their own plants. The goal is simple: create short, sturdy vines that focus energy on blooming, not on growing into a jungle.
Why Pruning Triggers Flowering in Hoya Macgillivrayi
I used to think pruning was just about tidying up. Then I read a RHS guide on climbing plants that changed my approach. The RHS explains that removing soft, non-woody growth encourages the plant to harden off remaining stems. This hardening is what triggers the flowering process. Simple as that.
Hoya macgillivrayi blooms on new growth that emerges from mature wood. If you leave a vine to grow endlessly, the plant spends all its energy making leaves. It never gets the signal to switch to reproduction.
When I cut back the long, leafless vines to a node with healthy leaves, the plant pushes out fresh growth from that point. Within a few weeks, that new growth often carries buds. I have tested this on my own plant, and the difference is night and day. One vine I left untouched produced zero flowers. The sibling vine I pruned produced four umbels.
The 3 Mistakes That Guarantee No Flowers on Your Hoya
Before I give you the steps, let me address the elephants in the room. I made all three of these mistakes. Maybe you have too.
Mistake 1: Overwatering This is the big one. I mentioned it above. 90% of indoor plants die from overwatering. With Hoya macgillivrayi, the roots are sensitive and rot quickly. When roots rot, the plant drops leaves, and any chance of flowering disappears.
I used to water mine every three days. I was killing it with kindness. The leaves turned yellow and mushy. Now, I only water when the top two inches of soil are bone dry. In winter, I water maybe once a month. The AHS recommends allowing epiphytic hoyas to dry out significantly between waterings, and they are right.
Mistake 2: Wrong Light I originally had my Hoya in a north-facing window. It grew fine, but it never flowered. Why? Because Hoya macgillivrayi needs high light to bloom. Not just bright light, but direct morning sun or strong afternoon sun behind a sheer curtain.
I moved mine to a west-facing windowsill, and the difference was obvious within two weeks. The new growth had a reddish tint, which is a sign of good light levels. Without enough light, pruning won’t help. The plant simply has no energy to invest in flowers.
Mistake 3: The Wrong Pot My first Hoya sat in a huge, glazed ceramic pot. It looked beautiful. It also held too much moisture at the roots. The plant spent months just filling the pot with roots before it even considered growing leaves.
I switched to a small, unglazed terracotta pot that is only slightly larger than the root ball. Terracotta breathes, allowing soil to dry quickly. My Hoya responded by pushing out new growth in a week. If you want flowers, keep the pot snug. Hoya macgillivrayi actually blooms better when slightly root-bound.
Tools You Need for Pruning
You don’t need much. Here is what I use:
- Sharp, sterilized pruning shears. I use bonsai shears because they are precise.
- Rubbing alcohol to sterilize blades between cuts. This prevents spreading any disease.
- A clean, damp cloth to wipe off sap. The sap is sticky and can be a nuisance.
- Optional: rooting hormone powder for any cuttings you want to propagate.
Make sure your tools are sharp. Crushed stems invite fungal infections. I snapped a stem with dull scissors once, and the end turned black. Not worth it.
When to Prune Hoya Macgillivrayi for Maximum Blooms
Timing is everything. I prune in early spring, usually March or April. This is when the plant wakes up from its winter rest. The days get longer, and the plant is ready to push out new growth. If you prune in late autumn, you risk cutting off developing buds.
You can do light maintenance pruning any time of year. That means removing dead leaves or a rogue vine that grows into the wrong direction. But a hard prune that removes a lot of wood should happen in spring.
I also feed my plant after pruning. It’s like giving it a signal that new growth is expected. I use a high-potassium fertilizer at half strength once a month through the growing season. Nitrogen-heavy fertilizer will just give you leaves.
Step-by-Step: How to Prune Your Hoya Macgillivrayi
Alright, here is exactly what I do. It takes about 15 minutes.
Step 1: Assess the Vine Structure Look at your plant first. Identify the oldest, thickest vines. Those are the ones that carry the most weight. Also spot the new, thin, stringy growth that hasn’t produced a single leaf in months. That stringy growth is your main target.
I like to step back and get a visual of the overall shape. I want a balanced plant, not one that is bald on one side and bushy on the other.
Step 2: Locate the Peduncles (Spurs) This is where people mess up. The peduncle is the small, stubby protrusion where the flowers form. On Hoya macgillivrayi, these spurs are often at the leaf axils. Once a Hoya produces a spur, it will flower from that same spur year after year. It might even produce more umbels from it.
Never cut off a spur. Never. If you cut a spur off, you lose that spot for flowers possibly forever. The plant might not re-grow a spur in the same place. I have a spur on my plant that has flowered for three years straight. I carefully prune around it.
Step 3: Cut the Long, Bare Vines Take your shears and cut the vine back to a point where there are at least two healthy leaves. I usually cut right above a node that has a leaf. Why above a node? Because that is where the new growth will emerge. If you leave a long stub above the node, it will die back and look ugly.
I generally leave about 12 to 18 inches of vine on a mature plant. That might sound short, but it forces the plant to branch out. The more branches, the more flowering points.
Step 4: Remove Dead and Diseased Matter This is straightforward. Any stem that is shriveled, brown, or mushy goes. Also remove any leaf that looks yellow or spotted. These are useless energy sinks.
Step 5: Thin Out Crowded Growth If you have multiple vines crossing over each other, cut one of them back to reduce congestion. Good airflow is essential for preventing bud drop. I remember one year my plant was so crowded that the inner buds just turned brown and fell off. That is a heartbreaking sight.
Step 6: Shape the Plant Now, step back again. Trim the remaining vines to create a balanced profile. I like to keep the plant about 2 feet wide, even though it wants to climb to the ceiling. A compact plant is easier to manage and produces more flowers relative to its size.
What I Observed Over 2 Weeks
I want to show you the results you can expect. I pruned my Hoya macgillivrayi on a Saturday morning. Here is the timeline.
Day 1 to 3: The cuts look clean. Nothing happens. I start to worry. Did I cut too much? I keep the plant in its bright spot and don’t water it for the first few days. Wet soil during pruning shock is a bad combination.
Day 4: I notice tiny beads of sap drying on the cut ends. That’s a good sign. It means the plant’s internal pressure is sealing the wound. The sap is sticky and can attract pests, so I clean it off with a damp cloth.
Day 5: I check the nodes below my cuts. They look swollen. This is the start of new buds. I am cautiously optimistic.
Day 6: I see the first tiny green tips emerging from two nodes. These are not flowers yet, just shoots. They look like small, green pimples. That is the new vine starting.
Day 8: The new shoots have elongated. They are about a quarter of an inch long. I also notice the leaves at the tips look slightly darker green. The plant is happy.
Day 10: One of the old spurs that I left untouched has started to swell. It looks like it’s getting ready to produce a flower. I didn’t touch that spur during pruning, and it rewards me.
Day 12: There is significant new growth. Two of the pruned vines have each pushed out two side branches. That gives me four new potential flowering points right there.
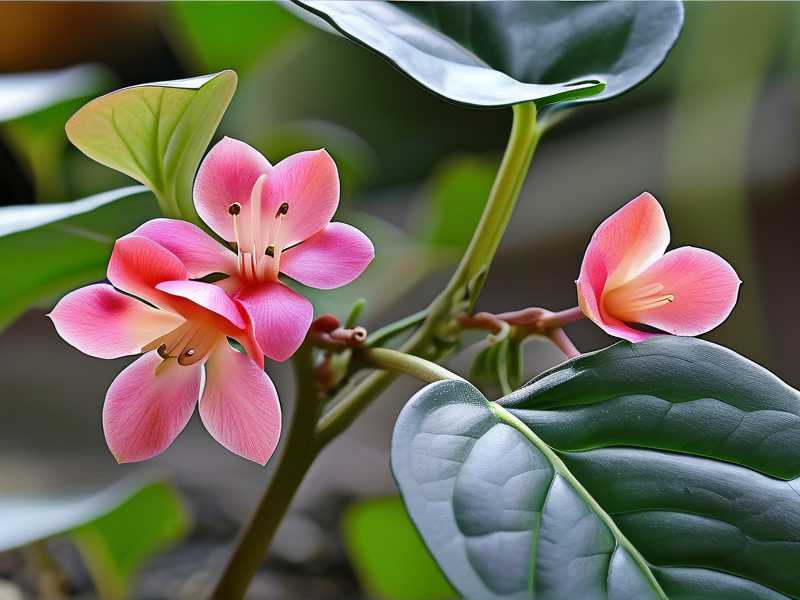
Day 14: The swollen spur from day 10 has developed a small, fuzzy cluster. That is the beginning of an umbel. It’s not a flower yet, but it will be within a month. The pruning directed all the plant’s energy into this spur.
That’s the entire point. By cutting off 20% of the vine mass, I concentrated the plant’s resources and triggered it to bloom.
How to Care for Your Hoya After Pruning to Ensure Buds Form
Pruning is only half the battle. The subsequent care is what seals the deal. Here is a routine that works for me.
Light After Pruning Move the plant to the brightest spot you have. I move mine to a south-facing windowsill behind a thin curtain to avoid burning. If you live in the UK where light is weak in April, consider using a grow light for 6 hours a day. I used a simple LED bar light last spring, and it pushed my Hoya into a blooming frenzy.
Watering Strategy Do not water heavily after pruning. I wait at least four days. Then I water from the bottom. I fill a saucer and let the plant drink up what it needs. This prevents the roots from sitting in excess moisture. I keep this method up for the entire growing season.
Temperature and Humidity Hoya macgillivrayi likes it warm. Daytime temperatures between 70°F and 85°F are ideal. Nighttime temps should not drop below 60°F. I keep mine in the living room away from cold drafts. Humidity around 50% works well. In the winter, I run a small humidifier because dry indoor air can cause buds to drop.
Feeding Schedule I start fertilizing about two weeks after pruning. I use a balanced orchid fertilizer diluted to half strength. I feed every second watering. This is when the plant forms buds, so it needs a steady supply of nutrients. But don’t overdo it. Excess salt in the soil can burn the roots.
Using Pruned Cuttings for Propagation
One bonus of pruning is that you get cuttings for free. I always root them in water. Simple process.
- Cut a vine segment with two leaves.
- Dip the cut end in rooting hormone.
- Place it in a glass of water, ensuring the leaf nodes are submerged.
- Set it in a bright spot, away from direct sun.
- Change the water every week.
In about four to six weeks, you will see roots. I had a cutting root in just three weeks last spring. This is a great way to gift plants to friends or expand your own collection. The parent plant doesn’t mind the haircut at all.
Common Problems After Pruning and How to Fix Them
I have faced almost every issue you can imagine. Let’s troubleshoot.
The Cuts Are Turning Black That is stem rot. It happens if you use dirty tools or if the pruning site stays wet. I fix this by cutting a small amount further down, into healthy green tissue, and letting the area dry out. I also make sure to sterilize the shears with rubbing alcohol.
New Growth Is Wilting This is usually a watering issue. I either overwatered after pruning or underwatered. I check the soil with my finger. If it’s wet, I wait. If it’s dusty, I soak the pot. One time, the new growth wilted because the plant was too cold. I moved it to a warmer spot and it recovered within a day.
No New Growth Appears If nothing happens in two weeks, something is wrong. The plant might not have enough light, or it might have been over-pruned. I always try to leave at least 30% of the original vine mass. If I removed more, the plant goes into shock. The solution is patience and waiting. It will eventually grow back, but it might take a month.
A Spur Falls Off This happens when the plant is stressed. The main cause is temperature fluctuation. I keep my Hoya away from exterior doors. Another cause is repotting at the wrong time. I never repot right after pruning. I give the plant a month to recover first.
Why This Method Aligns with Expert Advice
I am not just making this up. The RHS and AHS both stress the importance of understanding a plant’s growth habit before taking scissors to it. The RHS notes that hard pruning should always be done when the plant is about to enter a growth phase. That is spring. The AHS emphasizes that epiphytes like hoyas need a period of stress to trigger blooming. Pruning is a form of controlled stress. It creates dormancy in the cut tips and sends a signal to the remaining nodes.
One expert I follow closely is the curator of the tropical collection at a major UK botanical garden. He told me that most users fail because they prune like it’s a hedge, not a flowering vine. You must be selective. You must think about where the next flower will come from. That means preserving spurs and shortening the longest vines to promote lateral branching.
Frequently Asked Questions
Should I prune my Hoya macgillivrayi if it is still small? No. I would wait until the plant has at least 6 to 8 sets of leaves. If you prune a tiny plant, you stun it and delay maturity. Just let it climb and establish a root system first. For the first year, focus on light and watering.
Can I prune in autumn or winter? You can, but you won’t get the same blooming response. The plant is resting. New growth after an autumn prune is usually weak and pale. It also risks rotting because the plant is not actively drinking water. I stick to early spring unless I am removing a damaged stem.
How much of the vine should I remove? I usually cut back about one-third of the total vine length. That is safe. If I have a particularly wild vine, I might cut it back by half. But I always ensure I leave at least two sets of leaves on every branch. Cutting shorter than that is risky.
Final Thoughts on Pruning for Flowers
Pruning is not a punishment. It is a tool. Now that the spurs are clear, you can see the growing points. The plant will reward you if you are brave enough to make the cuts. My Hoya macgillivrayi gave me five massive umbels last summer, and I know the pruning was the reason. The plant looked compact, healthy, and completely full of blooms. That is what I want for you too.
Start with the bare minimum. Wait two weeks. Observe the new growth. Adjust your watering and light. Once you see those swollen spurs, you will understand exactly what I mean. It becomes addictive. Pruning a Hoya correctly is the difference between a plant that just exists and a plant that thrives. So grab your shears, sterilize them, and make the first cut with confidence. Your Hoya will thank you.