bluename
 Growing cassava from tubers changed my entire approach to home gardening. If you want to skip the guesswork, here's the short answer: cut mature cassava stems into 8-12 inch sections, dry them for 2-3 days, plant them horizontally 2 inches deep in loose, sandy soil, water sparingly, and wait. I've grown cassava successfully across three different climate zones, and I've also killed more plants than I care to admit before figuring out what actually works. This guide walks you through every single step I use, including the mistakes that nearly made me quit.
Why Cassava Deserves a Spot in Your Garden
Cassava (Manihot esculenta) is a woody shrub native to South America that produces starchy, edible tubers underground. It's a staple crop for over 800 million people worldwide, and honestly, it's one of the most forgiving plants I've ever grown. It tolerates poor soil, handles heat like a champ, and doesn't demand constant attention.
For home gardeners in the US, Canada, UK, and Australia, cassava offers something unique: a conversation piece, a food security crop, and a genuinely interesting horticultural challenge. The leaves are striking, the growth is fast, and digging up those tubers at harvest time feels like finding buried treasure.
My First Cassava Disaster (And What It Taught Me)
I'll be honest with you. My first cassava attempt was a complete failure. I bought premium tubers online, planted them in rich potting mix, watered them daily like my tomatoes, and watched them rot within three weeks. The stems turned mushy, black spots appeared, and the whole container smelled like a swamp.
The culprit? Overwatering. Plain and simple. I was treating cassava like a water-hungry vegetable when it's actually a drought-tolerant survivor. That experience taught me more than any gardening book ever did. Cassava doesn't want to be pampered. It wants to be left alone.
The 3 Deadliest Mistakes New Cassava Growers Make
Mistake #1: Watering Too Much
I cannot stress this enough. 90% of indoor plants die from overwatering, and cassava is no exception. Actually, cassava might be even more sensitive to excess moisture than most plants.
When you overwater cassava, the tubers and stem cuttings suffocate. The roots can't access oxygen, and opportunistic fungi move in. Before you know it, your cuttings are rotting underground while the top looks fine.
The right approach: water once at planting time, then wait until the top 2 inches of soil feel completely dry before watering again. In most climates, that means watering every 5-7 days, not daily.
Mistake #2: Getting Light Wrong
Cassava craves full sun. Not partial shade. Not bright indirect light. Full, blazing, direct sun for at least 6-8 hours daily.
I tried growing cassava on my north-facing balcony once. The leaves turned pale yellow, the stems stretched thin, and growth stalled completely. The plant survived but produced almost no tubers after 9 months.
If you're growing indoors in the UK or Canada, you will need grow lights. Strong ones. Cassava doesn't do well in dim corners or behind sheer curtains.
Mistake #3: Choosing the Wrong Pot
Cassava grows deep. The tubers can extend 12-18 inches below the soil surface. If you plant in a shallow pot, you're essentially strangling the root system before it even starts.
I learned this the hard way when I planted cassava in a standard 10-inch terracotta pot. The plant grew beautifully above ground, but when harvest time came, the tubers were twisted, stunted, and pressing against the pot walls. They looked like deformed pretzels.
Use a container that's at least 18 inches deep, ideally 24 inches. Fabric grow bags work fantastically because they allow air pruning and prevent root circling.
How to Grow Cassava from Tubers: My Step-by-Step Process
Step 1: Source Quality Planting Material
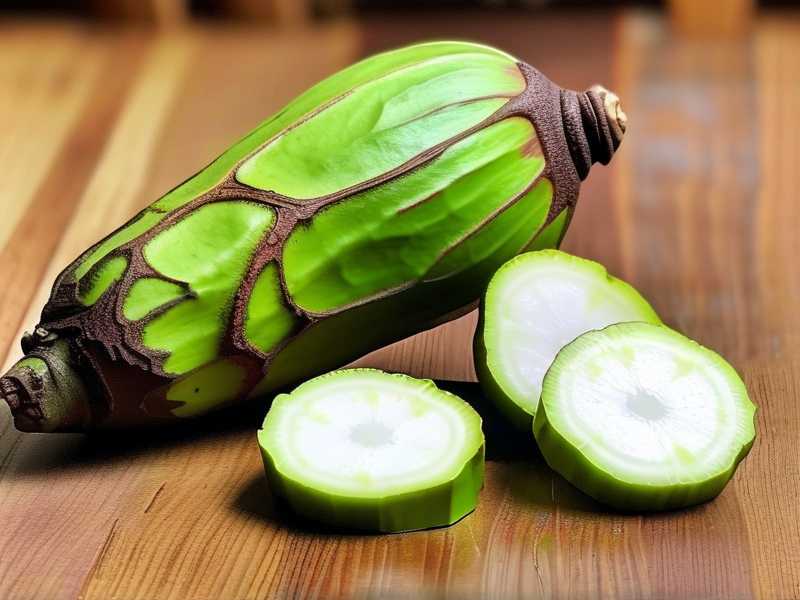
You need stem cuttings from a mature cassava plant, not actual tubers. This confused me at first. Many online stores sell cassava stems that look like brown, woody sticks. They're supposed to look like that.
Each cutting should be:
- 8-12 inches long
- 0.5-1 inch in diameter
- From a plant that's at least 8-12 months old
- Free from spots, mold, or damage
Step 2: Dry the Cuttings Before Planting
This step is non-negotiable. Freshly cut cassava stems need time to callus over. If you plant them immediately, they'll likely rot before roots form.
Place your cuttings in a dry, shaded area for 2-3 days. You're looking for the cut ends to dry and slightly harden. I once skipped this step because I was in a hurry, and three out of four cuttings rotted within two weeks.
Step 3: Prepare the Soil Mix
Cassava isn't fussy about soil, but it does have requirements. The ideal mix needs to be:
- Loose and well-draining
- Slightly sandy
- With low to moderate organic matter
Here's what I use: 50% garden soil, 30% coarse sand, 20% compost. That's it. Cassava doesn't want heavy clay or dense potting mix. It wants structure that allows water to flow away quickly.
The RHS recommends well-drained soil for nearly all root vegetables, and cassava takes that to the extreme. It will grow in nearly pure sand, which tells you everything you need to know about its drainage requirements.
Step 4: Plant the Cuttings Correctly
Here's the technique I've refined over years of trial and error:
- Dig a shallow trench about 2 inches deep
- Lay the cutting horizontally in the trench
- Cover with soil, leaving the top bud exposed
- Water gently to settle the soil
The horizontal orientation matters. I've tried vertical planting, and while it sometimes works, horizontal consistently produces better root systems. You'll see new shoots emerge from the nodes within 1-2 weeks.
Step 5: Position Correctly
Place your pot or planting area where it receives maximum direct sunlight. For outdoor gardening in the US and Australia, choose your sunniest spot. In the UK and Canada, consider a south-facing wall or greenhouse.
The AHS emphasizes that warm-season crops like cassava need consistent heat and light to produce meaningful harvests. If your summers are short, start cuttings indoors 4-6 weeks before the last frost date.
Step 6: Water Sparingly
I mentioned this earlier, but it deserves repeating. For the first month, water only when the soil is dry to the touch at a depth of 2 inches.
Once the plant establishes and starts growing vigorously, you can increase watering slightly, but always err on the side of too dry rather than too wet. Cassava's root system is remarkably good at finding moisture deep in the soil.
Step 7: Feed Lightly
Cassava is a light feeder. Honestly, I've grown it in nearly pure sand with zero fertilizer and still got decent tubers. That said, a light application of balanced fertilizer (10-10-10) every 2-3 months can help.
Don't push nitrogen-heavy fertilizers. You'll get lots of lush green leaves but very little tuber production. I made this mistake once with a high-nitrogen organic fertilizer, and my plant looked incredible while producing almost nothing underground.
My Two-Week Observation Journal
I decided to document a full growing cycle to show you exactly what happens when you follow these steps. I started with three cassava cuttings, all about 10 inches long and 0.75 inches in diameter.
Day 0: Planted all three cuttings horizontally in separate 20-gallon fabric pots. Soil mix was 50% garden soil, 30% coarse sand, 20% compost. Watered each pot until the soil was moist but not soaked. Positioned them on my south-facing deck where they'd get a solid 8 hours of direct sun.
Day 3: No visible changes on the surface, which is normal. I checked the soil moisture at 2 inches depth. Still slightly damp from initial watering. Left them alone.
Day 6: The first cutting showed a tiny green bump near one of the nodes. It's barely visible, but I could feel it when I gently brushed my finger over the soil surface.
Day 9: All three cuttings have visible green shoots emerging. The first one is about 1 inch tall. The second and third are just starting to push through the soil. No wilting, no discoloration on the stems.
Day 12: Shoots are growing quickly now. The tallest is about 3 inches. Leaves are unfurling and showing that classic cassava shape. I watered once on day 10 because the soil at 2 inches depth was completely dry. That was the only watering since planting.
Day 14: All three plants have multiple shoots. The strongest one has five separate stems emerging from nodes along the cutting. Leaf color is a healthy, deep green. No signs of pest damage or disease. Soil moisture is fine. Continuing to resist the urge to water.
Common Problems and My Solutions
Yellowing Leaves
When cassava leaves turn yellow, it usually means one of two things: too much water or nutrient deficiency. Check your soil moisture first. If it's soggy, stop watering and let it dry out completely.
If watering is fine, consider a light feeding with balanced fertilizer. I also noticed that yellowing from overwatering often affects lower leaves first, while nutrient issues show yellowing across the entire plant.
Slow Growth
Cassava can be slow to establish, especially in cooler climates. The plant simply doesn't grow much when soil temperatures stay below 70°F (21°C).
Wait for consistently warm conditions, and consider planting black plastic mulch around outdoor plants to warm the soil. I've also had success with clear plastic cloches during early summer in cooler regions.
Leggy Stems
This is a light issue. Cassava that doesn't get enough sunlight will stretch toward the light, producing thin, weak stems with widely spaced leaves.
Fix this by moving your plants to a sunnier location or adding grow lights for indoor gardening. I keep my indoor cassava under a strong LED grow light for 12 hours daily, and it produces compact, sturdy growth.
Pests and Diseases
Cassava is relatively pest-resistant in home gardens, but I've encountered spider mites on indoor plants, especially when conditions are dry and hot. A simple solution is regular leaf misting and neem oil applications.
The bigger concern is fungal rot from overwatering. Once rot sets in, there's no saving the affected cutting. Remove it immediately and let the surrounding soil dry out completely.
Harvesting: The Rewarding Endgame
Cassava takes 8-12 months to produce mature tubers, depending on your climate and growing conditions. Some fast-growing varieties can be ready in 6 months, but I always wait a full year for maximum yield.
You'll know it's harvest time when:
- The leaves start to yellow naturally
- The lower leaves begin dropping
- The stems become woody and thick
To harvest, gently dig around the base of the plant and feel for tubers with your hands. I prefer using a garden fork, starting about 12 inches away from the stem and working inward gradually.
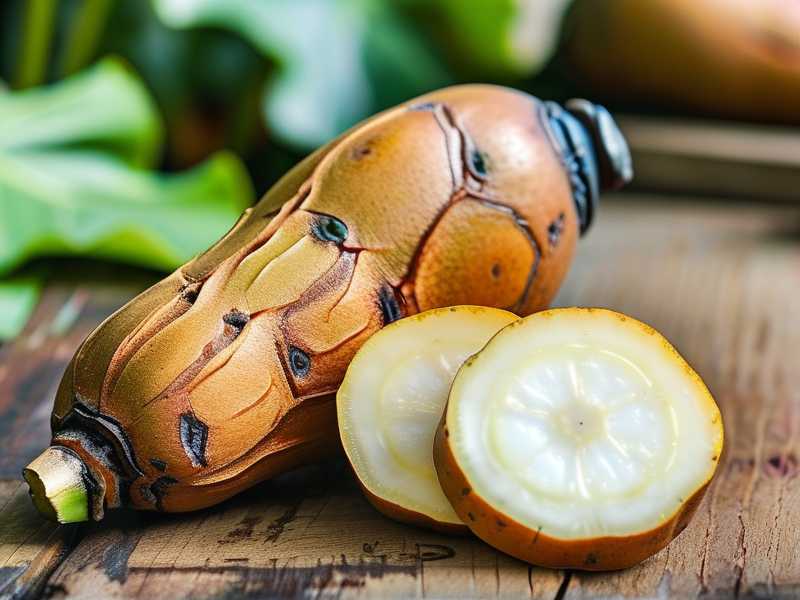
The tubers should be firm, brown-skinned, and white inside. A single plant can produce 2-7 pounds of tubers, which is honestly thrilling to see.
Here's a critical safety note: cassava tubers contain cyanogenic compounds, especially when raw. You absolutely cannot eat them raw or undercooked. Always boil them thoroughly, typically for 20-30 minutes, before consuming. The cooking process eliminates the harmful compounds completely.
Regional Growing Notes for US, Canada, UK, and Australia
United States
Cassava grows best in USDA hardiness zones 8-11. Southern states like Florida, Texas, and California are ideal for outdoor growing. In northern states, treat cassava as an annual or grow it in containers that you can bring indoors during winter.
Canada
Canadian gardeners face significant challenges with cassava due to the short growing season. Greenhouses are practically essential. I'd suggest starting cuttings indoors in early spring, using supplemental lighting, and moving plants outdoors only when nighttime temperatures are consistently above 60°F (15°C).
United Kingdom
Similar to Canada, UK summers just don't get hot or long enough for outdoor cassava to produce well. But it's absolutely possible indoors or in a heated greenhouse. The RHS notes that tropical crops require extended warmth that the British climate rarely provides reliably.
Australia
Australian gardeners in northern or tropical zones have the best setup for cassava. It grows almost like a weed in Queensland and the Northern Territory. In southern Australia, treat it as a warm-season crop and plant only after frost danger passes.
Advanced Tips for Maximizing Yield
Use Mulch
A 2-3 inch layer of organic mulch around your cassava plants helps retain soil moisture without keeping the stem wet. This reduces the need for frequent watering and keeps weeds down.
Try Companion Planting
Cassava does well with legumes, which fix nitrogen in the soil. I interplant peanuts and beans with my cassava, and the results have been impressive. The legumes provide ground cover that suppresses weeds while naturally enriching the soil.
The Double Harvest Trick
If you're patient, you can harvest your cassava in stages. Gently remove soil around the base, harvest the largest tubers, and cover the remaining ones back up. This extends your harvest window without damage to the plant.
Watch for Leaf Drop as a Sign
Natural leaf drop in late autumn signals that the plant is channeling energy into tuber development. Don't panic when you see this. It's not a problem. It's your cassava working hard underground.
Frequently Asked Questions
Can I plant cassava from grocery store tubers?
Technically, you can, but I don't recommend it. Grocery store cassava may have been treated to prevent sprouting, and the variety might not be suited to your climate. For best results, source certified disease-free cuttings from a reputable nursery.
How much sunlight does cassava need?
At least 6-8 hours of direct sunlight daily. More is always better. Without sufficient light, your cassava will grow but produce minimal tubers.
Can cassava survive winter frost?
No. Cassava is a tropical plant with zero frost tolerance. Any temperature below 40°F (4°C) can damage or kill it. In cold climates, you'll need to grow it in containers and move it indoors before temperatures drop.
Why is my cassava growing slowly?
Check these factors in order: light levels, soil drainage, growing season length, and temperature. Most slow growth traces back to insufficient warmth or light.
How long do cassava tubers last after harvest?
Fresh cassava tubers keep for about 1-2 weeks in the refrigerator. For longer storage, I recommend peeling, cutting into chunks, and freezing. They'll keep for several months this way.
Is cassava safe to eat?
Yes, but only after proper cooking. Always boil or cook cassava thoroughly. Never eat raw cassava. The cooking process removes naturally occurring compounds that would otherwise be toxic.
Growing cassava from tubers has become one of my favorite garden experiments, and I genuinely hope this guide gives you the confidence to try it yourself. The plant is resilient and forgiving, provided you respect its need for warm soil, plenty of sun, and restrained watering. I've made every mistake in the book and still ended up with successful harvests. You will too. Just remember those three rules: keep it warm, keep it sunny, keep it dry. Everything else is just waiting and watching.