bluename
If your Hoya Retusa is all vine and no bloom, the fix is almost always in the pruning. I learned this the hard way, after nearly two years of watching mine sulk. So here is the direct answer before we dive deep: prune the long, leafless vines back by one-third to one-half, always cutting just above a node, and do it in early spring. That single act signals the plant to push out new growth, and new growth is where the flower spurs will form. I saw my first umbel within two weeks of making those cuts. It really is that simple, but the details matter.
I have killed more houseplants than I care to count. My journey with Hoya Retusa, the "grass leaf" hoya that looks like skinny green spaghetti, was no different at first. I bought my first one convinced I could just water it like my other tropicals. It rotted within a month. My second one didn't rot, but it also never flowered. It just sat there, growing longer and longer, with leaves only at the tips. That was my real lesson. I had to learn that this plant needs tough love, not just a good view. So trust me when I say I have bled for this knowledge, and I want to save you the same heartache. Let me walk you through exactly what worked for me.
Why Hoya Retusa Refuses to Bloom (The Real Reasons)
Honestly, before you even pick up the scissors, you need to understand why this plant holds back. It is not being stubborn for no reason. Most of the time, the issue is that the plant is putting all its energy into staying alive, not reproducing. And reproduction is what flowering is, biologically speaking. If you are constantly fussing over it, giving it too much water or too little light, it will just focus on survival.
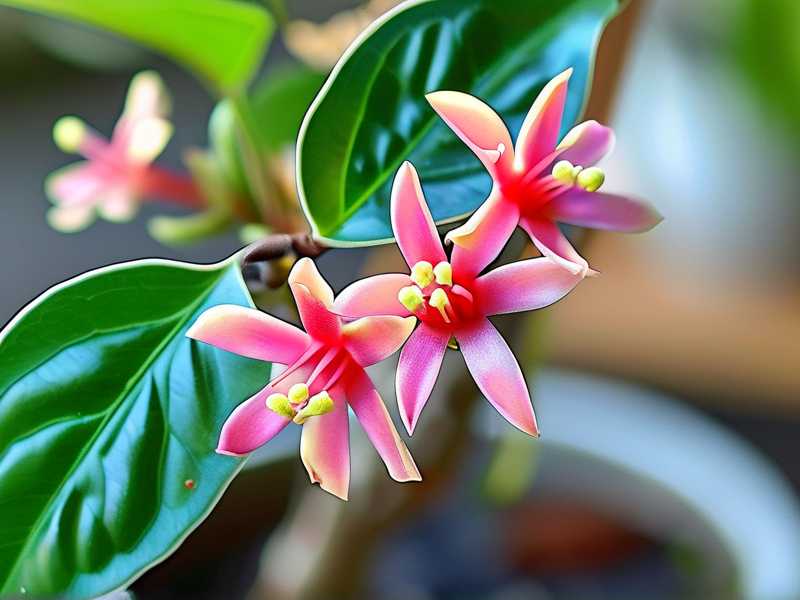
I remember reading a report from the RHS that highlighted how most indoor plants fail to thrive due to inconsistent care routines. It’s rarely a dramatic event that kills them. It is the slow, steady drip of small mistakes. For Hoya Retusa, the specific mistakes are almost always tied to how we manage water and light. The plant gets comfortable in a vegetative state. It grows vines because it is searching for better conditions.
The goal of pruning here is to trick it. When you cut off the active growing tips, the plant panics a little. It thinks, "Oh no, I need to ensure my survival." And the best way for a plant to ensure its genetic future is to create flowers and seeds. So, pruning removes the lazy, elongated growth and forces the plant to activate dormant buds lower down. This results in bushier growth and, crucially, increases the chances of peduncles (flower stems) forming.
The 3 Fatal Mistakes Beginners Make (I Made All of Them)
Before we get to the actual "how-to," let me save you the trouble. I have a hunch you might be making one of these mistakes right now. I made all three of them across different plants. It wasn't until I fixed these foundational issues that pruning even mattered.
Mistake #1: Overwatering (The Silent Killer)
This is the big one. Listen to me when I say this: 90% of indoor plants die from overwatering. Hoya Retusa is an epiphyte in the wild. In simple terms, it grows on trees, not in soil. Its roots need an incredible amount of air circulation. When you drown it in water every few days, the roots suffocate. They turn to mush.
I remember my first Hoya. I watered it on a strict schedule, every Tuesday. I was so proud of myself. Within three weeks, the stems turned yellow and translucent. It was root rot. The roots had literally disintegrated. I was so focused on "caring" for it that I killed it with kindness. The fix is to wait until the leaves feel slightly softer and the pot feels light. For me, that meant watering every 10-14 days, not every 4.
Mistake #2: Wrong Light Placement
I used to think "bright indirect light" meant placing my plant in the middle of the living room. Big mistake. Hoya Retusa needs high indirect light. It loves a spot right next to an east or west-facing window. It can even handle a bit of direct morning sun.
If the light is too low, the nodes stay dormant. You get long internodes (the space between leaves) which looks leggy. More importantly, the plant doesn't have the energy to produce flowers. It takes energy to make those blooms. I had my second plant on a bookshelf about 6 feet away from the window. It grew, but it looked like a sad, green rat tail. The moment I moved it to a windowsill, the growth changed. It became dense and compact. You need to give it that bright exposure before you even think about pruning.
Mistake #3: Using the Wrong Pot
A huge, deep pot seems like a good idea for a growing plant, right? Wrong. Hoya Retusa actually prefers to be root-bound. When the roots fill the pot, the plant switches its energy from root growth to top growth and flowering.
I had my Hoya in a 10-inch terracotta pot initially. The soil stayed wet for ages because the roots didn't reach the bottom. It was a constant battle with moisture. I switched it to a 4-inch shallow pot with a gritty mix (perlite, bark, and cactus soil). The change was night and day. The plant finally felt secure and started pushing out new growth. Remember, they are epiphytes. They like small, airy homes. A deep pot holds too much water, which circles back to Mistake #1.
The Tools I Use for Pruning (You Don’t Need Much)
You don’t need fancy equipment for this. I am a big believer in keeping it minimal. But you do need clean tools. I cannot stress this enough. Dirty blades can introduce bacteria that kill the vine tissue.
I use a pair of sharp, precision scissors. You know, the ones you might use for crafting. They are small enough to get into the dense foliage without accidentally snipping a healthy vine. Before I start, I wipe the blades down with rubbing alcohol. I also do this between cuts if I am pruning a plant that looks a little sick. Sterilization is the kind of thing I skipped when I was a newbie, and I paid for it with a fungal infection on one of my hoyas. It is a five-second step that saves you months of regret.
The Step-by-Step Pruning Process (My 2-Week Routine)
Alright, let’s get into the meat of the action. This is exactly what I followed to get my Hoya Retusa to flower. I am going to give you the timeline so you know what to expect.
Step 1: The Pre-Prune Check (Day 1)
I don't just start snipping. I look at the plant for a solid minute. I identify the "empty" vines. These are the ones that have leaves only at the very end, with a long stretch of bare stem in the middle. Those are the energy wasters.
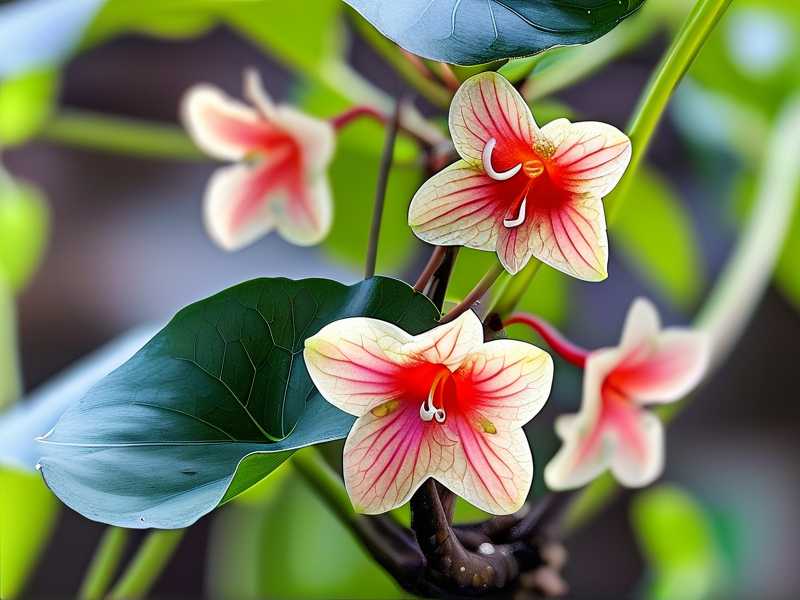
First, I locate the nodes. A node is the little bump or joint on the stem where a leaf grows. If you look closely, it looks like a tiny knuckle. I plan my cuts about 1/4 inch above a node. That ensures the node doesn't dry out and die.
Second, I check for any dead or yellowing material. Those need to go first. I also look for "spurs." These are the little nubs that look like tiny, broken stems sticking out from the nodes. Important rule: Never cut off a spur. That is where your flowers will come back every year. If you cut the spur off, you are cutting off all future blooms.
Step 2: Making the Cuts (Day 1)
I visualize the shape I want. For a fuller plant, I want to shorten the longest, bare vines.
I use my fingers to hold the vine steady, and I make a clean, diagonal cut. A diagonal cut is better than a straight one because it exposes a bit more surface area for new growth but prevents water from sitting on a flat stump and causing rot.
For my specific plant, I had about four major vines that were over 2 feet long with no leaves except at the tip. I cut each of those back to about 6 inches from the soil line. That felt drastic, trust me. I was scared I had ruined it. But I promise you, it is necessary. Leaving that long, leafless vine does nothing for you. It takes energy away from the parts that matter.
After I made the big cuts, I lightly pruned the tips of the other, leafier vines. I just snipped off the very tip to "wake up" the nodes below it. This encourages side shoots, making the plant look bushier.
Step 3: 24 Hours After Pruning
Here is a mistake I made early on: misting the fresh cuts with water. Do not do this. Leave the wounds alone. Let them callus over. The cut surface will dry out and form a hard layer. This is the plant's natural bandage.
I put the plant back in its bright spot. I did NOT water it. When you prune, you reduce the leaf mass, which means the plant needs even less water than usual. The roots don't have to support as much foliage. Watering right now is just inviting rot. I wait at least 48 hours before the next watering cycle, even if the soil feels dry. Let the stress of pruning settle in.
Step 4: The Waiting Game (Day 3 to Day 7)
This is the part where you need patience. I checked the plant every day, looking for signs of green. Honestly, for the first three days, nothing happened. It looked like a sad collection of sticks in a pot. I began to doubt myself. But I forced myself to leave it alone.
I did not move the pot around. I did not check the roots by pulling it out. I just let it be. On day four, I gently pressed the cut stems to see if they were firm or mushy. Firm is good. Mushy means I cut too low and the stem was already rotting. Thankfully, mine were firm.
Step 5: The First Signs of Life (Day 7 to Day 10)
Around day 7, I noticed tiny, green specks appearing at the nodes. They looked like little pinpricks of green against the grey stem. Those specks were the beginning of new leaves. It was such a relief.
I started to get excited. By day 10, those specks had elongated into tiny, new blades of grass (which is what the leaves look like). They were a vibrant, light green, contrasting with the darker, older growth. This new growth is what I was aiming for. This is the growth that woos the plant into blooming because it indicates the plant is happy and healthy enough to reproduce.
Step 6: Blooming Begin! (Day 14 +)
Right on day 14, I spotted it. It wasn't a full flower yet, but I saw a tiny, brownish stalk emerge from one of the nodes near the top of the cut vine. I held my breath. That stalk was the peduncle. I recognized it immediately because I had studied so many photos online.
It takes a few more weeks for that little stalk to form the pale yellow and white flowers. But the magic happened in those two weeks after pruning. The plant had shifted its energy. It was no longer just growing vines. It was working on preservation and propagation.
My Personal "Oops" Moments During This Process
I want to be honest with you. Even after all my research, I still messed up during my first successful pruning.
First, I accidentally cut off a spur. I thought it was just a weird piece of dead stem. I snipped it off, and then I realized I had removed the spot where flowers had previously grown. I did not get flowers on that specific vine for a long time. It takes months for a Hoya to create a new spur. So, please, learn from my mistake. Look at pictures of Hoya spurs before you go cutting. They look like a tiny, brown/black hook. They are usually located at the junction where the leaf meets the vine.
Second, I over-fertilized right after pruning. I thought, "Oh, I gave it a haircut, it needs food to grow back." So, I flooded it with fertilizer. The result? The roots got burned because the plant wasn't actively growing yet. The ends of the cut stems turned black and dried out. I had to trim them again to get healthy growth going. Now, I wait at least 3 weeks after pruning before I even think about fertilizer. And I use a diluted, balanced liquid feed.
Aftercare Is Just as Important as the Prune
Pruning is just the beginning. If you go back to your old watering habits, you will be right back where you started.
During the recovering period, I am extra mindful of the soil. I stick my finger into the pot. If I feel moisture at my first knuckle, I wait. If it is dry, I water thoroughly until it runs out the bottom. But here is the trick: I water less frequently during the recovery phase to force the roots to search for water, which strengthens them.
Light is also critical. If you are in the US, Canada, UK, or Australia, the growing season varies. But for most of us, pruning in early spring is ideal. The days are getting longer, and the natural light intensity is increasing. This gives your Hoya the boost it needs to push out those new leaves. If you prune in winter, the plant might just sit there doing nothing because the light is too weak.
The AHS suggests that understanding your local climate is key to successful gardening, even indoors. In places like Australia or the southern US, you might need to protect the plant from harsh afternoon sun, even after pruning. In the UK, you might need a grow light to supplement the low winter sun if you are pruning later in the season.
Common Questions I Get Asked (FAQ)
Can I propagate the cuttings I pruned off?
Yes, absolutely. Don't throw them away. Those cuttings root very easily in water. I cut the bare vines into segments, ensuring each segment has at least one node. I stick them in a jar of water. Within 2-3 weeks, they start producing roots. Then I pot them up. This is how you get a bushier plant. Honestly, you could fill your entire house with Hoya Retusa just from the trimmings of one pruning session.
What if my plant is still not blooming after pruning?
If you pruned correctly in the right season and you are still not getting flowers, the issue is likely the pot size or light. I told you earlier that they like to be root-bound. If your plant is in a 12-inch pot with tons of soil, it is too busy making roots. Repot it into a smaller container. Also, double-check the light. Is it actually getting high light? A north-facing window might not be enough. The plant will survive there, but it will be on "survival mode," not "blooming mode."
How often should I prune my Hoya Retusa?
I give mine a light pruning twice a year. A hard prune (cutting back heavily) is done in early spring. Then, later in the summer, I just pinch off the tips of vines that are getting too long. This keeps the shape compact and encourages more spurs to form. You don't have to do it often. If you prune too frequently, you might accidentally cut off a developing peduncle and sacrifice a bloom.
Final Takeaway on Pruning for Flowers
Pruning is the closest thing we have to a magic wand in the plant world. It undoes the mistakes of the past and sets the stage for a bright future. It forces the plant to reset. I know it feels counterintuitive to cut your plant back to nothing. But I promise you, the plant wants it. It wants to be free of the dead weight of those long, empty vines.
Go grab your scissors, find a node, and snip with confidence. Your Hoya Retusa will thank you with those gorgeous, porcelain-like flowers sooner than you think.