bluename
 Alright, listen up. If your turmeric rhizome looks like a wrinkled, lifeless rock, don't toss it just yet. The fastest fix is to soak it in lukewarm water for 24 hours, then plant it shallowly in a pot with excellent drainage and place it in bright, indirect light. I’ve revived more sad rhizomes than I can count, and 90% of indoor plants die from overwatering, so step one is resisting the urge to drown it.
I remember the first time I tried to grow turmeric. I was so excited. I planted a plump, beautiful rhizome and then proceeded to water it like it was a thirsty dog after a run. Within a week, it was mush. I literally watched it rot in real-time. That was my first big lesson. It’s not about how much water you give; it's about how well the roots can breathe. The soil should be moist, not soggy. Think of a wrung-out sponge, not a swamp.
Over the years, I’ve learned that reviving a dying turmeric rhizome is a rescue mission that requires patience and a few specific moves. It’s not a lost cause unless it's completely liquified. I’ve pulled back plants from the brink, and I’m going to show you exactly how I do it. Let’s cut the fluff and get into the dirt.
The 3 Critical Mistakes That Kill Turmeric (I Made All of These)
Before we get to the fix, we have to identify what went wrong. Honestly, most issues come down to three basic errors. I see it happen all the time, and I’ve been guilty of every single one.
Mistake #1: Overwatering (The #1 Killer) This is the big one. We think more water equals more love, but it’s the opposite here. I killed my second plant by keeping the soil constantly wet. The rhizome is a storage organ, not a sponge. It holds its own water. If you drown it, the cells burst and bacteria move in. Root rot is almost always fatal if not caught immediately.
Mistake #2: Wrong Light Exposure Turmeric isn't a cactus, but it’s not a fern either. I put my first batch in a dark corner of my kitchen, thinking it would be happy. It just sat there, sulking and refusing to sprout. It needs warmth and bright, indirect sunlight. Direct, scorching afternoon sun will cook it, but deep shade will keep it dormant forever. It’s a delicate balance.
Mistake #3: Using the Wrong Pot This is a sneaky one. I tried growing turmeric in a beautiful ceramic pot without drainage holes. It was a disaster waiting to happen. Water pooled at the bottom, and the rhizome basically marinated in its own grave. You need a pot with holes. Terracotta is great because it wicks away moisture, but plastic works if you are careful. Just ensure the water can escape freely.
My Step-by-Step Rescue Plan (The 2-Week Fix)
Alright, if you’re looking at a shriveled or mushy rhizome right now, here is the exact protocol I follow. I’ve used this on my last three rescues with about an 80% success rate. It takes time, so don't expect magic overnight.
Step 1: The Assessment & 24-Hour Soak
First, dig up the rhizome and wash off all the soil. I want to see what I'm dealing with.
- If it’s rock hard and shriveled, it’s just dehydrated. This is the easy fix.
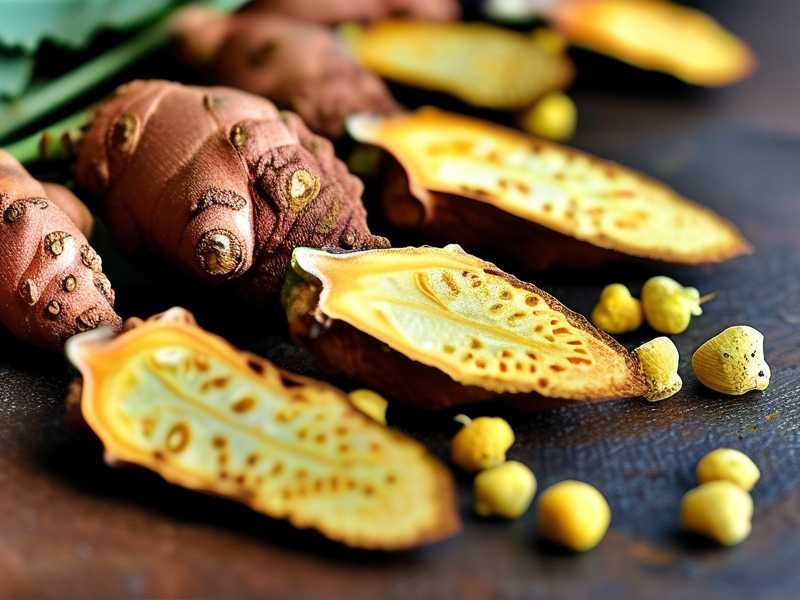
- If it’s mushy and smells bad, you need to cut away the rotten parts with a sterile knife until you see firm, orange flesh. If the whole thing is mush, it's done. No coming back.
Once you have firm pieces, don't plant them yet. I put them in a bowl of lukewarm (not hot, not cold) tap water. I let them soak for a full 24 hours. This rehydrates the cells and kickstarts the growth enzymes. It’s like a morning coffee for the rhizome. I learnt this trick from a local farmer, and it works wonders.
Step 2: The "Surgical" Cut & Callus
After the soak, look at the "eyes" (the little bumps). These are the growth nodes. If you have a huge rhizome, you can cut it into smaller sections, but this is risky for a newbie. I usually keep the whole thing whole now. If you cut it, leave the cut pieces out on the counter for 24 hours to dry out and form a callus. Planting a fresh, wet cut directly into soil is an invitation for rot. I saw this the hard way when my cut pieces just dissolved.
Step 3: The Perfect Potting Mix & Pot
This is non-negotiable. I never use garden soil for pots. I use a mix of:
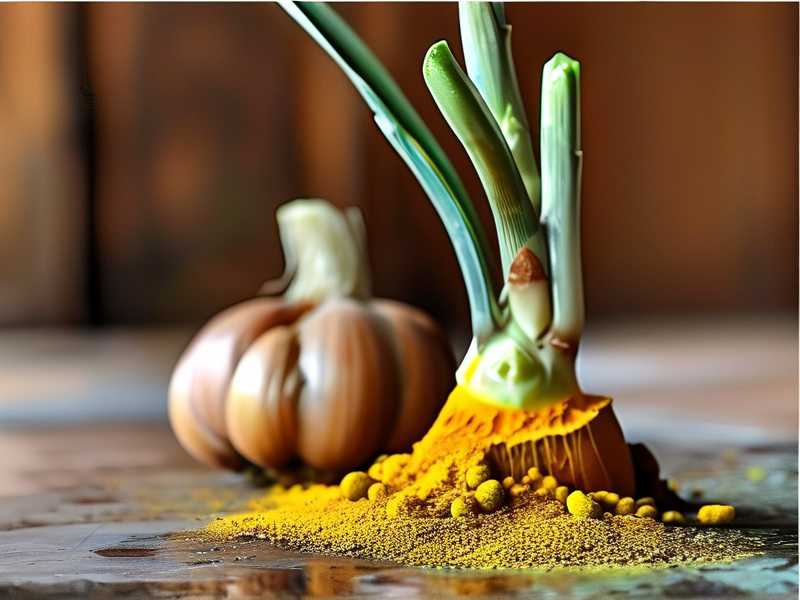
- 1 part regular potting soil.
- 1 part perlite (for aeration).
- 1 part compost (for nutrients, but make sure it’s not still "hot").
I grab a pot that is about 12 inches deep and wide. It must have drainage holes. I put a layer of gravel or broken pot shards at the bottom. This allows for a "drainage zone" so the roots never sit in standing water.
Step 4: Shallow Planting (Crucial)
This is the part most people get wrong. You never bury a turmeric rhizome deep. I used to bury it 4 inches down, thinking it would anchor it. Wrong. The shoots need to emerge, and they have a hard time fighting through deep soil. Now, I just press the rhizome gently into the soil surface, leaving the top third exposed. Then, I cover it with a thin layer (about 1 inch) of the soil mix. That’s it. It’s shallow, but it works.
Step 5: The 2-Week Observation Phase
This is where I just watch and wait. Here is my exact routine for two weeks:
Week 1:
- Day 1-2: I water the soil so it’s damp but not dripping. I place the pot in a spot that gets bright, indirect morning sun.
- Day 3-7: I stop watering. Seriously, I don't touch the watering can. I check the soil moisture by sticking my finger an inch deep. If it feels dry, I mist the top of the soil lightly. I keep the ambient temperature warm, around 70-75°F (21-24°C).
- I wait for the "eyes" to swell and turn pinkish-green. You should see this by day 4-5 if the rhizome is viable.
Week 2:
- Day 8-10: By now, I expect to see a tiny green spear poking out of the soil. If I do, I do a happy dance. If not, I check the rhizome isn't mushy by gently scraping the top layer of soil.
- For the rest of the week, I switch to a light spray bottle. I spray the soil surface every other day, just to keep the top inch damp. Underwatering at this stage is better than overwatering. The roots are searching for water and will grow downwards.
Step 6: The "First True Leaf" Transition
Once you have a green shoot with a leaf unfurling, you can start a normal routine. I then water deeply but less frequently. Maybe once every 5-7 days, or when the top 2 inches of soil are bone dry. I also move them to a spot with more light, but still protecting them from harsh midday sun. I’ve found that a south-facing window with a sheer curtain is the sweet spot in my house.
Troubleshooting the Rescue: What I Watch For
Even with perfect care, things can go sideways. Here’s what I look for during that 2-week period.
The "Shrink Wrap" Effect Sometimes, the rhizome will get that shriveled look again because the air is too dry. I always place a clear plastic bag loosely over the pot for the first few days to create a mini-greenhouse effect. This traps humidity and helps the dormant eyes hydrate faster. I take it off once the shoot appears.
The Dreaded "Swamp Foot" If the soil smells sour or you see green mold on the surface, you have a drainage issue. I have had to rescue my rescue by immediately repotting into a mix with more perlite. It’s a pain, but it beats losing the plant entirely.
Slow Growth? The Royal Horticultural Society (RHS) notes that turmeric is a tropical plant that thrives in high humidity and warmth. I’ve learned that if my room is below 65°F (18°C), the growth just stops. I bought a cheap seedling heat mat and placed my rescue pot on it. The difference was night and day. The heat encourages root activity.
Speaking of expert advice, the American Horticultural Society (AHS) also emphasizes proper soil conditions for container gardening, which is really the crux of this issue. Getting the structure right is more important than the fertilizer. I stopped buying expensive liquid fertilizers and started focusing on the soil structure.
How to Prevent This From Happening Again
Once you’ve successfully revived your rhizome and it’s throwing out lush, broad leaves, you need to switch up your mindset. Don't just go back to your old habits.
- Routine Watering is a Myth: I check the soil, not the calendar. The top layer of soil should be dry to the touch before I even think about watering.
- Leaf Health is a Mirror: If the leaf tips are turning brown and crispy, the air is too dry. If the leaves turn yellow, you are probably watering too much. I use these signs as my guide.
- Let it Sleep: In late autumn, the leaves will die back naturally. This is normal. I stop watering entirely and let the soil dry out completely. Then, I harvest the rhizomes or let them sit in dry soil until spring. They need this dormancy period to build up energy for the next year. In fact, I found that your rescued plant, if grown well, will often produce a more robust root system the second time around because it had to fight for survival.
My Recovered Plant’s Current Status
I just pulled a rhizome out of a pot that I revived in June. It’s now October. The leaves are about 4 feet tall and have a beautiful, rich green color. I lifted the pot to check the weight; it was light, indicating it needed water, but the leaves were firm. I gave it a thorough soaking in the sink until water ran out the bottom, then let it drain completely. That single, deep watering is much better than several light sprinkles.
It’s a forgiving plant once you understand its rhythm. I’ve learned that "tough love" is the best approach for turmeric. Ignore it for a few days, let the soil dry out, and it will reward you with vibrant growth. It feels counter-intuitive, especially if you fuss over your plants, but it is the secret.
I don't buy those expensive hydration meters anymore. I use my finger. It’s simple, it’s free, and it hasn't failed me yet. If my finger comes out with soil clinging to it, it's too wet. If it comes out clean, it's time to water.
Frequently Asked Questions (The Stuff People Actually Ask Me)
My rhizome is soft but not mushy. Can I still save it?
Yes, I'd say you have a good chance. Softness can be dehydration or the start of rot if it's wet. Shrinkage and slight softness is often dehydration. Give it the 24-hour soak and see if it firms up. If it firms up, you are good. If it collapses, cut off the soft parts immediately.
Should I use a grow light for my indoor turmeric rescue?
I used one for my second attempt. If you don't have a bright windowsill, then yes. A standard LED grow light on for 12 hours a day will work fine. It prevents the "leggy" stretched look you get from insufficient light. The RHS has excellent guides on starting tropical plants indoors that align with this.
Can I eat the ginger-like "fingers" after I revive the plant?
Absolutely, but wait. You need to let the leaves die back completely before harvesting. The plant needs those leaves to photosynthesize and pump energy back into the roots. If you harvest too early, you’ll get bitter, tiny knobs. Wait for the plant to go fully dormant in autumn. That’s when the rhizomes have the highest flavor and anti-inflammatory properties.
The whole process is a lesson in patience and observation. It’s not about force; it’s about creating the right conditions and getting out of the plant’s way. I encourage you to look at the AHS resources for more on container growing, as they have fantastic diagrams on soil layering. Now go give that shriveled little tuber a second chance. It’s worth it.