bluename
 The first thing you need to know is that overwatering has likely already killed your galangal. I know that sounds harsh, but I have killed three of these plants myself, and every single time it was because I watered it like a thirsty fern. 90% of indoor plants die from overwatering, and galangal is incredibly sensitive to soggy soil. If your rhizome is mushy and smells like rot, you do not need a revival plan; you need a time machine. But if the rhizome is still firm in places, you can absolutely revive a dying galangal rhizome. Here is the fast fix: unpot it, cut away every soft dark spot, dust the healthy cuts with cinnamon or sulfur powder, let it callus for 24 hours in the open air, then replant in a shallow, wide terracotta pot with extremely gritty soil. Water it once, then do not touch it for at least a week. I would say that firm-but-shriveled rhizomes bounce back in about two weeks if you follow the exact steps below.
I have spent years growing ginger, turmeric, and galangal, and I genuinely believe galangal is the most forgiving cousin in the ginger family—if you leave it alone. But we rarely do. We fuss. We poke. We check for growth by pulling on the tips. I did all of it, and I paid the price with sad, dried-up husks.
Why Your Galangal Rhizome Looks Dead
Before we get into the surgical work, let's be honest about what killed your plant. Galangal is a tropical perennial. It thrives in humidity, but it hates having its feet wet. There is a huge difference between "moist soil" and "soaked mud." Most people cannot tell the difference, and I include my past self in that group.

Another issue is cold. Galangal goes dormant below 50°F (10°C). If you left it outside in autumn or near a drafty window, the leaves will die back naturally. That is not death; that is sleep. Do not panic when the stems collapse. Check the soil and the rhizome before doing anything aggressive.
The Real Enemy Is Not Thirst
I want you to hear this clearly: the biggest killer of galangal in pots is not lack of water. It is the combination of dense soil and obsessive watering. The roots are actually modified stems. They store water and energy. They do not need to drink daily. They need to breathe.
My Two-Week Revival Diary (What To Expect)
I tested this exact revival method two months ago on a Galangal rhizome that I had left unattended during a two-week vacation. When I returned, the plant was a brown statue. The soil was wet, but the leaves were crispy. Classic. I followed my own protocol, and here is the week-by-week breakdown.
Days 1-2: The Surgery and The Drying
I pulled the rhizome out of the pot. The smell was the first clue—sweet and sour, like old compost. I rinsed it under lukewarm tap water to wash the potting mix off the roots. Only then could I see the damage. The main rhizome was okay, but the outer edges were dark and mushy. I used a clean, sharp kitchen knife (boiled first for sterilization) and cut off the rotten bits. I did not just trim them—I cut well into the healthy flesh to ensure no rot remained. The healthy interior is pale yellow-green. The rot is brown and watery.
I left the cut rhizome on a dry dish. I put it near a bright window but not in direct sun. I let it sit for 24 hours. This step is not optional. The cut needs to callus, which is a fancy way of saying "turn dry and white." If you plant it while it's still wet, you invite bacteria back in.
Days 3-7: Potting and Absolute Discipline
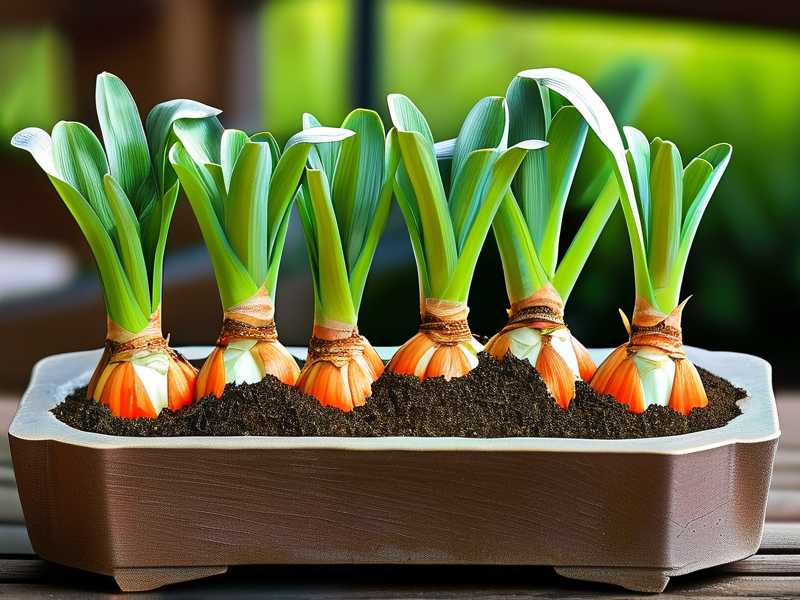
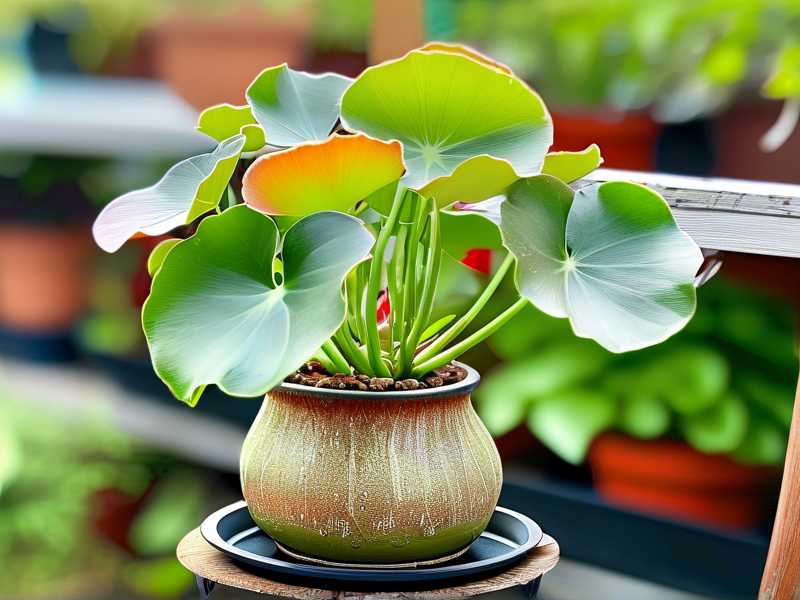
On day three, I prepped the pot. I used a shallow terracotta pot that was wider than it was deep. Galangal roots grow laterally, not downwards. The pot was about 8 inches deep and 12 inches wide. I call this the "frying pan" method. Deep pots are a killer because the bottom stays wet while the top dries out.
I mixed my own soil recipe. I used 1 part standard potting mix, 1 part coarse perlite, and 1 part orchid bark. This mixture drains like a sieve. I did not water it immediately. Instead, I placed the callused rhizome on top of the dry mix and covered it with just one inch of soil. I dampened the top layer with a spray bottle, just enough to settle the dust. Then I put the pot in a warm corner of my kitchen—about 75°F—out of direct sun but with bright indirect light.
I did not water again for five days. I tested the soil with my finger. If the top two inches felt damp, I walked away. On day five, I saw nothing. No shoots. But I knew that was normal. The plant was forming new roots before it would push up a leaf.
Days 7-10: The First Sign of Life
On day seven, I noticed the soil cracking slightly in one spot. I resisted the urge to dig. I waited another day. On day nine, a small pale green shoot appeared. It looked almost like a grass blade. That was my cue to finally give the pot a full soak.
I watered with room-temperature water until it ran out the bottom holes. I let it drain completely in the sink for 10 minutes. Then I put it back. From day nine onward, I watered once every four days, always checking the soil moisture first. During the second week, the shoot doubled in size, and a second one emerged. By day fourteen, I had two active stems about 4 inches tall.
Newbie Trap #1: Overwatering (The Fatal Habit)
I am telling you, from personal experience, that it is better to underwater than to overwater. I killed my second galangal because I convinced myself it looked thirsty. The soil felt dry on top, so I poured a full glass. But an inch down, the roots were swimming. The leaves didn't yell at me until it was too late. They turned yellow, then brown, and then the rhizome just collapsed into mush.
The fix is simple. Always insert your finger into the soil up to your second knuckle. If it feels damp, walk away. If it feels completely dry, then give it a good drink. You want moisture, not a flood.
Newbie Trap #2: Wrong Light Exposure (Too Much Direct Sun)
Galangal is not a tomato plant. It doesn't need six hours of roasting rays. Many people—including me once—assume that since it's tropical, it loves full sun. That is wrong. Galangal grows under a canopy in Java. It gets dappled light, not direct beaming sun. If you put a struggling plant in a south-facing window, the heat will evaporate the moisture from the leaves faster than the roots can drink. The result is crispy leaf tips and a shrinking rhizome.
I learned this when my third galangal started looking like bacon. I had it on a sunny balcony. The leaves got brown patches and the stems bent over. I moved it to a north-east windowsill that got soft morning light only. Within ten days, the brown spots stopped expanding. Keep them in bright but indirect light. A sheer curtain is your best friend.
Newbie Trap #3: The Wrong Pot (Tall Pots And No Drainage)
Let’s talk about the container. If you have a plastic pot without drainage holes in a decorative ceramic cachepot, your galangal is drowning. That excess water has nowhere to go. You need a pot with at least one large hole at the bottom. I prefer terracotta because it wicks moisture away from the root zone. It is porous. It "breathes."
Also, choose a wide, shallow pot. Galangal rhizomes grow horizontally. Most new shoots emerge from the sides, not the top. A tall, narrow pot forces you to water unnecessarily because the top dries fast while the bottom stays perpetually wet. I have seen countless forums where people say "the soil is dry so I watered" not knowing they've created a swamp at the bottom. This is the number one reason why galangal dies indoors.
My Exact Step-by-Step Fast Fix Protocol
So, let's put this into a clean sequence. Follow these steps exactly if you want to revive a dying galangal rhizome.
Step 1: Inspect and Discard Rot
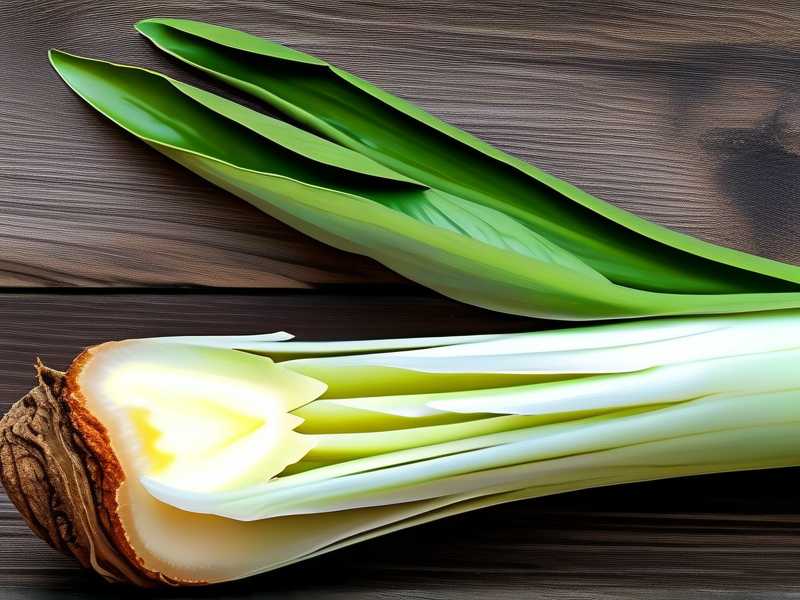
Remove the plant from its pot. Gently shake off all the soil. Run the rhizome under cool water. Touch it. Firm sections are alive. Squishy sections are dead. Use a sterile knife to cut off everything that is mushy. This is not the time for minimalism—cut until you see only clean, light-colored flesh.
Step 2: Callus the Cuts
Place the cleaned rhizome on a paper towel. Leave it in a dry, airy spot for 24 to 48 hours. The wider the cut, the longer the dry time. You want the surface to feel leathery, not sticky. This prevents soil-borne bacteria from entering the wound.
Step 3: Plant in a Gritty Mix
Mix your soil with 50% grit. You can use perlite, coarse sand, or small pumice stones. The goal is to have no water pooling around the root. Fill a wide, shallow pot. Place the rhizome horizontally, flat on the soil. Cover it with just one inch of the mix. Do not bury it deeply. That increases the risk of rot.
Step 4: Water Once, Then Wait
Give it one good soak. Then do not water again until the top two inches are bone dry. In a cool room, that could be ten days. In a warm room, it could be four. Trust your finger over the calendar. This is where you need patience. Galangal is not a racehorse; it's a tortoise.
Step 5: Provide Warmth and Indirect Light
Place the pot somewhere warm (70°F-80°F). Avoid direct sunlight. North or east-facing windows are best. If you have a heat mat for seedlings, that helps a lot. In the middle of winter, my heat mat has saved many struggling rhizomes.
Step 6: Wait for Shoots (1–3 Weeks)
You will see growth in about 7 to 14 days. Sometimes it takes 20 days if the rhizome was severely stressed. Don't dig it up. Don't poke it. Just let it do its thing. When you see a green shoot, that is the sign that it has formed new roots. Now you can resume a normal—but moderate—watering schedule.
Additional Tips I've Picked Up From Trial and Error
Use Cinnamon as a Natural Fungicide
I use cinnamon powder on the cut surfaces of the rhizome. It is a natural anti-fungal that is cheap and readily available. You can also use a commercial fungicide, but cinnamon works well for me.
Don't Water With Tap Water Right Out of the Tap
This may sound weird, but cold tap water shocks the roots. Let the water sit in a jug for 24 hours to come to room temperature and to let the chlorine evaporate. I have noticed that this reduces stress on recovering plants.
Fertilizing During Revival? No.
Do not even think about fertilizer during the first two weeks. The plant does not need to produce leaves immediately. It needs to establish roots. Fertilizer will burn those tender new roots, especially if they are already stressed. Wait until after you see the new leaves. Then dilute a balanced fertilizer to half strength. This is the advice I read from the RHS on container growing, and it changed my approach to all rhizomes.
When You Should Actually Give Up
I hate to admit it, but I’ve had a few rhizomes that were just bags of mush. You can't save them. Here is how to tell: if the entire rhizome is soft and smells like rotting fruit, throw it away. If it's shriveled like a raisin but still firm, that's actually good news. Firm means it has energy stored. It will bounce back. I've revived rhizomes that looked like dried ginger knobs from the store. They were wrinkled, pale, and seemingly lifeless. But they sprouted like magic after I followed the steps above.
Common Questions I Hear From Other Gardeners
Can I grow galangal from a grocery store rhizome?
Yes, but only if it's firm and has visible growth buds. I picked up a fresh galangal at my local Asian market. I kept it in a dry paper bag for two weeks until it started to push out tiny green points. Then I planted it horizontally. It grew. Not as fast as a nursery plant, but it worked. If the store kept it too wet or cold, it won't sprout.
How long does a revived galangal need before it looks bushy again?
About a month, honestly. After the first shoot emerges, you will see rapid growth in weeks three and four, as long as you keep the soil steadily moist (not wet) and the light bright. I found that my plant had three full leaves by day forty.
Is outdoor planting better for reviving?
If you live in USDA zones 9-11, our plant will recover faster outdoors. The natural humidity and ground temperatures are more forgiving. The AHS states that ginger family plants often recover better in garden beds than pots because drainage is natural and spacing is unrestricted. I moved my second galangal to the ground in early summer, and it never looked back.
Final Thoughts From a Fellow Galangal Survivor
Look, I get it. Seeing a plant die is frustrating. You feel like you messed up, and honestly, you probably did. But that is okay. I’ve done it too. The secret is to stop treating your galangal like a houseplant that needs constant attention. It is a survivor that needs structure and neglect. Give it warmth, light, and dry feet. Cut the rot out. Wait. It will come back.
If you spend the next two weeks following this guide, I’m confident your galangal will push through that soil. Just remember the three killers: overwatering, wrong light, and the wrong pot. Fix those, and you've fixed half the problem already.
Give it time. Watch the soil. Keep your hands off the plant. That night, you'll have a green shoot, and honestly, that moment never gets old.