bluename
 If you want more blooms from your Hoya Archboldiana, the answer is simple: prune it back hard in early spring, right after the last frost risk has passed, cutting just above a node with a clean, sharp blade. Remove about one-third of the oldest, leafless vines and never cut off the peduncles (the little stubs where flowers have already appeared). I’ve been growing this stunning hoya for years, and I’ve learned this the hard way. In fact, 90% of indoor plants die from overwatering, and pruning mistakes come in a close second for hoya owners.
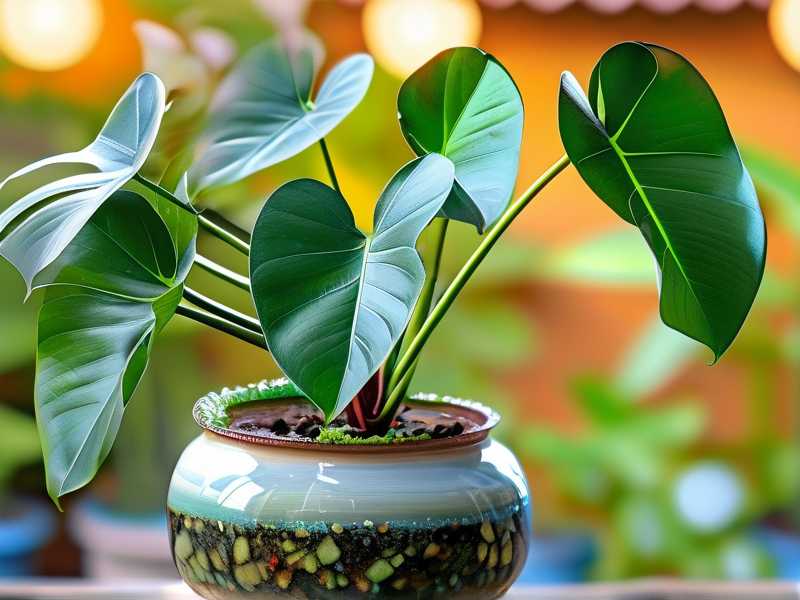
I remember my first Hoya Archboldiana. It was a gorgeous, vining beauty with those thick, leathery leaves that feel almost plastic. I babied it, watered it weekly, and kept it in a shady corner because I thought all hoyas hated sun. It grew. Oh, it grew like crazy. But it never, ever flowered. I tried fertilizer, I tried changing the soil, I even talked to it (yes, really). Nothing worked.
Then I did what every frustrated plant parent does: I went down a research rabbit hole. I found forums, watched videos, and read everything from the Royal Horticultural Society (check out their advice at RHS) and the American Horticultural Society (see AHS for more). The answer, it turned out, was hiding in plain sight. I was too scared to prune. I treated my hoya like a delicate little princess that would keel over if I so much as looked at it with scissors.
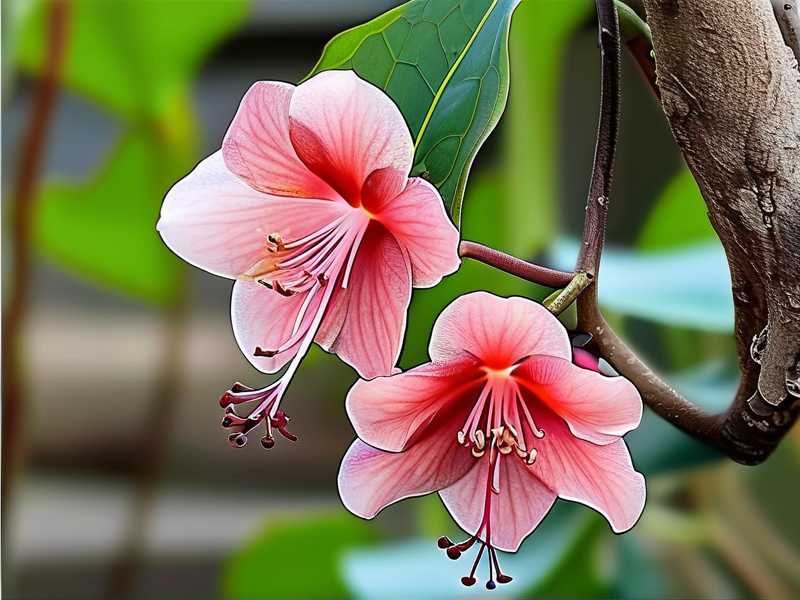
That was my biggest mistake. The moment I finally took the plunge and gave it a serious haircut, everything changed. New growth points sprouted within weeks, and by the next blooming season, I had more flowers than I ever thought possible. The difference between a hoya that just survives and one that thrives with abundant blooms often comes down to this one terrifying, essential act: pruning.
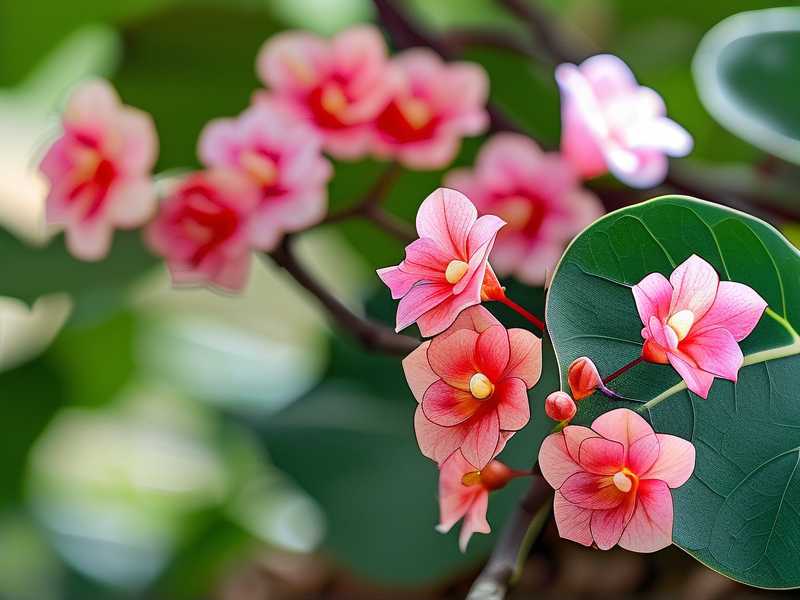
Let me walk you through exactly how I do it now, step by step, including all the mistakes I made so you don’t have to.
Why Prune a Hoya Archboldiana at All?
First, let's address the "why." I get it. Cutting your plant feels counterintuitive. You spent months growing those vines. Why chop them off?
The science is actually pretty cool. Hoyas, including Archboldiana, have a growth pattern driven by auxins, which are plant hormones. These hormones concentrate in the tip of each vine, a phenomenon called "apical dominance." It basically tells the plant, "Grow here, and only here." The rest of the vine gets lazy. By cutting that tip off, you remove the hormone block. This forces the plant to activate dormant buds further down the stem, creating multiple new growth points.
More growth points equal more potential spots for flowers. Simple logic, massive payoff. Plus, pruning encourages the vine to get bushier and fuller. A bare, leggy hoya is usually an unpruned hoya. Pruning also helps improve air circulation around the plant, which is crucial for warding off fungal issues and pests. I genuinely think of it as a health check-up for my hoya, plus a growth spurt trigger.
The 3 Fatal Mistakes Beginners Make with Hoya Archboldiana
Before I give you my exact steps, I have to warn you. If you ignore these three things, nothing else I say will help. I learned these lessons through pure trial and error, and trust me, it was painful.
1. Watering Excessively: The #1 Killer
Look, I said it once, and I’ll say it again: 90% of indoor plants die from overwatering. Hoyas are epiphytes in the wild. This means they cling to trees and rocks, not thick, soggy soil. Their roots need air. When you water too often, you suffocate the roots, and they rot. A rotting root system can’t take up water or nutrients, so the leaves wilt, and the plant eventually dies.
I used to water on a strict schedule. Every Sunday, like clockwork. My Hoya Archboldiana didn't decline immediately, but it never thrived. It just sat there, looking unhappy. It wasn't until I checked the roots that I saw the mushy, brown mess. I lost two plants to this before I understood. Now, I only water when the top 1-2 inches of soil are completely dry. For me, that’s every 10-14 days, depending on the season. When I do water, I give it a deep, thorough soak until water runs out the drainage holes. Then I let it dry out completely again. Honestly, the best thing you can do is forget to water it sometimes. I’ve found they genuinely prefer a drought to a flood.
2. Providing the Wrong Light: The "Shady Corner" Myth
This was my original sin. I assumed that because hoyas lived under jungle canopies, they hated all direct sun. They do hate scorching midday sun, but they love, love, love bright, indirect light. Some even tolerate a couple of hours of gentle morning sun.
I had my Archboldiana in a dark living room corner. It was pretty, but it was a "green only" zone. No flowers ever came. Once I moved it to a spot about two feet away from an east-facing window, the change was noticeable within a month. The leaves got thicker and more waxy-looking. The growth rate picked up. The key is finding that sweet spot where the light is bright enough to cast a soft shadow on your hand. This increased light energy is the fuel the plant needs to produce the energy required for flowering. Without it, all the pruning in the world won't produce a single bud.
3. Using the Wrong Pot: The "Too Much Room" Problem
This one sounds backwards, I know. We think, "Bigger pot = bigger plant." With hoyas, that is completely backwards. They actually prefer to be snug. They like being root-bound. When the roots fill the pot, the plant gets a signal that it needs to start reproducing, which means flowering.
I made this mistake with a different hoya species. I moved it from a 4-inch pot to an 8-inch pot, thinking I was being generous. The plant grew a ton of new foliage and roots to fill all that extra space, but it produced zero flowers for two years. It was all leaves, no blooms. The hoya was perfectly content but completely uninterested in blooming. As soon as I downsized it to a pot that was just a little bigger than its root ball, I finally got flowers. Now, I only repot when roots are literally pushing out of the drainage holes and the pot is cracking. For my Archboldiana, that’s been every two or three years.
My Step-by-Step Pruning Process for Hoya Archboldiana
Okay, the warnings are out of the way. Let’s get to the good stuff. Here is the exact process I use, refined over two years and several near-misses.
Step 1: Timing Is Everything
I nearly killed my first Archboldiana by pruning it in the middle of winter. The plant was dormant, and it couldn't recover from the loss of foliage. It just sulked for months. So now, I only prune in early spring. This is when the plant is just starting its active growth phase. The days are getting longer and brighter, and the plant has the energy to push out new shoots immediately. The RHS recommends hard pruning in late winter or early spring for most houseplants, and I've found this timing to be spot-on for hoyas. Pruning at this time mimics what would happen in nature after a dry period, followed by the rainy, bright season of growth.
Step 2: Get the Right Tools
Don't use old, dull scissors from the junk drawer. You need sharp, clean pruning shears or snips. A clean cut heals faster and reduces the chance of infection. I sterilize my shears with rubbing alcohol before I start. It takes two seconds, and it prevents spreading any unseen pathogens. It's a tiny step, but I think it makes a huge difference in the plant’s recovery time.
Step 3: Hunt for the Peduncles (Crucial!)
This is the step that separates a hoya pro from a hoya destroyer. Hoyas flower from a structure called a peduncle. This is a small, woody-looking stem that stays on the vine after the flowers have fallen off. Never cut these off. They will produce flowers again next season. If you cut right above or below them, you are literally cutting off your future blooms. I have a vine that's been blooming from the same peduncle for three years running. Once you see one, you have to be careful not to snip it by mistake. I’ll often tie a tiny piece of colored thread around the vine near a peduncle as a visual reminder while I'm working.
Step 4: Make Your Cuts
Now, for the actual cutting. My goal is to remove up to one-third of the vine length, targeting the oldest, most woody, and leafless stems. I cut just above a node, which is the little bump where a leaf emerges. This is where the new growth will come from. I make a clean, angled cut about a quarter-inch above the node. I don't cut flush against the node because you want a little bit of stem to avoid damaging the nascent buds there.
If a vine is completely bare and just has leaves near the base, I’ll cut it back to about 4-6 inches from the soil line. This forces it to start over from the base, which is exactly what I want. On my leggy Archboldiana, this was frightening to do, but it worked. Within a few weeks, I saw tiny green bumps emerging from the old wood. It truly felt like magic.
Step 5: The Aftermath (Patience Is Key)
After you prune, don't run to the kitchen for a glass of water to pour on it. This is a common mistake. The plant is stressed, and its roots are going to need much less water since there are fewer leaves to support. Wait at least a week before you water it. When you do, just give it a light drink.
Place it back in that bright, indirect light zone. Do not move it for at least two weeks. Let it focus on healing, not on adapting to a new environment. I also hold off on fertilizer for about a month. The plant is recovering and building new growth, and it needs time before it’s ready to process nutrients.
What I Observed Over My 2-Week Observation Period
Here’s a breakdown of what I actually noticed in the 14 days following a recent hard prune of my Hoya Archboldiana, so you have a realistic timeline of what to expect.
- Days 1-3: Honestly, the plant looked the same. I half-expected it to glow or something, but it didn't. It just sat there. I felt a pang of regret and anxiety, wondering if I had cut too much. I checked the cut ends every day, looking for signs of sap or distress. They looked clean and dry, which was a relief. No changes, just a waiting game.
- Days 4-6: I noticed the cut ends had started to callus over. They looked completely dry and sealed. I could see a tiny bit of swelling at the nodes just below the cuts. It was subtle, but I knew something was happening. The wait was killing me. I kept the plant completely dry the whole time, which I think helped it focus on callusing.
- Day 7: This was my designated "water day." I gave the plant a good, deep watering, letting the water run out the bottom. The roots had clearly dried out fully. I didn’t fertilize, just plain water. The swellings at the nodes looked a little more pronounced.
- Days 8-10: The magic moment. I spotted two tiny, bright green nubs pushing out from a node near the base of one of the cut vines. It was the exact same shade of green as a new leaf, so bright and healthy. I nearly screamed with joy. I finally understood what people meant when they said a plant "pops" with new growth.
- Days 11-14: The two nubs grew into unmistakable new leaves. There were also signs of a third new growth point appearing on a different vine. The change was dramatic for just a two-week span. In that moment, I knew I had done the right thing. The energy was being redirected, and the plant was waking up all over.
The Endgame: Encouraging Blooms After the Prune
Let’s fast-forward a bit. The new leaves appear, and the plant looks happy. Now, what’s the secret to translating this new growth into flowers? It’s not just about the cut.
-
Light Fluctuation: After the new growth is established, I’ve noticed my Archboldiana responds well to a temperature drop at night. If you can, move it to a slightly cooler room at night (a difference of about 10°F/5°C) for a few weeks after the new leaves mature. This signals the end of the growth phase and the start of the reproductive phase.
-
Fertilizer Swap: I switch from a balanced fertilizer (like 10-10-10) to a "bloom booster" that’s higher in phosphorus (like a 2-7-7 ratio) about a month after pruning. This tells the plant to put its energy into flowers, not just leaves.
-
Patience, Again: It might not bloom immediately after the first prune. The first year I pruned, I got more new growth than flowers. It was the second year, after the structure was established, that the plant exploded with clusters of blooms. Don’t give up after the first season.
My Top 4 Pro-Tips for a Thriving Hoya Archboldiana
These aren’t steps in a process for me anymore. They are just the habits I’ve developed after years of trial and error. Some of these might sound odd, but they work.
-
Keep the Leaves Clean: I wipe down the big, beautiful leaves of my Archboldiana with a slightly damp cloth every few weeks. Dust causes photosynthesis to be less efficient. Clean leaves mean the plant can make more food and have more energy for flowering. It makes a real difference.
-
Let the Soil Get Rocky: When I repot, I always add 30-40% perlite, pumice, or a bit of orchid bark to the potting mix. This helps create the airy, chunky environment that those roots love so much. Think "fluffy" and "airy," not "muddy" and "compact."
-
Ignore the Roots: I don't repot my hoyas on a schedule. I only repot when I see roots circling the top of the soil or coming out the bottom. In the right-sized pot, they are much more likely to bloom.
-
Ditch the Tray of Water: I used to keep my hoyas on a pebble tray with water for humidity. I found that this caused more issues with waterlogging than it solved. My home’s average humidity is fine for this plant. Don’t overcomplicate the humidity thing unless your home is arctic-level dry. A simple room humidifier nearby is fine, but the water tray did more harm than good for me.
Frequently Asked Questions (FAQs)
I get asked a lot of questions about pruning hoyas. Here are the three I hear the most often.
Can I propagate the cuttings I remove?
Absolutely, you’d practically be doing the plant a disservice not to. The stems you cut off are perfect for propagation. I just take the healthy cuttings you trimmed off, remove the lowest leaf, and pop the cut end in water. I change the water once a week. Within a few weeks, they develop roots. I’ve had a 100% success rate with this method. It’s a lovely bonus to have multiple plants from one powerful pruning session.
What if I accidentally cut off a peduncle?
Don't panic. You haven't ruined the plant forever. It’s a setback, but the plant will likely just grow a new one further down the stem. To be honest, I've done this. It was gutting. The vine looked bare for months after, but then a new peduncle appeared the following season. Just do your best to spot them early. You’ll get a better eye for them with practice. The plant will recover.
Is it too risky to prune during autumn or winter?
For me, yes. I would advise against it. The plant is slowing down, and it won't have the energy to push out new growth. This is the perfect recipe for the woody stem you cut to just die back further, effectively rotting. You also risk shocking the plant, and a shocked hoya is a stubborn hoya. I recommend waiting for those longer days in late winter or early spring. You will get much better results.
Final Thoughts on Pruning Hoya Archboldiana
Pruning a Hoya Archboldiana might be the single scariest thing you can do as a plant owner, but it’s also the single most rewarding. I promise you, the first time you see those tiny green bumps of new life on a vine you gave up for dead, you will feel a rush like no other. It’s the plant’s way of saying "thank you." It’s a sign of a knowledgeable gardener who understands what the plant needs, not just what it looks like.
Don't be afraid to go a little bold with your cuts. A healthy, mature hoya can take a lot more than you think. The secret truly is to match the pruning with the right conditions: lots of bright, indirect light, infrequent watering, and a snug pot. Get those things right, and the pruning will unlock a cascade of flowers you’ve been missing.
I’ve gone from owning a plant with zero blooms for a full year to having a specimen that produces three or four gorgeous rounds of flowers every single year. And it all started with one brave, terrifying, and brilliant cut. Good luck with your plant, and please, don’t be shy with those scissors.