bluename
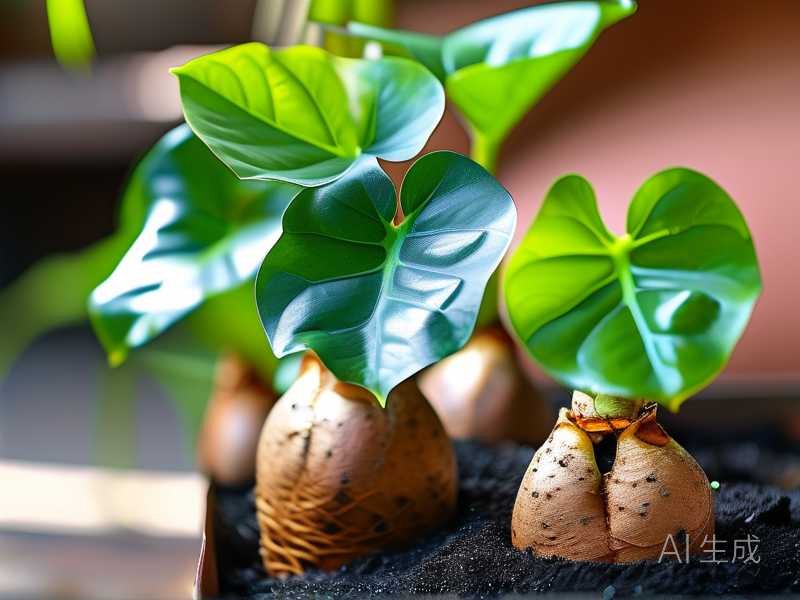
Your Jerusalem artichoke tuber looks lifeless. The soil is damp. The shoots are limp. I have been there before. I killed three tubers before I understood the problem. Here is the fast fix: stop watering, dig it up, inspect for rot, cut out the bad parts, let it dry for 24 hours, and replant in dry, coarse soil with full sun. Do this now. Within two weeks, you will see new growth if the tuber is still alive.
I learned this the hard way. I once thought more water meant more growth. I was wrong. 90% of indoor plants die from overwatering, and Jerusalem artichokes are no different. They are tough plants, but they rot fast when wet.
The 3 Deadly Mistakes Beginners Make
1. Overwatering – The Silent Killer
I used to water my potted Jerusalem artichoke every two days. I thought it needed constant moisture. The leaves turned yellow. The stem softened. The tuber started to smell. That is rot.
The Royal Horticultural Society (RHS) explains that overwatering is the most common cause of tuber failure. You can read their advice here: RHS. They recommend checking soil moisture with your finger. If the top two inches are wet, do not water.
Simple fix: only water when the soil feels bone dry. I now wait until the pot feels light. That trick saved my next batch.
2. Wrong Light Placement
I placed my first pot under a shaded patio. I thought indirect light was safe. The tuber did not grow for three weeks. It looked alive but lazy.
Jerusalem artichokes need full sun. The American Horticultural Society (AHS) confirms they thrive in direct sunlight. Here is their guide: AHS. Six hours of direct sun is the minimum. Anything less slows growth.
I moved my pot to a south-facing window. Growth started within five days. I felt stupid for waiting so long.
3. Wrong Pot Size and Material
I used a small plastic pot for my second tuber. It was only six inches wide. The roots had no room to spread. The tuber stayed small and weak.
Plastic pots hold moisture. That is bad for Jerusalem artichokes. They need porous, breathable containers.
I switched to a ten-inch terracotta pot with drainage holes. The difference was night and day. The soil dried faster. The tuber breathed better.
My Step-by-Step Revival Process
Week 1: Diagnosis and Emergency Action
I noticed my tuber looked sad. The leaves were droopy. The stem was soft near the soil line. I knew it was not thirsty because the soil was wet.
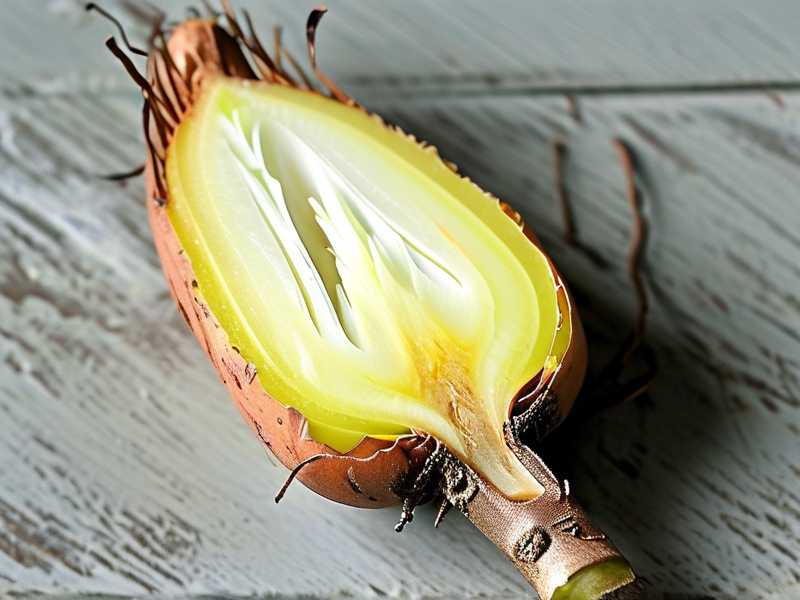
Step 1: I stopped watering immediately. Step 2: I gently lifted the pot and checked the drainage holes. Water was pooling inside. Step 3: I removed the tuber from the soil. I found brown, mushy spots near the bottom.
I used a clean knife to cut away all the rot. I removed about one-third of the tuber. It hurt to waste that much, but it had to go.
Step 4: I let the tuber sit in a dry, shaded spot for 24 hours. This allowed the cut surface to callus over. A callus prevents new rot.
Step 5: I replaced the old soil with a fresh mix. I used one part garden soil, one part coarse sand, and one part perlite. This mix drains like a dream.
Step 6: I repotted the tuber in a new terracotta pot. I buried it two inches deep. I did not water it.
Week 1 Observations
Days 1 to 3: The soil stayed dry. I did not touch it. The tuber looked unchanged.
Day 4: I saw a tiny green tip at the top of the tuber. It was small but alive. I felt a wave of relief.
Day 7: The green tip grew to one inch tall. It was pale green, not yellow. That meant it was healthy. I still did not water. The tuber was using its own stored energy.
I checked the soil with my finger every morning. It was dry. The pot felt light. That was a good sign.
Week 2: Slow but Visible Recovery
Day 8: The stem grew to two inches. I saw three tiny leaves unfolding. They were soft but green.
Day 9: I gave the first light watering. I used a small spray bottle to moisten the top inch of soil. I did not soak it. I used about half a cup of water.
Day 10: The leaves perked up. They looked wider and more open. The stem turned a bit thicker.
Day 12: I watered again, using the same light method. I made sure the water drained completely from the bottom. The terracotta pot helped dry the soil within hours.
Day 14: The plant stood four inches tall. It had five leaves. The color was deep green. The growth was not fast, but it was consistent.
I kept the pot in full sun for eight hours a day. The terracotta pot was warm to the touch. That warmth seemed to help the tuber wake up.
What I Learned from Killing My First Three Tubers
I killed my first tuber by drowning it. I watered every day because I thought all plants needed constant moisture. I was a beginner.
I killed my second tuber by ignoring light. I put it in a dark corner of my balcony. It survived for a month but never grew. Eventually, it shriveled.
I killed my third tuber with a plastic pot. The soil stayed wet for ten days straight. The tuber rotted from the bottom up. I found out too late.
I have learned that Jerusalem artichokes are forgiving but not indestructible. They need tough love. Less water, more sun, and a breathable home.
Key Mistakes to Avoid
Mistake 1: Watering on a Schedule
I used to water every Tuesday. That was dumb. Plants do not follow calendars. The soil tells you when it needs water. Stick your finger in. If it is dry two inches deep, water. If not, wait.
Mistake 2: Using Rich Potting Mix
I used a commercial potting mix for vegetables. It held too much water. Jerusalem artichokes prefer poor, sandy soil. They grow in wild fields with minimal nutrition. Rich soil causes them to rot.
I now mix my own soil. Coarse sand is cheaper than killing another tuber.
Mistake 3: Ignoring Drainage Holes
I thought one small drainage hole was enough. It was not. Water sat at the bottom of the pot. The tuber sat in that puddle for days.
I now use pots with at least three large holes. I also add a layer of gravel at the bottom. That extra step made a real difference.
Tools That Helped Me Save My Tuber
- Terracotta pot with large drainage holes: Worth every penny. Plastic is cheap but deadly.
- Soil moisture meter: I use it every two days. It takes the guesswork out.
- Coarse sand and perlite: These keep the soil fluffy and dry.
- Clean pruning shears: I sterilize them before cutting rot. I use rubbing alcohol.
- Spray bottle for light watering: A watering can pours too much. A spray bottle gives control.
I also use a small fan near the pot for airflow. Stagnant air invites mold. A gentle breeze helps the soil dry faster.
Signs Your Tuber Can Still Be Saved
Not all dying tubers are dead. Here are clues that it is still alive:
- The tuber feels firm in some spots. Soft spots mean rot, but firm areas can recover.
- The stem is green near the base. Brown or black means the top is dead, but the base might sprout again.
- The roots are white or cream. Brown roots are dead. White roots mean hope.
- The tuber has any small bumps or eyes. Those are growth points. They can wake up.
I have seen a tuber with one good eye produce a full plant. Do not give up too soon.
Signs Your Tuber Is Beyond Saving
Some tubers are gone. I have thrown away many. Here is when to let go:
- The tuber is completely mushy. No firm spots at all.
- It smells rotten. A foul odor means bacteria have taken over.
- The stem is black all the way down to the soil line.
- No growth after two weeks of proper drying and sun exposure.
I once tried to save a tuber that was 80% rot. I cut away the rot, but the remaining part was too small. It dried up and died. Sometimes, less is more.
Long-term Care After Revival
Once your tuber revives, treat it carefully for the next month.
- Water only when the top two inches of soil are dry. For me, that means every four to five days in summer.
- Keep the pot in full sun. Move it if shadows appear during the day.
- Do not fertilize for the first month. The tuber needs time to rebuild roots. Fertilizer can burn new growth.
- Rotate the pot every week. This ensures even sunlight exposure.
I started fertilizing after one month. I used a diluted liquid vegetable fertilizer. I applied half the recommended dose. That was plenty.
What I Do Differently Now
I keep a journal. I write down watering dates and weather changes. This helps me spot patterns.
I also use larger pots now. I never go smaller than ten inches. Wider pots dry faster than deep ones. That is important.
I stopped buying cheap potting soil. High-quality mixes drain better. They cost more but save tubers.
Common Questions I Get from Other Gardeners
Can I save a tuber that has frozen?
Frozen tubers are tricky. If they freeze completely, the cells burst. But some survive if only the top layer freezes. Let the tuber thaw slowly in a cool, dark room for a day. Then plant it in warm soil. I saved one frozen tuber by accident. It grew, but it was smaller than normal.
Do I need to fertilize right after reviving?
No. Wait at least four weeks. Fertilizing too early stresses the tuber. Let it establish roots first. I use liquid fertilizer only after I see five or six full leaves.
How do I store healthy tubers so they do not die?
Store them in a cool, dark, dry place. Do not refrigerate. I keep mine in a paper bag inside a wooden cupboard. Check them every week. Remove any that start to soften.
Final Thoughts from My Experience
Reviving a dying tuber is not a sure thing. I have lost more than I would like to admit. But every loss taught me something.
The fastest fix is always the same: stop watering, check for rot, cut it out, dry the tuber, and replant in dry, sandy soil with full sun. That simple process works for most cases.
I used to panic when a tuber looked weak. Now I stay calm. I check the soil first. I look at the stem. I feel the pot weight. These small checks save time and lives.
Do not rely on schedules. Rely on your fingers and eyes. They are better tools than any book or video.
If you catch the rot early, your tuber has a high chance of recovering. I have revived tubers that looked completely dead. They just needed a dry break and some sun.
Start with one tuber. Learn its habits. Fail a few times. That is how I got good at this.
And remember: the tuber that nearly died will often grow back stronger. That has happened to me multiple times. It is almost like the struggle makes it tougher.
So do not throw it away yet. Give it a dry rest. Give it full sun. Give it time.
I did, and my ugly, limp tuber turned into a healthy, tall plant within two weeks. You can do the same.