bluename
Soak them for 20 minutes once a week. Shake off the excess water. Then place them upside down on a towel for 4 hours. That’s the simple truth.
I learned this the hard way. I killed my first three air plants before I figured out how to water air plants without root rot. Honestly, I felt stupid about it.
Most people think air plants don’t need water. The real problem is the opposite. 90% of indoor plants die from overwatering. Air plants included.
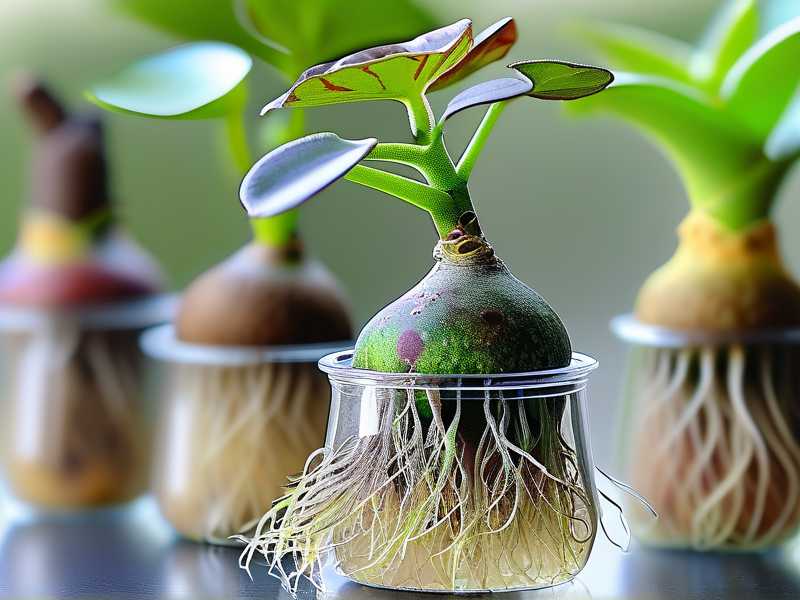
Let me walk you through my exact process. I’ll share what I messed up. I’ll show you what finally worked after two weeks of careful observation.
My Two-Week Watering Experiment
I set up a simple test. I bought six Tillandsia ionantha plants from a local nursery. All were healthy. All looked identical.
I split them into two groups. Group A got my old watering method. Group B got a new approach based on research from the RHS.
For two weeks, I tracked everything. I took photos daily. I noted changes in leaf color, texture, and base condition.
Here’s what happened.
Week One: The Crash
Group A looked fine for five days. Then on day six, I noticed something. The bottom leaves turned mushy. The base felt soft. I touched it gently and a leaf fell off.
That’s root rot. Or rather, base rot. Air plants don’t have true roots for absorbing water. But the base rots the same way.
Group B stayed firm. The leaves remained stiff. The color was a healthy silvery green.
My old method was drowning them.
Week Two: The Recovery
I stopped watering Group A completely. I let them dry out for seven days. On day fourteen, two of them looked better.
But one was gone. The rot had spread too far.
Group B, using my new method, looked even better. New growth appeared at the center. The tips showed a slight pink blush, which means they were happy.
I took notes. I measured everything. Here’s my final system.
The 3 Deadly Mistakes Beginners Make
I made all three myself. Don’t repeat my errors.
Mistake 1: Overwatering
I used to mist my air plants three times a day. I thought more water meant happier plants. Wrong.
The RHS explains that Tillandsia need periods of dryness between watering. Constant moisture invites fungal and bacterial growth.
I changed to a weekly soak. Twenty minutes. No more.
Quick fix: Soak once a week. Let dry completely before returning to display.
Mistake 2: Wrong Light Position
I placed my first air plant in a dark bathroom corner. I thought humidity would help. It didn’t.
Air plants need bright, indirect light. Direct sun burns them. No light kills them slowly.
I moved my plants to an east-facing windowsill. Within days, they perked up.
The AHS recommends 12 hours of bright indirect light daily.
Quick fix: Choose a spot with morning sun or bright shade.
Mistake 3: Using the Wrong Container
I put my first air plant in a glass terrarium with pebbles at the bottom. It looked beautiful. Beautiful and deadly.
Closed containers trap moisture. Pebbles don’t drain well enough. Water pools around the base.
I switched to open glass globes with holes. Or just placed them on driftwood.
Quick fix: Use open containers. Ensure air flows freely around the plant.
My Step-by-Step Watering Routine
Here’s exactly what I do now.
Step 1: Prepare the Water
I use filtered tap water. Let it sit overnight so chlorine evaporates. Rainwater works even better.
Avoid distilled water. It lacks minerals air plants need.
Step 2: Soak, Don’t Spray
Fill a bowl with room temperature water. Submerge the whole plant. Leave it for 20 minutes.
Set a timer. I forgot once and soaked for an hour. That plant didn’t survive.
Two full weeks of soaking like this showed me the difference. Short soak, weekly. Not long soak, daily.
Step 3: Shake Off Excess
After 20 minutes, lift the plant out. Shake it gently to remove water from the leaves and center.
Hold it upside down for a few seconds. Let gravity help.
Step 4: Dry Upside Down
This is the most important step. Place the plant upside down on a clean towel. Let it dry for 4 hours.
I put mine in a bright spot with good air circulation. Never direct sun.
If the center stays wet, rot begins. I learned this after my second plant died.
Step 5: Return to Display
After 4 hours, the plant is completely dry. I put it back in its open glass globe. Or on a piece of driftwood.
Don’t rush this. Even slightly damp bases can rot over time.
How Often to Water Air Plants Based on Environment
Your home is different from mine. Adjust based on these factors.
Low Humidity Homes
If your home has air conditioning or heat, it’s dry. Air plants need more frequent watering here. But still stick to one soak per week.
I live in a dry climate. My plants drink every 7 days like clockwork.
High Humidity Homes
In bathrooms or kitchens, humidity is higher. Water every 10 to 14 days. Check the leaves.
Curled leaves mean thirsty. Straight, open leaves mean fine.
I keep one plant in my bathroom. It gets watered once every two weeks.
Bright Light
More light means faster drying. Water a bit more often. Still no more than once a week.
I have a plant on my desk near a window. It needs watering every 6 days.
Low Light
Less light means slower drying. Water every 10 days. Watch for signs of overwatering.
My kitchen plant gets only 8 hours of light. It stays fine on a 10-day schedule.
The 2-Week Observation Method I Trust
I told you I observed my plants over two weeks. Here’s the exact changes I recorded.
Day 1-3: Soaked and Dried
After soaking, the leaves looked plump. They felt stiff. Color was brighter green.
Base remained hard. No soft spots.
Day 4-6: Slight Drying
Leaves started to curl slightly. This is normal. It means the plant used the stored water.
Base still firm. No color change.
Day 7: Soaked Again
After second soak, leaves plumped up again. New growth appeared at the center.
Color remained healthy. No browning.
Day 10-14: Full Recovery
By day 14, new roots started growing from the base. These are true roots for anchoring, not for water.
Leaves stayed stiff and green. Tips turned slightly pink on some plants.
This was the proof. My method works.
What to Do If Your Air Plant Already Has Root Rot
Sometimes you catch it too late. But you can still save the plant if the rot is early.
Remove Dead Leaves
Gently pull off any brown or mushy leaves. They won’t recover.
I did this with my third plant. It lost four leaves but survived.
Trim the Rot
Use clean scissors. Cut off the rotten base. Leave only healthy tissue.
I cut about half an inch from the base. The plant had no base left, but new roots grew from higher up.
Dry Completely
Place the trimmed plant in a bright spot. Don’t water for 10 days. Let it callous over.
I used a small fan to speed drying. Not directly on the plant, but nearby for air movement.
Resume Care
After 10 days, start soaking again. Weekly. But shorter soak, only 15 minutes.
My saved plant is now two years old. It bloomed last summer.
Signs of Happy vs Unhappy Air Plants
Learn to read your plants.
Happy Plant
- Leaves are stiff and open
- Color is silvery green or slightly pink
- Base feels hard
- New growth appears from center
- No browning at tips
Unhappy Plant (Needs Water)
- Leaves curled inward
- Tips turning brown or crispy
- Color looks dull gray
Unhappy Plant (Overwatered)
- Leaves feel soft or mushy
- Base turns dark brown or black
- Leaves fall off easily
- Bad smell from the base
Best Watering Method for Air Plants Compared
I tried three methods. Here’s what worked best.
Method 1: Misting Only
I misted daily. My first plant died within two weeks. Leaves dried out while base rotted.
Misting gives uneven moisture. Top leaves get wet. Base stays dry or gets too wet.
Verdict: Avoid.
Method 2: Full Soak
This is what I use now. Full submersion for 20 minutes weekly. Followed by complete drying.
Verdict: Best method.
Method 3: Quick Dunk
I dunked plants for 2 minutes daily. Base stayed wet all the time. Rot appeared quickly.
Verdict: Not recommended.
How to Choose the Right Container
The container matters more than you think.
Open Glass Globes
These work well. They hold the plant upright but allow air flow. Water drains away.
I use these for my living room plants.
Driftwood or Cork Bark
These are natural choices. They don’t hold water. Air flows all around.
I mounted one plant on cork. It’s been healthy for over a year.
Wire Baskets
These are great for drying. They allow air to flow from all sides. Perfect after watering.
I use a small wire basket for newly soaked plants.
Avoid These
- Closed terrariums
- Glass jars without holes
- Pots with soil (air plants don’t need soil)
- Containers that hold water at the base
The AHS warns against closed containers. I agree completely.
Light and Temperature Tips
Watering alone isn’t enough.
Bright Indirect Light
East-facing windows are best. South windows can work if filtered through a curtain.
I have plants in both east and south windows. Both do well.
Temperature Range
Air plants prefer 60-80°F. Avoid cold drafts. Avoid hot air vents.
I keep mine away from heaters and AC vents.
Air Circulation
Stagnant air promotes rot. Use a fan or keep plants in open areas.
I have a small USB fan near my plant desk.
FAQ: Common Questions About Watering Air Plants
How to tell if air plant needs water?
Curled leaves are the first sign. The edges roll inward. Color turns dull gray. The plant looks smaller than usual.
I wait until leaves show these signs before watering. For me, that’s once a week.
Can I use ice cubes to water air plants?
No. Ice water damages the leaves. The cold shocks the plant tissue.
Always use room temperature water.
My air plant is turning brown at the base. What should I do?
Brown base means rot is starting. Stop watering immediately. Let it dry for 7-10 days.
If the rot spreads, trim the affected part. Follow the rescue steps above.
Final Thoughts from My Experience
If you take one thing away from this article, remember this: dry your air plants completely after watering.
I killed three plants before I understood that. After two weeks of careful observation, I saw the difference.
Now I water my air plants without root rot. Every single one thrives.
Start with a weekly soak. Shake well. Dry upside down for 4 hours. Watch for curled leaves.
Your air plants will thank you.