bluename
 How to Grow Cannas from Rhizomes: A Complete Guide for Real Gardeners
I still remember the first time I planted canna rhizomes. I grabbed a bag of "mixed tropicals" from a big-box store, shoved them into soggy clay soil, and waited. Two weeks later, I had rot, not roots. That mistake cost me about $30 and a lot of pride. So let me save you the trouble. If you want to know how to grow cannas from rhizomes, here is the short answer: plant them horizontally about 4–6 inches deep in rich, well-drained soil after the last frost, water sparingly until green shoots appear, and give them full sun. That is it. Everything else is just details. And honestly, the details are where most people mess up.
Why Cannas Are Worth Growing (Even If You Kill Other Plants)
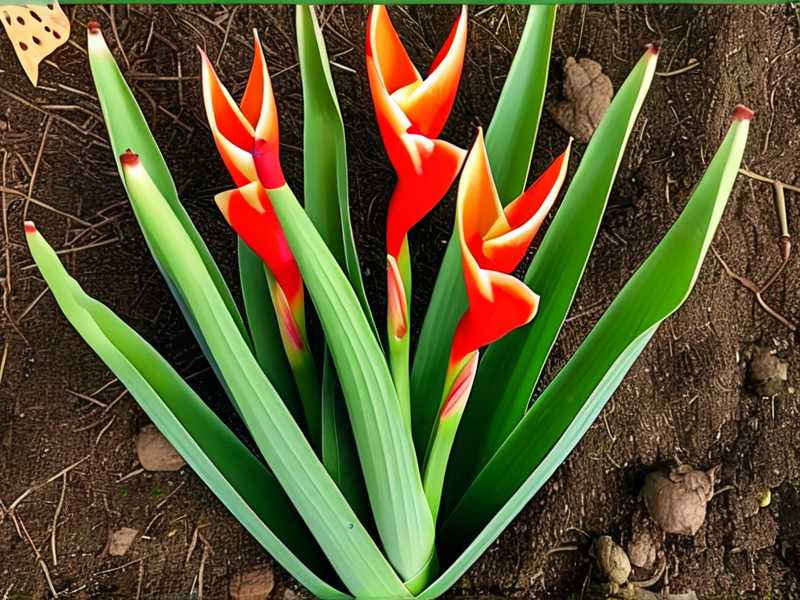
Cannas are tough. Like, surprisingly tough once they get going. I have grown them in pots on a windy balcony in Toronto and in heavy clay in Georgia. They performed in both spots. The Royal Horticultural Society (RHS) even gives them an Award of Garden Merit, which says a lot. They are not fussy about soil pH. They tolerate heat and humidity. And they come back year after year if you store the rhizomes properly in cold climates.
But here is the catch. Cannas are not houseplants. They are not succulents. They are tropical bog plants that happen to look like they belong in a fancy resort garden. Treat them like a cactus, and they will sulk. Treat them like a swamp, and they will rot. The sweet spot is narrow but easy to hit once you know it.
My First Two-Week Observation (And Why It Mattered)
I planted three 'Pretoria' rhizomes in late April last year. I marked the calendar. Day 1: nothing. Day 3: still nothing. I panicked and watered more. Big mistake.
Day 7: one tiny red tip poked through. I nearly screamed. Day 10: two more shoots. Day 14: the first true leaf unfurled. That two-week window taught me more than any book. Cannas are slow to wake up. They are not dead. They are just thinking about it. If you water heavily during that quiet phase, you will rot the rhizome before it ever sees sunlight. I lost two rhizomes that way in my second year. Now I wait. I wait like a hawk.
The Three Deadly Mistakes New Growers Always Make
Mistake #1: Overwatering
You have heard this before, but let me say it plainly. 90% of indoor plants die from overwatering. Cannas are not indoor plants, but the same principle applies outdoors. A rhizome is not a seed. It does not need constant moisture to germinate. It needs warmth and air. I water my newly planted rhizomes exactly once at planting. Then I ignore them for seven to ten days unless the soil is bone dry two inches down. In heavy rain, I actually cover the planting bed with a tarp. Sounds extreme? I have lost more cannas to rot than to drought. Every single time.
Mistake #2: Wrong Light
Cannas want full sun. Not part shade. Not morning sun. Full, unapologetic, six-to-eight-hours-of-direct-sunlight. I tried growing a batch in dappled shade under a maple tree. The leaves grew huge and lush. The flowers? Zero. Not a single bloom. The plant put all its energy into leaf production and forgot about reproduction. According to the American Horticultural Society (AHS), most flowering tropicals need at least six hours of direct light to bloom well. That matches what I saw. If you only have shade, grow hostas. Cannas will break your heart.
Mistake #3: Wrong Pot (or No Drainage)
I once planted a canna in a beautiful glazed ceramic pot with no drainage hole. I thought I was being artistic. I was being cruel. The rhizome sat in a puddle for three weeks. When I finally dug it up, it smelled like a swamp and fell apart in my hand. Now I use fabric grow bags or terracotta pots with at least one half-inch drainage hole. In the ground, I plant on a slight mound so water runs away from the crown. Simple fix. Huge difference.
How to Plant Canna Rhizomes Step by Step
Step 1: Wait for the Right Temperature
Do not plant until soil temperature is consistently above 60°F (15°C). I use a cheap meat thermometer. Stick it four inches down. If it reads 58°F, wait another week. Cold soil equals rot. No exceptions.
Step 2: Choose the Right Spot
Full sun. Wind protection is nice because canna leaves shred in strong gusts. But sun matters more. I plant mine against a south-facing fence. They get sun from 8 a.m. to 6 p.m. They love it.
Step 3: Prepare the Soil
Cannas are heavy feeders. I mix in two inches of compost and a handful of slow-release organic fertilizer (like bone meal or kelp meal) into the top six inches. If your soil is clay, add coarse sand or fine bark. Drainage is non-negotiable.
Step 4: Plant Horizontally
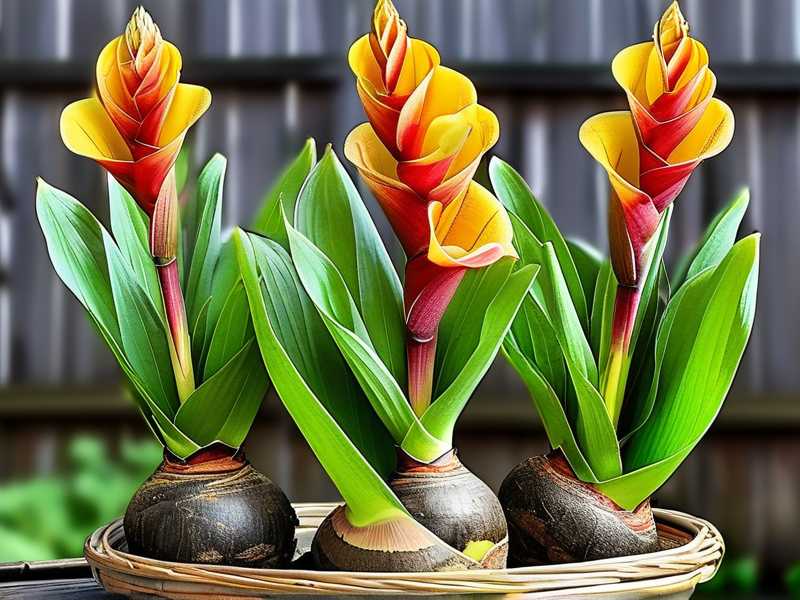
This is the part people get wrong. Do not plant canna rhizomes vertically. Lay them flat, with the growing eyes (small pink or white bumps) facing up. Cover with 4–6 inches of soil. Space them 18–24 inches apart. I know that feels like a lot. Trust me. They will fill in.
Step 5: Water Once and Walk Away
Water gently until the soil settles. Then do not water again for at least seven days. I mean it. If it rains heavily, cover the bed. I use a clear plastic sheet propped on bricks. Looks ugly. Works perfectly.
What to Expect in the First Month
Week 1: Nothing visible. The rhizome is waking up. Week 2: Tiny red or green spears emerge. This is the moment of truth. Week 3: First leaves unfurl. They may look rolled or crinkled. That is normal. Week 4: Stems elongate. You can start watering lightly once a week if no rain.
I keep a garden journal. Last year I noted that my 'Australia' cannas broke ground on day 12 and reached 18 inches by day 28. That is fast. But only because I resisted the urge to water.
Caring for Cannas After They Sprout
Once you see real leaves, you can relax a little. Water deeply once a week if it does not rain. Cannas like moisture, but not standing water. I water at the base, never overhead, to avoid leaf spot. Feed every four weeks with a balanced liquid fertilizer. I use a fish emulsion and kelp mix. Smells terrible. Works great.
Deadhead spent flowers to keep them blooming until frost. Cut the whole flower stalk down to the base when it fades. New stalks will emerge. I got flowers from July through October last year with this method.
Digging and Storing Rhizomes for Winter
If you live in USDA zone 7 or colder, you must dig them up. I learned this the hard way after a surprise frost killed an entire bed in one night. Now I dig in late October, before the first hard freeze.
Cut the stems back to 2 inches. Lift the clump with a fork. Shake off excess soil. Do not wash them. Let them dry in a cool, airy spot for a week. Then store in a cardboard box with slightly damp peat moss or vermiculite. Keep them at 45–50°F (7–10°C). A garage or basement works. Check monthly for rot. Remove any soft spots.
In spring, divide the clumps with a sharp knife. Each piece needs at least one growing eye. That is how you get more plants for free.
Frequently Asked Questions
Can I grow cannas from seed instead of rhizomes?
You can, but it is slow and unreliable. Seeds have a hard coat and need scarification. Rhizomes are faster and true to the parent plant. Stick with rhizomes.
Why are my canna leaves turning yellow?
Nine times out of ten, it is overwatering. Let the soil dry out between waterings. If the yellowing starts at the bottom and moves up, it is probably normal aging. If it happens all at once, check drainage.
How long do canna rhizomes take to sprout?
Anywhere from 10 to 21 days in warm soil. If you see nothing after three weeks and the soil has been wet, dig one up gently. If it is mushy, you have rot. If it is firm, wait another week.
Final Thoughts from Someone Who Killed a Lot of Cannas
I am not a professional horticulturist. I am just a guy who has killed more cannas than I care to admit. But I have also grown them into six-foot monsters with flowers the size of dinner plates. The difference was not talent. It was patience, drainage, and sun. That is it. Plant them flat. Water them once. Wait two weeks. Then watch them explode. You will be fine. And if you rot one, do not beat yourself up. I have done it seven times. The eighth time, you will get it right.