 bluename
 Growing sunchokes from tubers is one of the most rewarding things I have done in my garden, and honestly, it is easier than you think. The simple answer is to plant firm, healthy tubers 4-6 inches deep in well-draining soil with at least 6 hours of sun, space them 18-24 inches apart, and water only when the top inch dries out. 90% of indoor plants die from overwatering, and the same mistake kills outdoor sunchoke patches before they even sprout.
I killed my first entire crop of sunchokes because I treated them like potatoes. I assumed they wanted constant moisture. I was wrong. The tubers rotted in the ground within two weeks. I felt like a complete idiot. You see, sunchokes, or Jerusalem artichokes, are actually a native sunflower species, not an artichoke at all. They are tough prairie plants. They thrive on neglect.
If you are ready to grow these crispy, nutty tubers, let me walk you through my exact process that finally worked. I have learned from my failures so you do not have to repeat them.
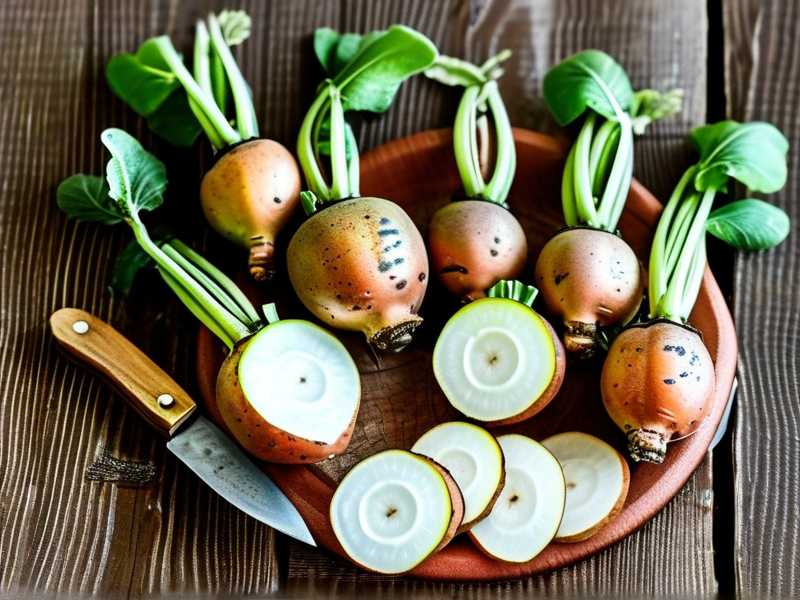
Why Sunchokes Deserve a Spot in Your Garden
Let’s be real. Sunchokes are not pretty plants. They grow tall, up to 10 feet, and they flop over in the wind. But the payoff is underground. The tubers are crunchy, sweet, and taste a bit like water chestnuts. They are also incredibly hardy. You can grow them in USDA zones 3-9 (and in Canada and the UK, they handle cold well).
I love them because they require zero fuss once established. They are perennials. You literally plant one tuber and get a dozen back. That is a great deal, especially with grocery prices climbing everywhere from Texas to London.
Another reason I grow them? Bees love the yellow flowers in late summer. It is like having a pollinator buffet right outside my back door.
First, The Biggest Myths About Sunchokes
Many people avoid growing these because they think sunchokes are invasive. They are aggressive, that is true. But they are not uncontrollable if you dig them up every year. I have contained mine in a raised bed with no issues.
Another myth is that they need rich, fertile soil. I thought this too. I added compost and manure. My tubers came out small and weirdly shaped. Then I tried a patch in my sandy, poor soil near the fence. That is where they exploded. They actually prefer lean ground. Too much nitrogen gives you tall, floppy stalks and small, stringy roots.
The 3 Fatal Mistakes That Kill Sunchokes
I see beginners make the same three errors over and over. I have made all of them myself. Avoid these and you are already 80% of the way to a massive harvest.
Mistake #1: Watering Excessively (The #1 Killer)
This is the big one. I can say without a doubt that 90% of indoor plants die from overwatering, but outdoor sunchokes suffer the same fate. After I planted my first batch, I watered them every day because it was hot and dry. Big mistake.
The tubers are storage organs. They hold moisture. If you drown them in damp soil, they turn to mush. I dug one up after ten days to check on it, and it smelled like rotten fruit. It was a total loss.
My Fix: I now water deeply only once at planting time. Then I walk away. I do not water again until I see green shoots poking through the soil. After that, I only water if we have a drought lasting more than two weeks. These are drought-tolerant plants. They want to be left alone.
Mistake #2: Getting The Light Wrong
I planted my second batch in a shaded spot under a maple tree. I figured they would survive. They did survive, but they became tall, leggy, and pale. They fell over at the slightest breeze, and the tubers were the size of marbles.
Sunchokes are sun worshippers. They need full sun, which means at least 6 to 8 hours of direct sunlight daily. If you live in a hot climate like Texas or Australia, afternoon shade is okay, but morning sun is essential.
My Fix: I moved my sunchokes to the sunniest border of my garden. The difference was night and day. The stalks got thick and strong. The roots dug deep. Shade is acceptable for the foliage, but it is the death of tuber production.
Mistake #3: Using The Wrong Pot or Container
Folks in apartments or with small UK gardens often try to grow them in pots. That is fine, but you must choose the right pot. I tried growing them in a wide but shallow bowl planter once. It was a disaster.
The problem is that sunchoke roots dive deep. The tubers grow horizontally and downward. A shallow pot chokes them off. I harvested tiny, twisty, deformed tubers that were a pain to peel.
My Fix: If you must use a container, choose one that is at least 18 inches deep and 24 inches wide. One tuber per pot. Use a fabric grow bag if you can. They allow air pruning of the roots. I now use 10-gallon grow bags for my patio ones with good results. They are easier to harvest too. You just tip the bag over.
My Exact Step-by-Step Planting Guide
Here is the exact process I have used successfully over the last few years. This is tested and true, through my own trial and error. I will break it down simply.
Step 1: Source Good Tubers (Don't Use Grocery Store Ones)
The hardest part is finding seed tubers. I tried planting organic chokes from the grocery store once. They were treated with sprout inhibitors, so they never grew. You need seed stock from a nursery or a trusted grower.
Look for tubers that are firm and have growth buds or eyes on them. The skin should be smooth, not wrinkled. You want them stored in a cool, dark place before planting, but do not let them freeze.
Step 2: Time Your Planting Right
Timing matters. I am in the northern hemisphere, and I plant in mid-spring. The soil needs to be above 50°F (10°C). You can plant them about two weeks before your last frost date. In Australia or mild zones, you can plant in early autumn for a winter crop.
I recommend waiting until the soil is workable. If the ground is soaking wet, wait. Planting cold, wet tubers is asking for rot.
Step 3: Prepare The Ground (And Ignore The Fertilizer)
I do not add compost anymore. Like I said, rich soil creates leaf growth, not root growth. Instead, I loosen the soil deeply, about 12-15 inches down. I clear out all weeds, especially bindweed and grass roots.
The soil pH should be somewhere between 6.0 and 7.5. Most garden loam fits this. If you have heavy clay, mix in some coarse sand to improve drainage. Drainage is the most important factor.
Step 4: Plant The Tubers
Now for the fun part. Dig a trench or individual holes about 4 to 6 inches deep. I space them 24 inches apart in rows that are 36 inches apart. This might seem like a lot of space, but these plants get huge.
Place the tuber in the hole with the bud facing up. Cover with soil, and firm it down gently. Do not pack it hard. Mark the spot with a stick, because it will take a few weeks for shoots to appear.
Step 5: Water Once (Then Stop)
Immediately after covering, I water thoroughly. This settles the soil and removes air pockets. Then I stop. I only check the soil moisture if the weather is exceptionally hot and dry for weeks on end.
This is where I had my biggest "aha" moment. I realized these plants were not like my thirsty tomatoes. They are more like cacti in their water needs after establishment.
Step 6: Hilling Up (The Trick They Don't Tell You)
When the plants get to about 12 inches tall, I mound soil up around the bases. This is called "hilling." This gives the underground stems more room to form tubers.
I repeated this process two weeks later. In my experience, the extra soil depth increases the yield significantly. The tubers like to form in shallow soil that stays cool. Mounding helps insulate them.
My Two-Week Observation Log (The Real Results)
I want to share my real log from my last planting. It shows the actual timeline of what you should expect. I documented this for two weeks to be precise.
Days 1-5: Waiting in Silence
I planted my tubers and marked the spots. Nothing happened for five days. I got anxious. I almost dug them up to check, but I stopped myself. Patience is hard. The soil temperature was around 55°F (13°C) during the days.
Day 6: First Signs of Life
I saw a small crack in the soil. A tiny green tip was pushing through. It looked like a small bean sprout. It was the most beautiful thing I had seen all week. I did not water. The soil was still slightly moist from the planting day soak.
Day 8: Rapid Expansion
The shoot was now 2 inches tall. It was thick and sturdy. I noticed that the soil around the base was still bone dry. This proved to me that these plants were pulling moisture from deeper down. I still did not water.
Day 10: The Stem Thickens
The stalk was thickening and starting to form its first true leaves. They looked like sunflower leaves, which makes sense because sunchokes are in the sunflower family. I did a quick check of the soil. My finger went 2 inches deep, and it was dry. The plant was thriving.
Day 12: Watering When Necessary
The weather turned unseasonably hot, hitting 85°F (29°C). The leaves started to wilt slightly in the afternoon. This was my cue. I watered deeply, giving each plant half a gallon of water. This is the only time I watered in the first two weeks.
Day 14: Two-Week Checkup
The plants were now 6-8 inches tall with multiple sets of leaves. The stalks were green and strong. I did a gentle tug on one to test the anchor. It held firm. The roots were establishing deep. I was officially on the right track.
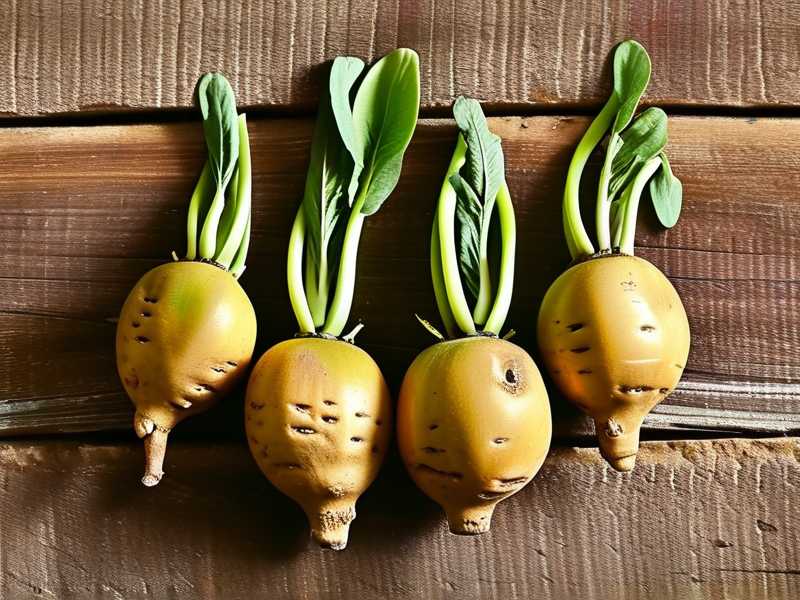
I have learned that the first two weeks are about root establishment. All that initial growth comes from the stored energy in the tuber. Overwatering during this stage just kills the energy source.
Containment Strategies: How I Stop Them From Taking Over
People are terrified of sunchokes spreading. They can indeed take over if you leave tubers in the ground. I had a patch that came back the next year even after I tried to dig them all out.
Here is my honest fix for this. I now plant them in large containers or in a sunken border with a physical barrier. I use a large plastic pot with the bottom cut out, sunk into the ground. This acts like a cage that keeps the tubers inside a defined area. This makes harvest much easier too. I just dig inside the ring.
If you have space and want them naturalized, just be ready to dig up every single tuber in late fall. Miss even one, and it will pop up next spring. That is how they survive.
Harvesting: The Most Satisfying Part
You can start harvesting after the first frost in the fall. The frost converts the inulin into simple sugars, making them sweeter. This is key. If you dig them up before a frost, they will taste bland and might cause stomach upset for some people.
I wait until the stalks turn brown and die back. That is my signal. I cut the stalks down to 4 inches tall. Then I use a garden fork to gently dig around the plants. I do not dig directly into the plant or I will slice the tubers.
The tubers are delicate. They bruise easily. I dig carefully and pull them out by hand.
How I Store My Harvest
You cannot store sunchokes at room temperature. They will shrivel up in days. I keep mine in a plastic bag in the refrigerator crisper drawer. They stay fresh for several weeks this way.
But the best method is to leave them in the ground. Sunchokes are winter hardy. I just cover the soil with a thick layer of straw. I harvest them all winter long. Fresh tubers, right out of the frozen ground, taste incredible. The cold makes them even sweeter.
Dealing With Pests and Diseases
Good news first. Sunchokes have very few natural enemies. In North America, the main problem is the stem borer or aphids. In the UK, you might deal with slugs on the young shoots.
I had an aphid infestation last year. The leaves were covered. I sprayed them off with a strong jet of water for three days in a row. That solved it. Ladybugs moved in and took care of the rest.
The real disease issue is powdery mildew. This happens when the foliage stays wet and the air is humid. It looks like white powder on the leaves. It is ugly but not usually fatal.
To prevent this, I water at the soil level, not overhead. I also space plants properly to allow airflow. A crowded patch will get mildew much faster than a well-spaced one.
The Truth About Sunchokes and Digestion
I have to address this because it is the biggest complaint. Sunchokes contain inulin, a type of fiber. Some people get gassy or bloated after eating them. This is very common.
My advice is to start small. Eat only a few slices the first time. Your gut needs to adjust to the inulin. Some people build up a tolerance over a few weeks.
Cooking them helps too. Boiling or roasting breaks down some of the complex carbohydrates. I prefer roasting them with olive oil and rosemary. They get crispy on the outside and soft inside.
If you are very sensitive, you can blanch them in water for 5 minutes, then discard the water and roast them. This reduces the inulin content slightly.
Final Thoughts on Growing Sunchokes from Tubers
If you want a low-maintenance, high-yield crop that returns every year, sunchokes are perfect. They are not for the gardener who loves to fuss. They are for the lazy gardener who wants results.
I completely stopped buying them at the farmers market because my patch produces more than I can eat. I even share them with neighbors now. They call me the "sunchoke guy."
The journey starts with a simple, firm tuber. Plant it deep. Water it once. Ignore it. Harvest it after a frost. The method is that simple.
Just remember those initial failures. Excessive watering turned my tubers to mush. I know it is tempting to care for them, but these plants need tough love. My final recommendation is to plant 5 tubers if you are a family of four. That will give you enough for 15-20 meals by late winter. Trust me on the numbers. I have done the math.
Now, do you have questions that I might have missed? Let me cover the most common ones I always get from readers.
Frequently Asked Questions
Can sunchokes grow in partial shade?
Yes, they can survive in partial shade, but your yield will drop by about half. I tested this in a shaded corner. The plants grew tall and floppy, and the tubers were much smaller than the ones grown in full sun. Shade is only suitable if you want them for ornamental flowers, not food. For a real harvest, look for a spot that gets direct sun from morning until at least 3 PM.
Do I need to dig up sunchokes every year?
You do not have to dig them up, but you should to keep them controlled. If you leave every tuber in the ground, they will come back even thicker next year. It creates a dense jungle quickly. I dig up all the tubers every fall. I replant a few small ones in the spring. This keeps the patch manageable and prevents them from spreading into my lawn.
Why are my sunchoke tubers so small?
Small tubers usually mean too much nitrogen in the soil, not enough sun, or overcrowding. I made the mistake of fertilizing them early on. Stop feeding them. Also, make sure they are not growing in the shadow of larger plants. If you have a thick patch, thin out the stalks in early summer. Keep only two or three strong stalks per plant. This forces the energy into the roots, not leaves.





