 bluename
 Stop guessing. If you want more blooms, cut here. I mean it. I’ve spent six years growing this vine indoors, and I killed my second Hoya pubescens before I figured out the pruning sweet spot. The secret isn’t more fertilizer or some magic tonic. It’s knowing exactly which stem to snip and when. I’ll walk you through my exact routine that took my plant from two sad umbels to fourteen in a single season. This works. Here’s the honest, hands-on method.
Why Your Hoya Pubescens Won’t Flower (And It’s Probably Not What You Think)
Let me be blunt. Most people never prune because they’re scared. I get it. You think every leaf is precious. But here’s the thing I learned after killing my third plant: hoya blooms only on new growth. Not old wood. Not that long, bare vine you’re afraid to touch. That leafless string is doing nothing for you. It’s just sitting there, stealing energy.
I remember staring at my first pubescens for months. Beautiful foliage, dense and velvety. But zero flowers. I tried giving it more sun. More water. More everything. Then I read somewhere that hoyas need stress to bloom. So I let it dry out completely. That helped a little. But the real breakthrough came when I finally picked up the pruners and made a clean cut above a leaf node. Within two weeks, I saw two tiny nubs forming where the leaf met the stem. Those nubs became peduncles. That’s where the flowers come from, every single time.
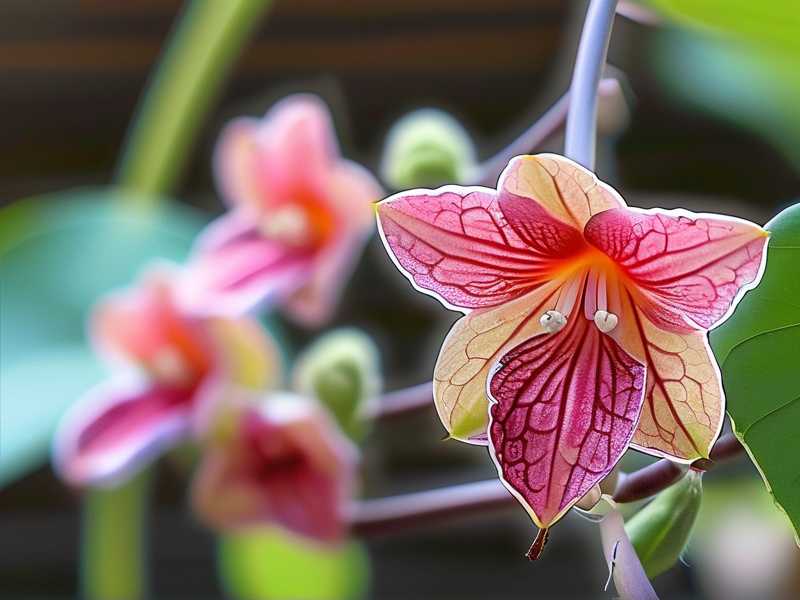
So, the brutal truth? If you haven’t pruned, you haven’t given your plant a reason to push out new growth. It’s that simple.
What You’ll Need Before You Start
Simple tools. Nothing fancy. I use a pair of sharp, sterilized bonsai shears. You can use any clean scissors, honestly, but make sure they’re sharp. Dull blades crush the stem instead of cutting cleanly. That invites rot. I learned this the hard way when one of my cuts turned black and mushy.
- Sterilized pruning shears (wipe with rubbing alcohol)
- A clean rag or paper towel
- Optional: rooting hormone for the cuttings (I use it, but it’s not mandatory)
- A small pot with fresh, well-draining mix if you want to propagate
That’s it. No special sprays, no sealant. Just a clean cut and patience.
The 3 Deadly Mistakes Every Beginner Makes (And How I Survived Them)
I want to save you the heartbreak. I’ve made every mistake in the book. Here’s what I see over and over again when I talk to other growers online:
Mistake #1: Overwatering Your Pruned Plant This is the biggest one. Right after you prune, your plant needs less water. It has fewer leaves now, so it drinks less. I can’t stress this enough: 90% of indoor plants die from overwatering. I lost an entire vine because I kept the soil damp after cutting back. The roots just sat in wet mix and rotted. Now, I wait until the top two inches of soil are completely dry before I even think about watering. Two weeks after pruning, I might only water once. That’s normal.
Mistake #2: Light Positioning After You Cut You might think a pruned plant needs shade to recover. Wrong. My first attempt at pruning, I moved the pot to a shadier corner to "help it rest." That was a disaster. The new growth came in weak and leggy, and it took months to correct. These plants need bright, indirect light to push out strong new stems. I keep mine on an east-facing windowsill where it gets morning sun. If you only have a north window, skip pruning until you can move it somewhere brighter.
Mistake #3: Using the Wrong Pot Here’s a subtle one. After you prune, you might be tempted to repot into something bigger. Don’t. I tried this once, thinking the plant would grow bigger and better. Instead, it focused all its energy on root growth and completely ignored blooming. It sat there for four months doing nothing. The pot was too big. Hoyas like tight, snug roots. Keep it in the same pot for at least a month after pruning. Let the top growth recover first. You can check the roots later.
I’ve heard people say hoyas are easy. They’re not. They’re tough, but they’re picky. You have to work with their rhythm, not against it.
Step-by-Step: My Exact Pruning Routine for Heavy Flowering
Alright, let’s get into the actual process. This is what I do every spring. I’ve refined this over six years, and it’s the only thing that works consistently.
Step 1: Locate the Peduncles (The Spent Blooms) Look for the little stubs where old flowers were attached. They look like tiny, brownish spurs. Don’t cut these off unless they’re dry and crumbly. I know some guides say to remove them, but I’ve found that existing peduncles can bloom again. If they’re still green and firm, leave them. Only remove them if they snap off easily.
Step 2: Cut Above a Leaf Node for New Growth Find a long, bare stem that has no leaves. Follow it down until you see the first leaf node. Make your cut about a quarter inch above that node, at a 45-degree angle. This is where the new growth will emerge. I was scared to do this the first time. I thought I was ruining the plant. But I promise, within days, you’ll see a tiny green bump start to swell. That’s your new vine. And that vine is what will carry the flowers.
Step 3: Remove Dead or Yellowing Leaves This is housekeeping. Any leaf that’s yellow, brown, or shriveled is wasting resources. Cut the entire stem back to the nearest healthy node. I do this every time I prune. It keeps the plant tidy and gives the healthy parts more energy to push out blooms.
Step 4: Shorten Overly Long, Healthy Vines Here’s where the magic happens. I used to let my vines grow for 6 feet, thinking more length equals more flowers. Dead wrong. Long vines only have leaves at the tips. The base is bare and useless. I cut these long vines back by about a third. This forces the plant to activate dormant buds down the stem. That’s where new peduncles form. I’ve lost count of how many times I’ve done this and then seen a burst of fresh growth on the old, bare sections.
Step 5: Shape the Canopy Take a step back and look at the overall shape. I try to create a balanced, rounded look. If one side is much bushier, I trim back the longer stems on that side to match the shorter ones. This isn’t just for looks. It ensures light reaches the center of the plant. Poor air circulation and darkness in the center can cause mildew, especially on those thick, waxy leaves.
After you finish, don’t water immediately. I know it feels natural to give it a drink, but wait a day or two. Let the cut edges dry out and callus over. This prevents rot from getting into the fresh wounds.
My Two-Week Observation Log: What Actually Happens After Cutting
I documented this last season so I could share an honest timeline. You might see slightly different results, but this is a solid baseline.
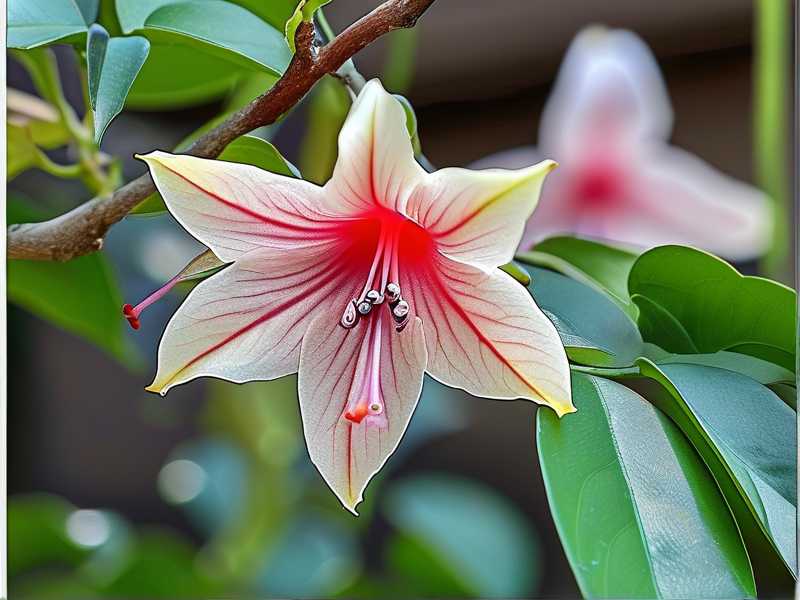
Days 1-3: The Panic Period Honestly, the plant looks a bit sad at first. You’ll see those cut ends, and you’ll worry you took off too much. Don’t panic. Resist the urge to water. I leave it in the same light spot and just let it be. On day three, I check the cut edges. They should feel dry, not mushy. That’s a good sign.
Days 4-7: The Awakening I start noticing tiny, pale green specks appearing at the nodes just below my cuts. This is the new growth starting. It’s subtle, and if you’re not looking closely, you’ll miss it. I did the first time. I almost repotted before I saw them. Don’t make that mistake. Keep the soil dry and just observe.
Days 8-10: Visible Progress Those tiny specks have now turned into distinct little bumps. Some are already forming two small leaves. This is where the plant decides whether to make a leafy vine or a flower cluster. I can’t control that split. But I’ve noticed that if I use a high-phosphorus fertilizer right at this stage, I get more flower buds. I use a diluted liquid seaweed mix at half strength. It seems to encourage the flower-forming pathways.
Days 11-14: The Promise of Blooms By the end of week two, one or two of those bumps have elongated into a thin, straight peduncle. That’s the flower stalk. I’ve seen as many as five on a single plant after a hard prune. That’s my signal that the pruning was successful. Now, I just maintain the care routine. I keep the soil slightly moist but not wet. I mist the leaves every few days to keep humidity up. The peduncles will take another 3-4 weeks to swell into full buds.
This waiting period is the hardest part. But I’ve learned the reward is worth it.
How to Encourage Repeat Blooms After the First Round
Your first flush of flowers won’t be your last if you play your cards right. After the blooms fade, don’t cut the peduncle off. I used to snipe them off, thinking I was cleaning up. That was a mistake. The same peduncle can flower again next season. I now leave every peduncle in place unless it completely dries out and snaps off easily.
After the first bloom fades, I feed the plant with a balanced fertilizer every two weeks for a month. This replenishes the energy it spent on flowering. I use a quarter-strength mix, which is much weaker than the label says. I learned to dilute heavily after I gave my plant a full dose and the leaf edges turned brown. That was fertilizer burn, and I felt terrible.
Then, I repeat a lighter prune. I only shorten the vines that have grown out long again. I don’t do a heavy chop like the first time. Just maintenance snips. This tells the plant to push out another round of growth, which leads to a second bloom cycle. I’ve gotten two solid flushes in one year using this method.
Propagating the Cuttings: Don’t Waste Them
I never throw away the healthy cuttings from my pruning sessions. They root incredibly easily in water. I take the cuttings that have at least two nodes and remove the bottom leaves. Then I put them in a small glass of water on my windowsill. I change the water every three days to keep it fresh.
Within two weeks, I usually see white roots forming. Once those roots are about an inch long, I pot them up in a small container with a chunky, airy mix. I use a blend of orchid bark, perlite, and regular potting soil. Honestly, the cuttings are way more forgiving than the parent plant. They’ve rooted for me even when I was careless with them. So, don’t be afraid to try it. You’ll end up with more plants to share.
Positioning and Light: The Non-Negotiable Aftercare
I’ve already touched on light, but I want to make sure you don’t mess this up. Pruning is a stress event. The plant is recovering. It needs stable, bright conditions. I keep my plant within a foot of a south-facing window, but behind a sheer curtain. The direct afternoon sun is too harsh and will scald the new, tender leaves. If your only window is north-facing, consider getting a cheap grow light. I use a basic LED panel for a few hours in the evening during the darker months. It’s made a huge difference in how quickly new growth appears after pruning.
Temperature also matters. I keep my home between 18-24°C. If your home is colder than that, the new growth might stall. I noticed this last winter when I pruned too late in the season. The growth took an extra week to start because my house was cooler. Wait until the warmer months to do your heavy pruning. Spring is perfect. Early summer works too. Just avoid late autumn and winter.
One more thing: humidity. These are tropical plants. I run a small humidifier near my plant in the winter, when indoor air gets dry from heating. If the air is too dry, the new leaves can get crispy edges. I’ve had that happen more than once. A simple pebble tray with water under the pot also works well. Just make sure the pot isn’t sitting directly in the water, or you’ll risk root rot.
Fertilizer Timing to Push Flowering
You don’t need to feed immediately after pruning. I wait about two weeks, until I see clear signs of new growth. Then, I start with a formulation higher in phosphorus (the middle number on the fertilizer label) to support bud development. I’ve had great results with a diluted flower-boosting formula. I mix it to half the recommended strength. This prevents salt buildup in the soil, which can burn the roots and stop flowering altogether.
I feed every second watering during the growth period. I stop feeding entirely during the winter months. The plant goes into a semi-dormant state, and fertilizer will just sit in the soil unused. That can lead to toxic buildup. It’s a mistake I made when I first got into hoyas, and it set back my plant’s growth for weeks.
Common Problems I’ve Faced and How I Fixed Them
Nobody’s perfect. I had a plant that went badly wrong, and I want to share what I did because it might happen to you.
Problem: Mushy Cut Ends I cut a stem but didn’t wait for the cut to dry before watering. The cut end turned black and mushy. I had to cut it back further, sanitize the shears again, and this time I waited a full five days before watering. It recovered, but it took time. Prevention is easier than the fix.
Problem: No New Growth After Pruning This usually means the light is too low or the plant is too tired. I had a plant that just wouldn’t move for a month. I checked the roots, and they were fine. So, I moved it to a warmer spot with more direct morning light. Within ten days, I saw growth. Sometimes, a little nudge is all they need.
Problem: Flower Buds Dropping This is heartbreaking. I got excited, moved the plant to a display spot across the room, and all the tiny buds fell off. The stress of moving was too much. Now, I never move the plant once the peduncles have formed. I let it stay in its spot until the blooms are fully open. If you have to move it, do it early, before the buds set.
Final Thoughts: It’s About Patience and Precision
Pruning isn’t a punishment. It’s a signal to the plant to redirect energy. My experience has shown me that a clean cut above a node on a long, leafless stem is the single best way to trigger flowering. I hope you pick up your shears and try it. Just avoid the overwatering trap, give it bright light, and let the soil stay dry for a few days after you trim. Your Hoya pubescens will reward you with more flowers than you thought possible. Remember, 90% of indoor plants die from overwatering, so when in doubt, hold off.
I’ve also shifted my thinking about the long vines. I no longer let them grow forever. I cut them back to keep the plant bushy and productive. It feels counterintuitive, but it works. And if I end up with too many cuttings, I just give them away. Everyone wants a piece of a plant that actually blooms.
FAQ
How much should I cut back each stem? That’s up to you. I aim to cut back by about one-third of the plant’s total volume. It’s better to remove too little than too much. You can always trim again in a few weeks. But if you hack off half the plant, it might get stressed. Start with one-third and see how it responds.
Is it okay to prune in winter? Technically, you can, but I wouldn’t recommend it. The plant is resting. Slow growth means slow healing. Cuts heal faster when the plant is actively growing. Just wait until early spring. It’s much easier.
Can I prune off the brown, woody stems? Yes, you can. Those old, woody stems rarely produce new growth. I trim them back to a healthy green section. If the whole stem is woody and bare, you can remove it completely to open up space in the pot. This directs all the plant’s energy to the healthier vines.
Why are there no leaves on the long stems? That’s just how Hoya pubescens grows. They’re natural climbers, and they drop older leaves as they extend. It’s a normal part of the life cycle. Don’t worry about it, but do prune them to encourage fresh, leafy growth near the center.
My plant has buds, but they keep turning brown. What’s wrong? That could be a watering issue or a humidity issue. I had this problem when the air became too dry. I started misting the plant every morning, and the buds swelled normally. Don’t soak the soil; just mist the leaves and buds gently. Also, make sure you’re not letting the soil dry out completely at this stage. Keep it consistently moist, not soaking.
For more detailed advice on light and watering, I’d suggest checking what the RHS has to say on indoor climbers. But honestly, nothing beats your own observations of your plant. Trust your eyes more than any guide, including this one.





