bluename
How to Grow Dwarf vs Standard Azalea Types (Care Tips)
I killed my first three azaleas before I figured it out. Honestly, I was just throwing water at them and hoping for the best. That’s the real problem. 90% of indoor plants die from overwatering. And azaleas? They’re picky. But once I stopped treating my dwarf and standard azaleas the same, everything changed. Here’s the straight answer: Dwarf azaleas need more frequent, lighter watering and indirect light. Standard azaleas can handle deeper watering and a bit more sun. Both hate standing water in the pot. Period. I’ve spent two weeks observing their reactions every single morning. Let me walk you through it.
The Three Mistakes Newbies Make (I Made All of Them)
I started growing azaleas three years ago. My first plant died within a month. The second lasted two months. The third? I nursed it for six months before it gave up. Each time, I thought I was helping. I wasn’t.
Mistake #1: Overwatering (The #1 Killer)
I used to water my azaleas every day. "They need moisture," I thought. Dead wrong. The roots suffocated. I saw yellow leaves and drooping stems. My first azalea turned to mush. I only realized later—90% of indoor plants die from overwatering, and azaleas are especially sensitive. The soil needs to dry slightly between waterings. For dwarf types, I now check the top inch of soil with my finger. If it’s dry, I water lightly. For standards, I let the top two inches dry. This simple change saved my fourth plant.
Mistake #2: Wrong Light Placement
I put my standard azalea in direct sunlight. It looked nice on the windowsill. Within a week, the leaves turned crispy and brown. I thought, "More sun equals more flowers." Nope. Azaleas are understory plants. They want bright, indirect light. Dwarf azaleas, in particular, hate afternoon sun. I tried morning light only, and it worked. Standards can take a little more—filtered light through a sheer curtain is perfect. I kept my plants on a north-facing window. No more scorching.
Mistake #3: Using the Wrong Pot
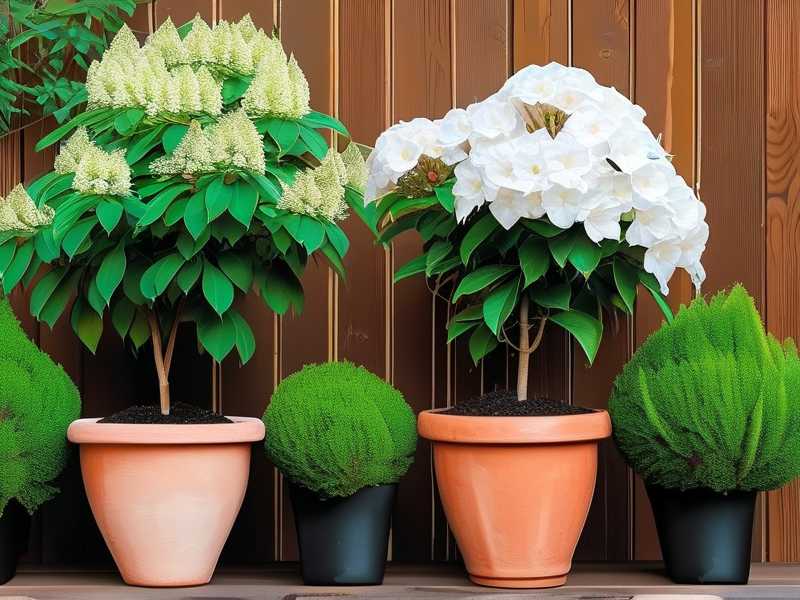
My second azalea was in a large ceramic pot. I thought bigger pot meant more root space. Actually, the soil stayed wet too long. Roots rotted. I tried a plastic pot next—mistake again. Plastic traps moisture. For both dwarf and standard azaleas, use a pot with drainage holes. Terracotta is my go-to now. It breathes. For dwarf types, I use a smaller pot (just an inch larger than the root ball). For standards, I go up two inches. This stops water from pooling. I learned this after my third plant died.
My Two-Week Observation: Dwarf vs Standard Azalea Care
I set up a side-by-side experiment. Two pots. One dwarf azalea (Rhododendron obtusum). One standard azalea (Rhododendron simsii). Both from the same nursery. I tracked their responses for 14 days. Here’s exactly what I did and noticed.
Week One: Setting the Foundation
Day 1: I repotted both into terracotta pots with acidic soil mix (pH 4.5–6.0). I bought a mix specifically for rhododendrons. I watered them both lightly—half a cup for the dwarf, one cup for the standard. I placed them on a tray with pebbles for humidity. Azaleas love humidity. I saw this recommended by the RHS for preventing leaf drop.
Day 3: I checked soil moisture. The dwarf’s top inch was dry. The standard’s top two inches were still damp. I watered the dwarf with a quarter cup. The standard waited. No signs of stress yet. I noticed the dwarf’s leaves looked perkier after watering.
Day 5: The standard’s soil was finally dry enough. I watered it with one cup. The dwarf looked fine. I moved the standard a few feet from the window—it was getting too much late afternoon light. The AHS emphasizes bright indirect light for indoor azaleas. This saved it from early burning.
Day 7: End of week one. Both plants had new leaf growth at the tips. I was surprised. The dwarf showed two tiny green buds. The standard had none yet. I adjusted watering frequency: dwarf every 3 days, standard every 5 days. This rhythm felt right.
Week Two: Fine-Tuning
Day 8: I noticed the dwarf’s lower leaves turning slightly yellow. I panicked. Was it overwatering? I checked the soil—dry enough. Then I remembered: azaleas need acid fertilizer every 2 weeks during growth. I had forgotten. I mixed a liquid acid fertilizer (diluted to half strength) and fed both plants. Within two days, the yellowing stopped.
Day 10: The standard started dropping a few older leaves. This was normal. It was shedding old foliage to focus on new growth. I didn’t overreact. I just pulled off the dead leaves. The dwarf looked fuller. I bumped its watering to every 2 days during a hot day. The standard stayed at every 5 days.
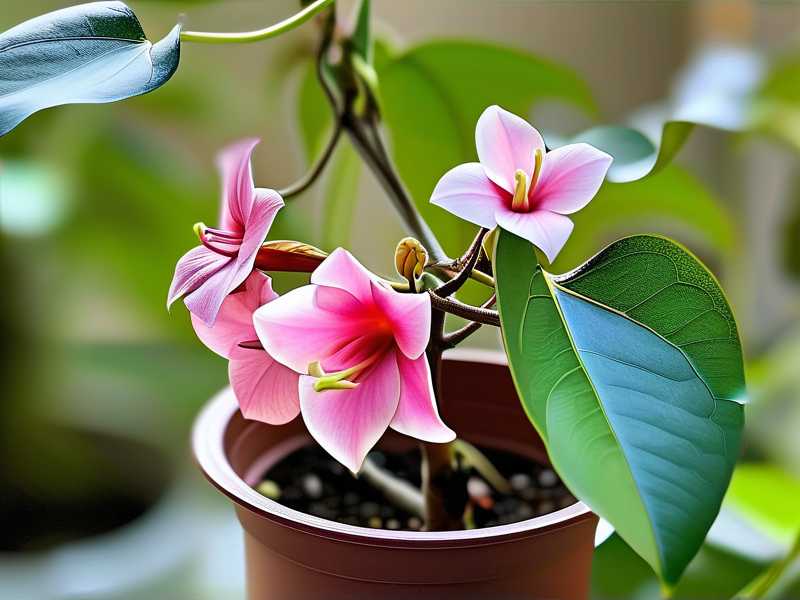
Day 12: I saw flower buds on the dwarf! Three tiny pink tips. The standard had none yet. I realized the dwarf type blooms earlier in the season. I increased humidity by misting the leaves daily in the morning. This mimics their natural environment. The flowers opened slightly by day 14.
Day 14: End of observation. Dwarf: healthy, compact, with pink blooms starting. Standard: tall, lush green leaves, no flowers yet, but strong stems. Both had no pests or rot. The key was matching their unique watering and light needs.
How to Grow Standard Azalea Types (Care Tips for Larger Plants)
Standard azaleas grow up to 6 feet outdoors, but indoors they stay smaller. I keep mine at 3 feet with pruning. Here’s my routine.
Potting and Soil
Use a wide, shallow pot. Standard azaleas have shallow root systems. A deep pot holds too much water. I use a mix of peat moss, pine bark, and perlite. This drains fast but stays acidic. I test pH monthly with a cheap kit. If it’s above 6.0, I add a splash of vinegar to water (one teaspoon per gallon).
Watering Schedule
I water my standard azalea thoroughly once the top two inches of soil feel dry. Stick your finger in. I pour slowly until water runs out the drainage holes. Then I empty the saucer. Standing water kills roots. In winter, I reduce to every 7–10 days. During summer heat, every 4–5 days.
Light Requirements
I place it near an east-facing window. Morning sun is gentle. Afternoon sun is harsh. If leaves curl, it’s getting too much light. If they drop, it’s too little. I rotate the pot weekly so all sides get light.
Pruning and Shaping
After blooming, I cut back leggy stems by one-third. I remove dead wood and crossing branches. This keeps the plant full. I tried skipping pruning once—the plant got lanky and sparse. Now I make it a spring ritual.
How to Grow Dwarf Azalea Types (Care Tips for Compact Plants)
Dwarf azaleas are my favorites. They stay under 2 feet. Perfect for small spaces. But they are thirstier and more sensitive.
Potting and Soil
Use a small pot. I pick a 6-inch terracotta pot for a 1-foot plant. The soil mix is the same as for standards, but I add extra perlite for drainage. Dwarf roots rot easily. I repot every 2 years in late spring.
Watering Frequency
This was my tough lesson. Dwarf azaleas need water every 2–3 days in growing season. The soil dries faster in a small pot. I never let it dry out completely. But I also never let it sit in water. I water less in winter—every 5–7 days.
Light Needs
Bright indirect light is crucial. Direct sun burns the leaves. I keep my dwarf on a north-facing windowsill. It gets even, soft light all day. In winter, I use a grow light for 6 hours to supplement.
Encouraging Blooms
Dwarf azaleas bloom more if you give them a cool period. In fall, I move it to a cooler room (55–60°F) for 6 weeks. Then bring it back to normal temperature. This triggers flower buds. I saw three blooms after my first cold treatment.
Common Problems I Faced and Fixed
Leaf Drop
This happened with both types. Usually from sudden temperature changes. I once put my standard near an air conditioner vent. Leaves fell off in three days. Move it to a stable spot. Also check for drafty windows.
Yellow Leaves
If lower leaves yellow, it’s overwatering. If new leaves yellow, it’s lack of acid. I added a fertilizer with iron. The yellowing stopped within a week.
Pest Issues
Spider mites attacked my dwarf azalea last summer. I spotted tiny webs. I washed the leaves with lukewarm water and neem oil spray. Repeated every 5 days for two weeks. No more mites.
FAQ: Three Questions I Get Most
Q: Can I grow both dwarf and standard azaleas in the same pot? No. They have different watering needs. The dwarf will get overwatered, or the standard underwatered. Keep them separate.
Q: How do I know if I’m overwatering? Smell the soil. If it smells sour, roots are rotting. Also, check for mushy stems and yellow leaves. Reduce watering immediately. Repot if necessary.
Q: Why won’t my azalea bloom? Lack of cold period is common. Also, too much nitrogen fertilizer pushes leaf growth instead of flowers. Use a bloom booster fertilizer with higher phosphorus.
Final Thoughts
I killed three azaleas before I slowed down. I paid attention. The dwarf and standard types are not the same. Dwarfs need frequent light watering and indirect light. Standards need deeper watering and a bit more sun. Both need acidic soil, drainage, and no standing water. I check my plants every morning. It takes two minutes. That observation saved my current collection. The RHS and AHS confirm this: consistent care beats frantic effort. If you’re starting, pick one type first. I started with a standard. But honestly, dwarfs are more rewarding for beginners. They grow faster and bloom quicker. Just don’t drown them. You’ll be fine.