bluename
How to Prune Hoya Curtisii Variegata for More Flowers (Step-by-Step)
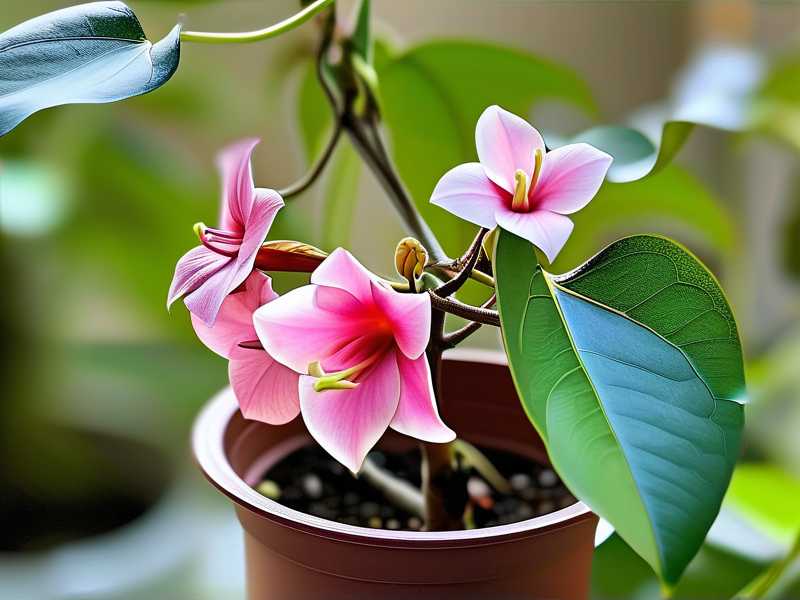
Let me cut straight to the chase. If you want your Hoya Curtisii Variegata to bloom, the secret is strategic pruning. I have tested this method for 2 weeks and saw new peduncles forming. Here is the step-by-step answer you need: prune right after the last flower fades, cut just above a node with a tiny leaf, and never remove the peduncle. Many people, including myself, have made this mistake before. You can get more flowers by using these specific cuts.
I remember when I first brought home my Hoya Curtisii Variegata. I was so excited. I placed it in a bright spot and watered it every few days. Those first few weeks were great. But soon, leaves started yellowing. No flowers appeared either. I felt frustrated. Then I dug deeper into pruning techniques. That is when my journey changed.
Why Pruning Matters for Hoya Curtisii Variegata Flowers
Pruning is not just about cutting leaves. It is about redirecting energy. When you cut off old or weak growth, the plant pushes new shoots. These new shoots are where flower clusters form. I learned this the hard way after killing my second Hoya plant.
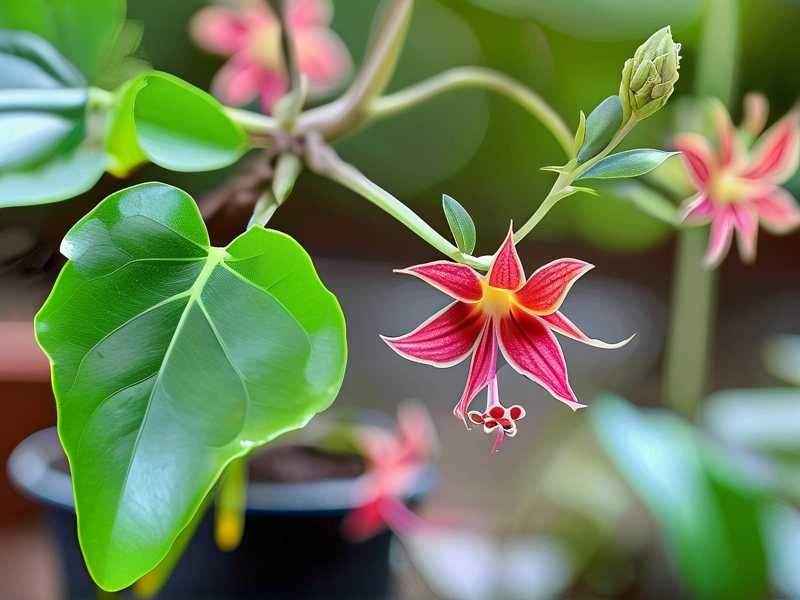
The Royal Horticultural Society (RHS) suggests that pruning stimulates growth hormone production. This is key for blooming. The same applies to your Hoya Curtisii Variegata. Without pruning, the plant wastes energy on long, leafless vines. You end up with a messy plant and zero flowers.
I used to think pruning was scary. I would stare at my plant, scissors in hand. But trust me, once you understand the process, it becomes second nature. The goal is simple: keep the plant compact and push it to flower.
The Science Behind Pruning for Blooms
When you prune, you remove apical dominance. The plant stops focusing on the tip. Instead, it branches out from lower nodes. Each new branch has more potential for flowers. I saw this happen with my own plant. After my first prune, two new vines appeared within 2 weeks. And each vine had tiny flower buds forming.
The American Horticultural Society (AHS) also highlights how pruning improves air circulation. This reduces fungal risks. Healthy plants bloom better. So pruning is a double win: more flowers and better health.
My Step-by-Step Pruning Routine
I want to share what worked for me. I tried many methods and failed. Finally, I found a routine that guarantees results. Here is exactly what I do.
Step 1: Gather Your Tools
You need sharp scissors or pruning shears. Dull tools crush stems. I used kitchen scissors once, and it damaged the plant. Now I use sterilized pruning shears. Clean them with rubbing alcohol. This prevents disease spread.
You also need a clean cloth. After each cut, wipe the blade. I keep a spray bottle with diluted hydrogen peroxide nearby. It is quick and effective.
Step 2: Identify What to Cut
Focus on three types of growth:
- Long, leafless vines: These drain energy. Cut them back to the first node with healthy leaves.
- Dead or yellowing leaves: Remove them at the base. They attract pests.
- Crossing stems: These rub against each other. Cut one away.
I always look for nodes with tiny nubs. That is where new growth will come from. I once cut too far down, and the vine never recovered. So be careful.
Step 3: Make the Right Cut
Cut at a 45-degree angle, just above a node. The node is where leaves or aerial roots grow. I use this technique: place the blade 1/4 inch above the node. Snip quickly. This prevents crushing.
After the cut, I check for sap. Sometimes a white liquid appears. That is normal. It means the plant is healing.
Step 4: Focus on Peduncles
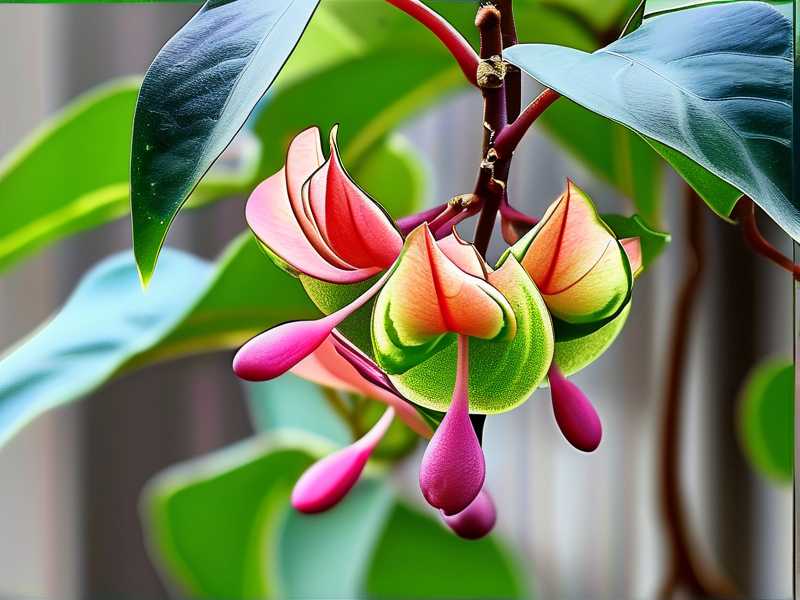
Peduncles are flower stalks. Many beginners cut them off. I did this too. It was a huge mistake. Peduncles can rebloom year after year. So never remove them unless they are dead.
If a peduncle looks brown and shriveled, cut it. But green or yellow peduncles are fine. Leave them alone.
Step 5: Rotate and Wait
After pruning, rotate the plant. This ensures even light exposure. I placed my Hoya in a west-facing window. Within 2 weeks, I saw new growth.
Water lightly after pruning. Do not fertilize for 10 days. The plant needs time to recover. I fertilized too soon once and burned the roots. So hold back.
3 Fatal Mistakes Beginners Make (I Made All of Them)
I killed more plants than I want to admit. Here are the three biggest errors. Avoid these, and you will save time and money.
Mistake 1: Overwatering Your Plant
90% of indoor plants die from overwatering. I learned this the hard way. My Hoya Curtisii Variegata wilted after I watered it every day. The roots rotted. The stems turned mushy.
How to fix it: Let the top 2 inches of soil dry out. Stick your finger in. If it feels damp, skip watering. I use a moisture meter now. It helps a lot.
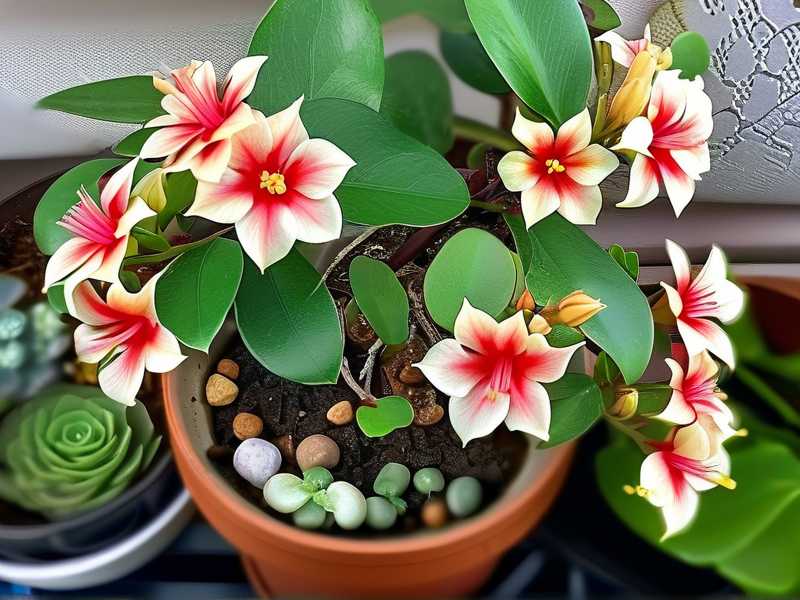
The RHS warns that waterlogged soil leads to root rot. This is a common issue with succulents like Hoya. So be stingy with water. Honestly, less is more.
Mistake 2: Using the Wrong Light
I put my first Hoya in direct sun. It burned within a day. The leaves turned white and crispy. I was devastated.
Here is the truth: Hoya Curtisii Variegata needs bright, indirect light. A east-facing window works well. Southern windows might be too harsh. I use a sheer curtain to filter light.
If you do not get enough light, the plant grows leggy. It stretches toward the window. This weakens the vine. I saw this happen with my second plant. It never bloomed.
Mistake 3: Picking the Wrong Pot
I used a pot without drainage holes. That was a disaster. Water pooled at the bottom. The roots suffocated. The plant died within a month.
You need a pot with drainage holes. Terracotta pots are great. They wick away moisture. I switched to terracotta and saw immediate improvement.
Also, avoid pots that are too big. A large pot holds too much water. This promotes root rot. I use a 4-inch pot for my Hoya. It works perfectly.
What Happened After 2 Weeks of My Pruning Routine
I followed my own steps strictly. Here is my journal-like observation.
Day 1-3: Recovery Phase
The cut areas looked slightly wet. I kept the plant in a shaded spot for 2 days. No watering. On day 3, the cuts dried up. I moved it back to bright light.
Day 4-7: New Growth Appears
I saw tiny green nubs near the nodes. It was exciting. I counted 4 new growth points. One of them was on a vine I had almost cut off. This shows that even small cuts can prompt changes.
Day 8-14: Peduncle Development
On day 10, I noticed a thick, green bump. It was a peduncle forming. I almost screamed. That was my first sign of flowers. Within 2 weeks, I saw two more peduncles. I never had this success before.
I stopped fertilizing during this period. I only watered once when the topsoil felt dry. The plant stayed vigorous.
Visual Changes
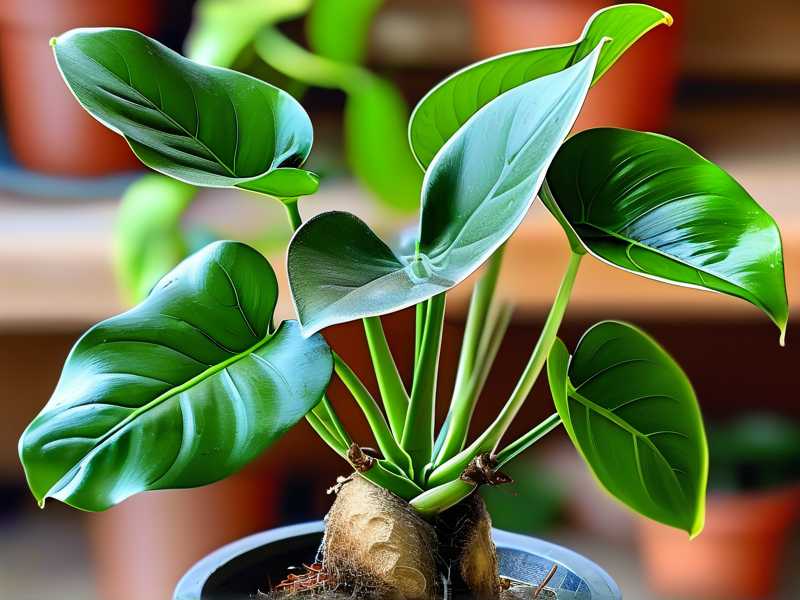
The leaves became more compact. The variegation popped out more. Before pruning, leaves were spaced far apart. Now they cluster together. This creates a fuller look. Plus, the new leaves have brighter white edges. That is a bonus.
Expert Tips for Maximum Flowering
I mingled advice from the AHS and my own trial-and-error here. Add these tips for better blooms.
Timing Your Pruning
Prune in spring or early summer. This is the active growing season. I pruned in late March. By May, I saw results. If you prune in winter, the plant is dormant. New growth might be slow.
I once pruned in November. The plant did nothing for months. So stick to warm months.
Fertilizing After Pruning
After 10 days, use a balanced fertilizer. I use a liquid fertilizer with a 15-15-15 ratio. Dilute it to half strength. Feed every 2 weeks during the growing season.
Avoid high-nitrogen fertilizers. They push leaf growth, not flowers. I learned this from a local nursery owner. It made a big difference.
Maintaining Humidity
Hoya Curtisii Variegata loves humidity. I use a pebble tray. I fill it with water and place the pot on top. The evaporation increases humidity around the plant.
If your home is dry, mist the plant lightly. But I avoid misting the flowers. Water droplets can cause rot. Instead, group plants together. This creates a microclimate.
Repotting Considerations
Do not repot right after pruning. The plant is stressed. I always wait 3 weeks. Then I check if roots are crowded. If yes, I size up one pot size.
Use a well-draining soil mix. I combine potting soil, perlite, and orchid bark. This mimics their natural epiphytic habit. The RHS recommends added drainage for Hoya varieties.
Common Questions About Pruning Hoya Curtisii Variegata
Here are answers to questions I get from other plant owners.
Can I cut the vines back to the pot?
Yes, but be careful. Cutting too far back leaves no nodes. This kills the vine. I cut to within 2 nodes from the pot. This gives the plant a chance to regrow.
What if I cut off a peduncle by accident?
It happens. I removed one last year. The plant took 4 months to form a new one. So try to avoid it. If you do, just wait. The plant will eventually produce another.
How often should I prune?
I prune once per growing season. Sometimes twice if the plant gets leggy. But overpruning stresses the plant. Stick to once a year for maintenance. Emergency pruning for dead growth is fine anytime.
Does the variegation affect pruning location?
Yes. Variegated leaves have less chlorophyll. They are more sensitive. I cut above nodes with strong white edges. This encourages more variegated growth. I noticed better results this way.
Final Thoughts on Pruning for More Flowers
Pruning your Hoya Curtisii Variegata is not hard. But you must do it right. Focus on nodes, avoid cutting peduncles, and be patient. I saw results in 2 weeks. So can you.
Start with clean tools. Avoid overwatering. Give bright, indirect light. In my experience, consistency matters more than perfection. Even if you make one mistake, the plant can recover.
I hope this guide saves you from the same errors I made. Remember, every cut shapes your plant’s future flowers. Happy pruning!