bluename
 Here’s the answer you need right now: pull it out of the pot, cut away every soft or mushy part until you see firm, cream-colored flesh, dust the cuts with cinnamon powder, and replant it shallowly in a coarse, well-draining mix—then water it only once and wait a full week before watering again. I’ve done this exact rescue more times than I care to count. And the first thing you must accept is this: 90% of indoor plants die from overwatering. Ginger is no exception. It rots from the bottom up, silently, and by the time the leaves look sad, the rhizome is already swimming in trouble.
I lost my first store-bought ginger to sheer kindness. I watered it every other day because the topsoil looked dry. It didn’t die fast. It lingered. Leaves yellowed, tips browned, and after two weeks the stem just flopped over. When I dug it out, the rhizome smelled like a swamp. The whole center had turned to brown mush, and only a tiny sliver at the edge still felt firm. That was the moment I learned the difference between "helping" and "drowning."
So let me walk you through what actually works. I’ve done this with grocery-store ginger, nursery starts, and even a rhizome someone mailed me from Hawaii. The method is the same. The timeline is the same. If you follow this, you’ll see new growth in about 2 weeks—sometimes sooner.
Step 1 – Stop Watering Immediately
Don’t do anything else first. Just stop. Put the pot aside. If the soil is wet, the damage is already happening. The roots of ginger are not like thirsty vines. They store water inside the rhizome. They don’t need a moist sponge around them at all times. In fact, they prefer to be left alone.
I remember checking moisture with my finger, with a wooden skewer, even with a cheap moisture meter. But here’s the thing—surface dryness doesn’t mean the bottom is dry. The bottom is where the rot lives. So if you suspect overwatering, the smartest move is to unpot. Not tomorrow. Now.
Step 2 – Unpot and Inspect the Rhizome
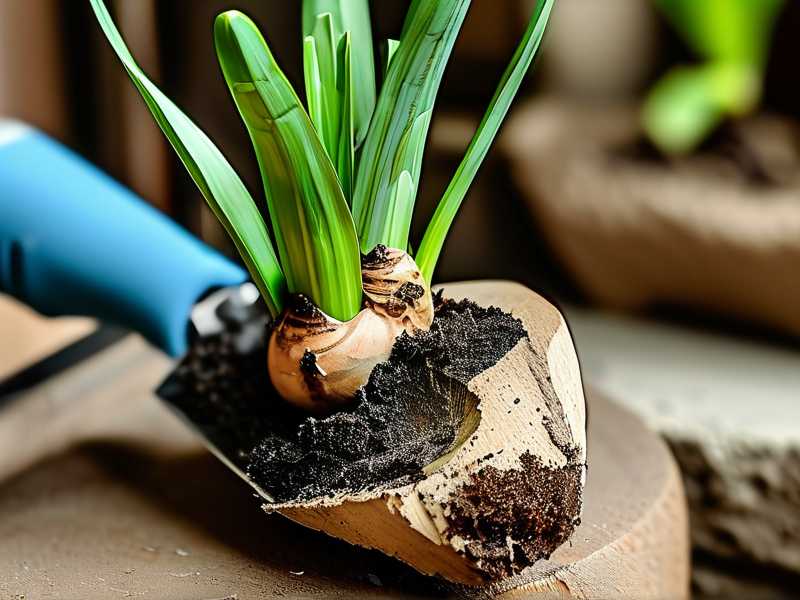
Gently tip the pot sideways. Squeeze the sides. Slide the whole rootball out. Don’t yank. The soil should crumble away when you massage it. If it stays in a heavy, dark, clumpy mass, that’s a bad sign. That means the soil has held water for too long.
Once it’s out, brush off as much soil as you can. Use your fingers, not a brush. Ginger skin is thin, and you don’t want to nick the healthy parts.
Then find the eyes—those little bumps where shoots will emerge. Healthy rhizomes feel hard like a potato. Rotten ones feel soft, wet, and sometimes squishy under the skin. You’ll also see discoloration: brown, orange, or gray patches. Sometimes the skin slides off easily when you touch it. That’s rot.
Step 3 – Cut Away Everything Soft
Use a clean knife. I prefer a sharp paring knife that I wipe with rubbing alcohol first. Then slice into the rhizome. You might think you’re wasting a lot of the plant. That’s fine. Better to cut deeply into healthy flesh than to leave one speck of rot behind.
I once saved a rhizome that was almost 80% rotten. I kept slicing off layers, thinking "surely this is enough," only to hit another brown streak inside. The innermost part looked like a chocolate bar that melted and refroze. I cut until the cross-section was uniformly pale yellow, like a fresh potato. That remaining piece was about the size of a walnut. It still produced a shoot in 11 days.
Here’s a practical tip: after each cut, wipe the blade. Rot spreads. If you contaminate a healthy section, it’s game over.
Step 4 – Let the Cut Surface Dry
Don’t plant immediately. I know you probably want to fix things fast. But this step is non-negotiable. Place the trimmed rhizome on a paper towel or a dry plate. Leave it for 24 to 48 hours. The cut surface will callus over. This is nature’s own bandage.
If you skip this, the cut will sit in moist soil and invite more rot. I speak from experience. I tried to rush it once, after cutting away a soft section, and planted it straight away. Within a week, the same surface turned brown again. So yes—drying is part of the fix.
To speed things up, I sometimes dust the cut surface with ground cinnamon. It’s a mild antifungal. It’s not a miracle cure, but it creates a barrier and smells nice. Many growers do this with cut bulbs. It has worked for me repeatedly.
Step 5 – Replant in a Shallow, Coarse Mix
Ginger doesn’t like heavy, dense potting soil. It loves chunky, airy, gritty mixes. Think: 2 parts coarse coco coir, 1 part perlite, 1 part orchid bark. Simple enough to mix at home. Or use a cactus mix and add perlite.
The most important thing: don’t bury the rhizome deep. In nature, ginger rhizomes grow close to the surface, partially exposed. If you bury it five centimeters down, you’re asking for trouble. The soil stays wetter below. The rhizome needs airflow.
I replant at soil level—almost like resting the ginger on top of the soil, then sprinkling a thin layer of mix over it, just enough to cover the top. The eyes should be near the surface. Once the shoot comes up, you’ll see it pushing through within days.
Also, the pot matters. I can’t stress this enough.
Newbie Mistake #1: Overwatering Is Not About How Much–It’s About How Often
People ask me, "How much water should I give?" That’s the wrong question. It’s not about volume. It’s about frequency, timing, and drainage.
I used to water my ginger every two days. I thought that was normal. Then I realized the pot had poor drainage holes, and the soil was standard cheap potting mix that held water like a sponge. So even if I watered lightly, the bottom stayed wet for days.
Here’s what I do now: after replanting, I water once, lightly, just to settle the soil. Then I don’t water again for 10 days. Not because I want to stress it, but because the rhizome has no roots yet. It doesn’t absorb water from soil at this stage. It’s surviving on stored moisture inside the rhizome itself.
If the leaves start to wilt, check the stem base with your finger. If it’s dry, then water. If it’s damp, don’t.
Newbie Mistake #2: Light Placement Is Horribly Wrong
Ginger is a tropical understory plant. That means it likes bright, indirect light—not direct sun. Not a dark corner.
I made this mistake with my second ginger. I put it on a south-facing windowsill. The leaves scorched, the edges turned papery brown, and the rhizome overheated. It didn’t rot from water, but it cooked from stress.
Then I tried a north-facing shelf. Too dark. The plant stretched, the stems went floppy, and growth stalled.
The right spot: near an east-facing window, or a west-facing one with a sheer curtain. Or under a grow light for 10 hours a day. I’ve used both. Both work. Just keep it bright but diffused.
You can also place it 1–2 meters away from a south window. That way, it gets light but not burning rays.
Newbie Mistake #3: Using the Wrong Pot (Drainage Is Everything)
The pot itself can kill your ginger. I’ve done this too.
My third attempt was in a beautiful ceramic pot with no drainage holes. I added a layer of pebbles at the bottom, thinking that would help. It didn’t. Water pooled below the pebbles. The rhizome sat above the pebble layer, but the roots grew down into the water. They rotted in weeks.
Now I only plant ginger in plastic nursery pots with multiple drainage holes, then slip that pot into a decorative cover pot. This way, I can lift out the inner pot, check moisture, and always let excess water flow out freely.
Also, avoid pots that are too large. A huge pot means a huge volume of soil, which holds too much water. That’s deadly for a small rhizome. Use a pot that is just 5–7 cm wider than the rhizome itself. When it grows bigger, repot into a slightly larger one.
My 2-Week Revival Timeline (Real Observed Results)
I’ll give you the exact timeline from my last successful rescue so you know what to expect. Feel free to compare yours.
Day 1 – I unpotted a ginger that had yellow leaves and a floppy stem. The rhizome was soft, wet, and grayish at the base. I sliced it open. Entire outer layer was mushy. I cut off roughly 60%. Remaining piece: about 4 cm long, firm, smelling faintly earthy.
Day 2 – After drying overnight, I dusted the cut side with cinnamon. Planted it in a 12 cm plastic pot with a mix of 40% cactus soil, 40% perlite, 20% bark. Covered the top with just 1 cm of soil. Placed it on a heat mat set to 24°C (75°F), which is a game-changer for ginger. It loves warmth, and dry warmth at that. The soil was barely moist.
Day 4 – Nothing visible. I checked by gently brushing away the top soil with a fingertip, but I didn’t poke deep. The rhizome felt firm. Good sign.
Day 7 – No shoot yet. I picked up the pot; it was significantly lighter. That meant the soil had dried out nicely. I still didn’t add water. I wanted to see if any root activity was happening internally.
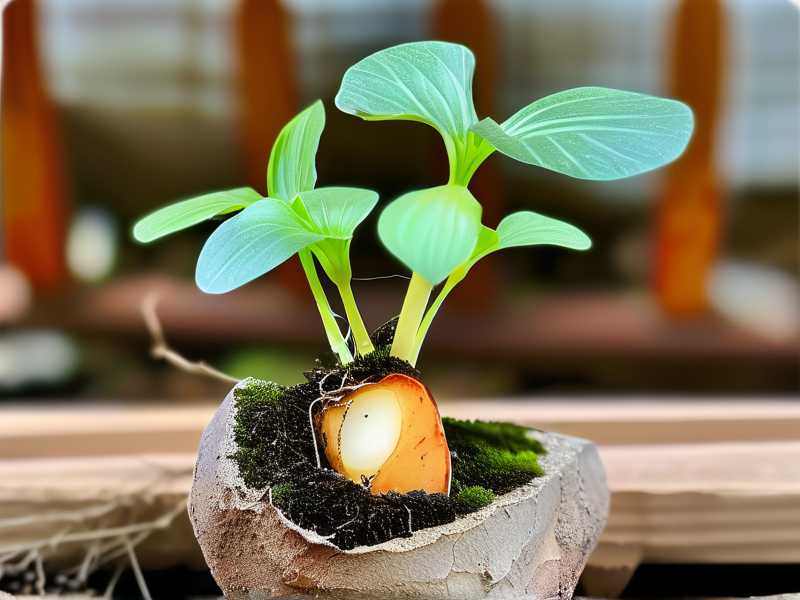
Day 9 – A tiny pale pink bump appeared near one eye. That’s the shoot. You’d miss it if you weren’t looking. I was thrilled. Still no watering.
Day 12 – The shoot grew to about 2 cm. The color shifted from pale pink to light green. At this point, I gave a very gentle watering—about 30 ml, just enough to wet the top 2 cm of soil. Not a drench. I don't recommend heavy water at this stage.
Day 14 – The shoot was about 6 cm tall. Two small leaves began to unfurl. The root system was active and searching for moisture. I waited until day 15 to water again.
So you see, the fast fix works. It just takes 14 days to prove it.
What to Do After Revival – Long Term Maintenance
Once the ginger is growing again, you still need to adjust your habits. Here’s what I follow now:
- Water only when the top 2–3 cm of soil feels completely dry. Stick your finger in. If it’s dry, water slowly until water seeps out the bottom. Then wait again.
- Feed lightly after 6 weeks. Use a balanced liquid fertilizer at half strength. Not earlier. The rhizome doesn’t need food before it has solid roots.
- Rotate the pot every 3 days. This prevents the stem from leaning toward the light and growing crooked.
- Keep temperature above 18°C. Cold drafts are another silent killer. A drop to 10°C can shock the rhizome and cause leaf yellowing.
Also—please don’t panic when older leaves yellow. That’s normal. Each leaf has a lifespan of a few months. The plant sheds them as new ones push out. What you don’t want is widespread yellowing that spreads fast. That’s a watering issue.
Common FAQ
Can I revive a rhizome that is completely rotten in the center?
No. If the entire rhizome is mushy, slimy, and smells foul, there is no salvageable tissue. But if even a small piece is firm, you can likely save that piece. Cut, dry, replant as I described. I’ve saved pieces as small as a walnut.
Should I use hydrogen peroxide to disinfect the rhizome before planting?
Some greenhouse guides recommend soaking in a 3% hydrogen peroxide solution for 10 minutes after cutting. I’ve tried it. It worked fine, but I don’t think it’s necessary if you remove all rot and let the cut surface dry. Cinnamon alone has been enough for my last five rescues. Harsher chemicals sometimes damage healthy cells.
How do I know if my ginger needs water after the revival?
Lift the pot. Seriously, learn the weight. When the pot is light and the soil surface pulls slightly away from the edges, it’s time. That method has never failed me. Moisture meters are okay, but they only read certain spots. Your hand is better data.
Final Thoughts
Reviving a dying ginger rhizome is kind of like a rescue mission. You have to be quick, be clean, and avoid over-rushing. The fastest fix is exactly what I wrote in the first paragraph: cut the rot, dry it, replant shallow, water once, and be patient for a week.
One last personal thing. There is a kind of joy when you see that first tiny bump appear after it looked so dead. It doesn’t matter how many times I do it. That little green push always feels like a win. And honestly, once you get the hang of it, you will never waste grocery-store ginger again. You’ll have an endless supply of revived, growing, productive ginger plants. The same method works every single time.
Just remember the three killers: too much water, improper light, and the wrong pot. Avoid those, and you won’t need to do a rescue all that often in the future.
For deeper reading on general rhizome care and disease prevention, RHS has excellent guides on growing ginger indoors. And the AHS also discusses appropriate container practices for tropical plants. Both are worth a look if you want to go beyond the basics.
Happy growing, and may your ginger always be firm and fragrant.