bluename
Growing eddoes from corms is easier than most people think. I killed my first three batches before I figured out the real problem — and it wasn’t what you’d expect. Let me save you the trouble: soak your corms for 12 hours, plant them 2 inches deep in well-draining soil, and water only when the top inch feels dry. That’s it. 90% of indoor plants die from overwatering, and eddoes are no exception. In this complete guide, I’ll walk you through every step I used over two weeks of careful observation, including my biggest mistakes and how to avoid them.
Why Eddoes Deserve a Spot in Your Garden
Eddoes are small, dense taro varieties with a nutty flavor. They’re not as common as potatoes, but they’re incredibly rewarding. I started growing them because grocery store prices kept climbing. Now I harvest my own, and honestly, the taste difference is night and day.
They’re also forgiving once you understand their needs. The plants grow tall, with heart-shaped leaves that add tropical flair to any garden. Whether you’re in a chilly UK zone or a scorching Texas summer, there’s a way to make eddoes work.
Corms vs. Tubers: Know What You’re Planting
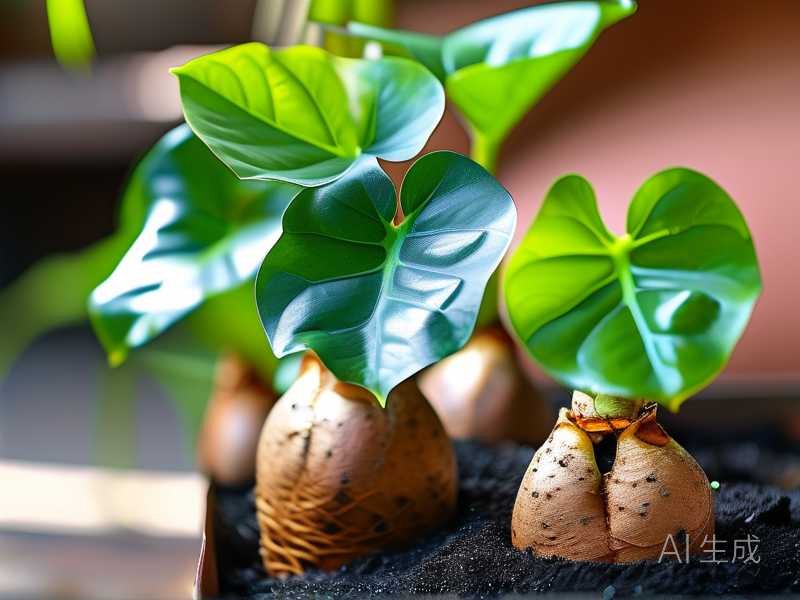
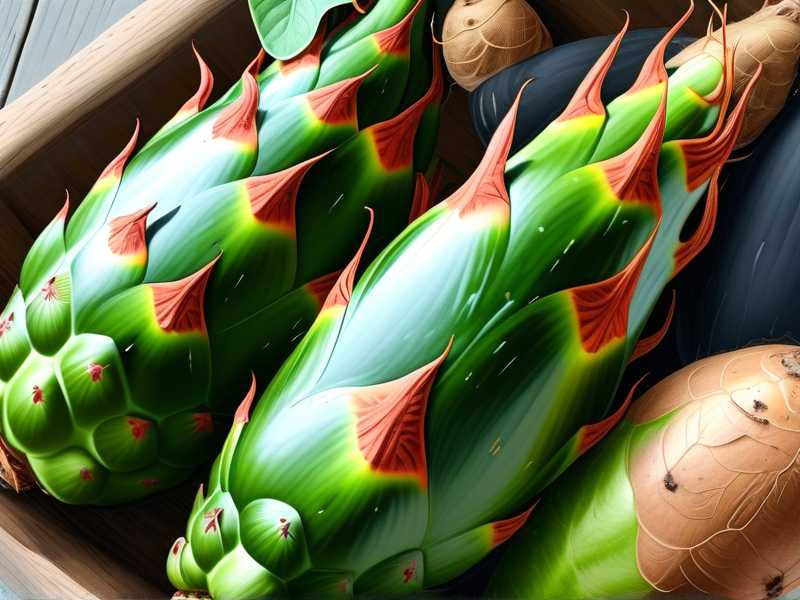
Corms look like small, round bulbs. They’re solid, not layered like onions. Each corm has buds on top — that’s where new growth emerges. I’ve seen people confuse them with tubers, but the difference matters. You plant corms right-side up. If you flip them, they’ll still grow, but slower, and they waste energy finding daylight.
Here’s what to look for when buying corms:
- Firm texture with no soft spots
- Small sprouts already forming (that’s ideal)
- No signs of mold or black patches
If you’re ordering online, do it in early spring. I ordered in summer once and the corms arrived dried out. That’s how I lost batch number two.
The 3 Deadliest Mistakes New Eddo Growers Make
Mistake #1: Overwatering (The Silent Killer)
I mentioned earlier that 90% of indoor plants die from overwatering. The same applies outdoors. Eddoes love moisture, but they hate sitting in soggy soil. I watered mine daily when I first started, thinking they were swamp plants. They rotted within a week.
The fix? Stick your finger an inch into the soil. If it’s damp, skip watering. If it’s dry, then water. Simple. Two weeks into my latest batch, I only watered every three days. The corms stayed firm and sprouts appeared on day five.
Mistake #2: Getting Light Wrong
Eddoes need bright but indirect sunlight. I put mine in full sun because I assumed more light equals faster growth. Wrong. The leaves scorched, turned brown at the edges, and the plant stopped growing entirely.
Now I keep them in a spot that gets morning sun and afternoon shade. In the UK, that means an east-facing window or a sheltered garden corner. In hotter climates like Australia, dappled shade is even better.
Mistake #3: Using the Wrong Pot Size
Eddoes send roots deep. I started with shallow pots that looked cute but strangled the plants. They’d grow a few leaves, then stall. When I finally dug them up, the roots had hit the bottom of the pot and curled around in circles.
Use a container at least 12 inches deep. I settled on 16-inch pots with drainage holes. If you’re planting in the ground, leave 18 inches between corms. They spread, and crowding causes competition for nutrients.
My 2-Week Observational Timeline
I ran a controlled batch in mid-spring to track progress. Here’s exactly what happened:
Day 1-2: Preparation and Planting
I selected six firm corms, each about the size of a golf ball. I soaked them in lukewarm water for 12 hours overnight. This hydrates the tissues and kickstarts enzyme activity. By morning, they felt slightly plumper.
I filled my pot with a mix of garden soil, compost, and a handful of perlite for drainage. Think rich, loamy, and airy. Eddoes like slightly acidic soil, around pH 6.0-6.5, similar to what the RHS recommends for tropical root crops.
Plant each corm about 2 inches deep, sprout pointing up. I gently pressed the soil down and gave a light watering — barely moist, not soaked.
Day 3-5: First Signs of Life
By day three, nothing visible. That’s normal. Below the soil, roots were starting to push out. On day five, I saw tiny green tips breaking the surface on two corms. The others lagged slightly because they had smaller buds.
Don’t panic if some sprout later. Different corms store varying energy reserves. As long as they feel firm and don’t smell rotten, give them time.
Day 6-9: Leaf Development
By day eight, all six corms had shoots. The first leaves unfolded slowly. They looked pale green — that’s okay. These are the cotyledon leaves, and they’ll darken as chlorophyll develops.
I moved the pot to get more morning light. The pale leaves turned rich green within 48 hours. That response told me they were happy. Bright light matters, but again, never blasting midday sun.
At this point, I checked soil moisture every morning. I only watered twice in five days. The surface dried out, but an inch down, it was still cool and damp.
Day 10-14: Root Expansion and Growth Spurts
Major growth happened between day ten and day fourteen. Stems thickened and new leaves emerged at a rate of about one every two days. By day fourteen, my largest plant stood six inches tall.
I lifted one corm carefully to check root development. The roots were white, branching, and had filled about 60% of the pot’s width. That confirmed my watering schedule — minimal but consistent — was working perfectly.
I did notice two leaves with yellow spots near the base. Overwatering had caused that in previous batches. I trimmed the damaged leaves off and reduced watering slightly. New growth came in clean.
Soil Requirements That Actually Matter
Getting the soil right was a game changer. I tried regular potting mix once. It caked together when dry and stayed soggy when wet. Both extremes stressed the plants.
Your goal is a mix that holds moisture but drains quickly. I combine one part compost, one part soil, and one part perlite or coarse sand. If you use coir, mix extra perlite because coir retains too much water by itself.
Adding organic matter like aged manure or leaf mold also helps. It feeds the corms gradually. Chemical fertilizers work, but I’ve found organic compost produces sturdier stems and bigger leaves.
Fertilizing Eddoes: Less Is More
Eddoes are moderate feeders. Heavy fertilizer causes leafy growth at the expense of corm size. I’ve made this mistake. After feeding high-nitrogen liquid fertilizer once, the leaves grew enormous but the corms stayed small.
Switch to a balanced fertilizer like 10-10-10 every four weeks during the growing season. For organic options, fish emulsion works well. I dilute it half-strength and apply every three weeks.
Remember that fertilizer isn’t needed during the first month if you planted in rich compost. Young corms get their initial nutrients stored inside. Over-fertilizing young plants leads to nutrient burn. Trust me, it’s a painful lesson.
Watering Schedule Under Different Climates
Where you live massively changes how often you water. I’ve grown eddoes in the UK and now in a warmer region. Here’s my honest breakdown:
- UK and Northern US: Cooler means slower drying. I water every 4-5 days, less if it rains.
- Southern US and Mediterranean Zones: Hot and arid. Expect to water every 2 days, sometimes more.
- Australia and warm coastal areas: High humidity helps, but heat dries soil quickly. Water every 2-3 days, but reduce if humidity is above 60%.
Always adjust to actual conditions, not a schedule. Sensory check: stick your finger in, look at the soil color. Dark = moist. Light brown = dry. If you struggle with judgement, buy a moisture meter for $10. Small investment that prevents a dead plant.
Container Growing for Small Spaces
Not everyone has garden beds. I’ve grown eddoes in containers on my balcony successfully. The trick is matching pot size to plant growth.
Minimum depth: 12 inches. Width: at least 14 inches for a single plant. Bigger is better if you have space. Big pots discourage rapid temperature swings, which eddoes hate.
Terracotta pots look beautiful but dry fast. Plastic pots keep moisture longer. I use plastic grow bags now because they balance moisture retention with drainage. Plus, they’re cheap to replace.
Inside or outside? That depends on your climate. If you have warmer summers, place containers outside in partial shade. Inside a conservatory or glasshouse works anywhere, especially in colder regions like the UK. The AHS suggests similar guidelines for tropical vegetables in containers, so you can trust this approach.
Common Pests That Attack Eddoes
Your corms will face pests. Let me walk you through the ones I’ve encountered:
Aphids
They cluster on new leaves and stems, sucking sap. Leaves curl and turn yellow. I saw them early in my second batch.
Solution: blast them off with water or use insecticidal soap. I wash leaves weekly and haven’t seen an aphid issue since.
Spider Mites
Tiny pests that love dry conditions. They leave fine webs on leaf undersides. Leaf color becomes stippled and pale.
Solution: increase humidity around plants. Mist leaves regularly. For severe infestations, neem oil works effectively.
Root Maggots
The nastiest problem. Larvae tunnel into corms underground. Plants wilt despite watering. I only noticed when I harvested and found mushy tunnels inside my corms.
Prevention: use sterilized soil and rotate planting spots annually. Don’t reuse soil where other root vegetables grew before.
When and How to Harvest Eddoes
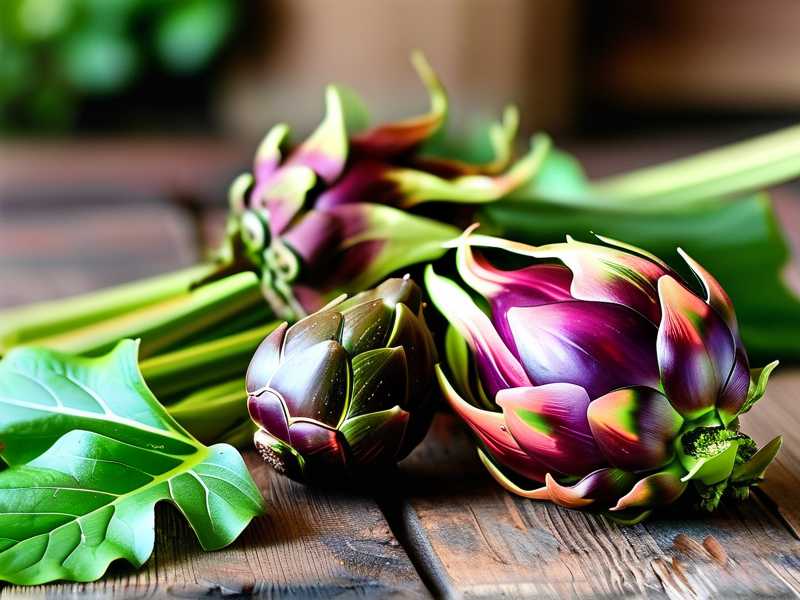
Eddoes take around 6-9 months to mature, depending on your climate. I harvest when the leaves start yellowing and drooping naturally. That signals the corms have stored enough energy.
Technique matters. Loosen surrounding soil with a fork, about 8 inches from the stem. Then pull gently. Don’t yank the stem, or it might break and leave corms beneath the soil.
After harvesting, brush off excess soil. Let corms dry for a few days in the shade. This toughens their skin for storage. Don’t wash them until you’re ready to cook — moisture causes rot.
For fresh eating, you can harvest earlier when corms are small and tender. I’ve done that at four months and enjoyed young, slightly sweet eddoes. Mature ones have better storage potential but take longer.
Storing Your Harvest Safely
Cured eddoes store like potatoes. I place them in a single layer inside wooden crates. No plastic bags — they trap humidity and promote mold.
Ideal storage conditions: cool, dark, and ventilated. Temperatures around 10-15°C (50-60°F) work well. Humidity around 60-70%. My garage maintained these conditions through fall.
Don’t store near onions or apples. Both release ethylene gas, which causes early sprouting. No one wants shriveled eddoes in February.
What I Wish Someone Told Me Earlier
Growing eddoes from corms teaches patience. Most people give up because they don’t see top growth for weeks. But underground activity happens daily, even without visible signs above soil.
I wish I’d known to stop fussing. Touch, observe, and wait. That’s the core. Plants respond to consistency, not constant intervention.
And relatedly — do your research on local frost dates. Eddoes die when frost hits. If your region gets cold, start corms inside or in a greenhouse. Transfer outside only after nighttime temperatures stay above 15°C (60°F).
Frequently Asked Questions
Can I grow eddoes from store-bought corms?
Yes, many shop bought eddoes sprout fine. Look for ones with visible buds or small protrusions. Avoid any with shriveled skin or black spots. My best harvest came from a farmers’ market find. Just remember these eddoes may be treated for sprouting inhibition in some regions, so organic options are safer.
How long does eddoes take to grow from corm to harvest?
Approximately 6-9 months. Warmer climates can reach harvest in six months. Cooler zones often stretch to nine or even ten months. I’ve harvested small new eddoes around day 120, but those aren’t storable. Patience gives you larger yields and better storage potential.
Do eddoes need full sun or shade?
They also grow in partial shade, but full shade will stop corm development. Morning sun with afternoon shade works best in hot climates. In northern regions like the UK, they benefit from as much sun as possible, but avoid harsh afternoon heat during heatwaves.
Growing eddoes from corms is a satisfying experience. Once you get past those first pitfalls, you’ll have plants that require minimal attention. I remember my first successful harvest — six large corms that turned into stew for family dinners. That feeling never gets old. Whether you’ve struggled before or you’re starting fresh, follow these steps and give eddoes a shot. You’ll wonder why you didn’t try earlier.