How to Prevent the Root Rot Problem of Lavender After Repotting: A Gardener’s 2-Week Rescue Diary
I love my lavender plants. Their scent, their blooms, they’re a little piece of Provencal calm on my patio. But last season, I faced a heartbreaker. After what I thought was a routine repotting, one of my oldest lavender plants began to wilt. The leaves turned yellow, then brown, and the plant had a general look of despair. When I finally worked up the courage to check the roots, I found the classic signs of lavender root rot – a mushy, dark root ball with that unmistakable sour smell. I’d killed it with kindness, specifically with too much water and the wrong soil. That loss sparked my mission: to master how to prevent root rot in lavender after repotting, turning a common pitfall into a preventable step. This guide is the result of my hands-on trial, error, and a successful two-week monitoring period that saved my next plant.
Understanding the Enemy: Why Lavender is So Prone to Root Rot

Lavender isn’t like your average houseplant. It hails from the dry, rocky hills of the Mediterranean. Its roots are built for drought and despise “wet feet.” According to the Royal Horticultural Society (RHS), lavender’s number one cause of failure is poor drainage leading to root rot. The American Horticultural Society (AHA) echoes this, classifying lavender as a plant that requires “excellent drainage” above almost all else. When we repot, we disrupt the root system, creating tiny wounds. In soggy, dense soil, these wounds become entry points for soil-borne fungi like Phytophthora and Pythium, which thrive in moisture and attack the roots, cutting off the plant’s lifeline.
My Step-by-Step Protocol to Prevent Lavender Root Rot
Armed with this knowledge, I developed a repotting protocol focused on one thing: creating an environment where roots can breathe and dry out quickly.
Choosing and Preparing the Right Pot
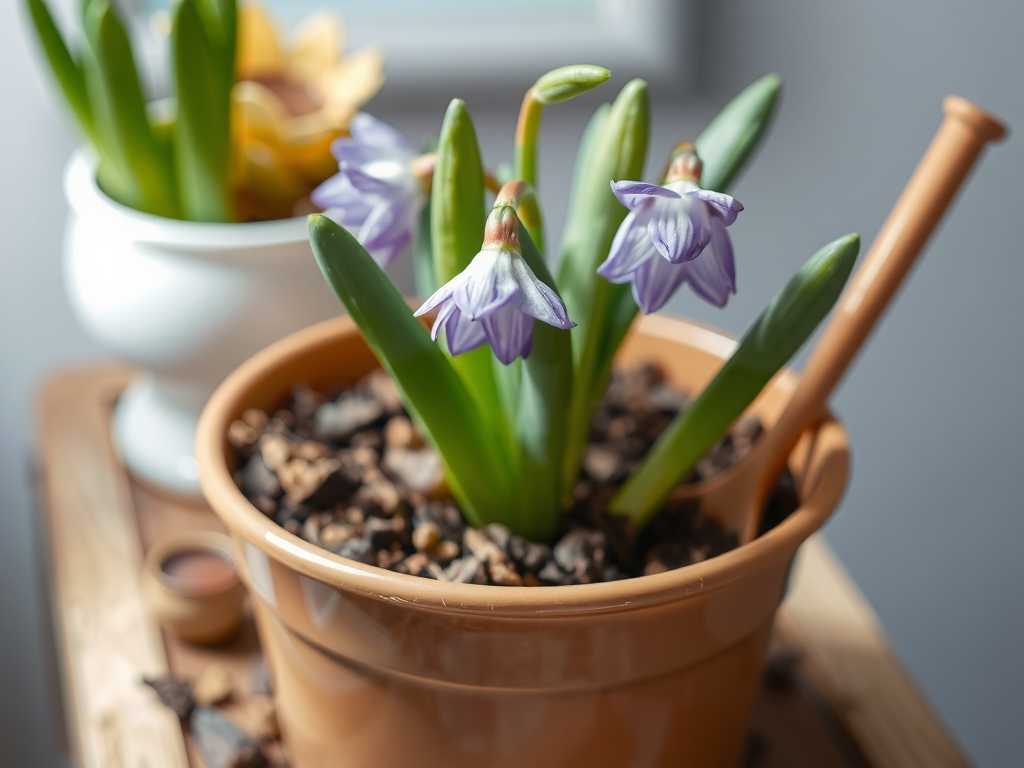
My first mistake was using a glazed ceramic pot without a drainage hole. Never again. For my next repotting project, I selected a coarse terracotta pot. Terracotta is porous, allowing excess moisture to evaporate through the walls. The pot was only one size larger than the root ball—lavender prefers being slightly root-bound. Most crucially, it had a large, unobstructed drainage hole. I placed a single piece of broken pottery or a mesh screen over the hole to keep soil in while letting water flow freely out. I skipped the layer of gravel at the bottom; studies have shown this can actually create a “perched water table,” making drainage worse, not better.
Crafting the Perfect, Fast-Draining Soil Mix
This was the game-changer. Standard potting soil is a death sentence for repotted lavender. It retains too much moisture. I created my own gritty mix, aiming for a texture that would fall apart in your hand when squeezed.
- 50% Coarse-Grade Horticultural Grit or Perlite: This is non-negotiable. It creates permanent air pockets.
- 30% Cactus & Succulent Potting Mix: This provides a light, inorganic base.
- 20% Coarse Sand or Turface: Adds further drainage and mineral content. I moistened this mix very lightly before potting. The goal was barely damp, not wet. A report from a university extension service confirmed that a soil mix with at least 30-50% inorganic material is critical for Mediterranean herbs.
The Repotting Process: Handling Roots with Care
I gently tipped the lavender from its old pot, carefully teasing out the roots. I didn’t aggressively break apart the root ball. I inspected the roots closely, looking for any that were dark, slimy, or mushy. Using sterilized scissors, I snipped these away. Healthy lavender roots are firm and whitish-tan. I placed a layer of my pre-moistened mix in the new pot, set the plant in so the crown (where stem meets roots) was just below the pot’s rim, and backfilled with more mix, gently firming it around the roots to eliminate large air pockets. I did not water it in.
The Critical Post-Repotting Watering Schedule
Here’s where I went wrong in the past and where most guides are too vague. I did not water my lavender immediately after repotting. The lightly pre-moistened soil and the plant’s own stored water were enough. I placed the pot in a bright, airy spot with partial shade for 48 hours to let the roots settle and any minor abrasions callus over. After two full days, I gave it its first watering: a thorough soak until water ran freely from the drainage hole. Then, I let it drain completely and didn’t water again until… I used the “finger test.” I stuck my finger 2-3 inches into the soil. If I felt any coolness or moisture, I waited. Only when the soil was completely dry at that depth did I water again. This sometimes meant 7-10 days between waterings, even during my observation period.
My 2-Week Observation Log and the Pitfalls I Faced
Days 1-3: The plant looked slightly droopy—normal transplant shock. I resisted the overwhelming urge to water it. This was my biggest mental hurdle. Day 4: After its first watering on Day 2, it perked up slightly. New growth at the tips seemed stable. Day 7: I noticed a few lower leaves yellowing. Panic set in—was this the start of rot? I checked the soil: bone dry. Upon research and consulting an AHA article, I learned this was likely the plant shedding older leaves to focus energy on new root growth in its fresh environment. I removed the yellow leaves to keep things tidy. Day 10: The soil was finally dry deep down. I watered thoroughly. The plant structure felt firm, not limp. Day 14: No further yellowing. The new silvery-green growth was evident and firm. The plant had stabilized. When I gently wiggled the base, it felt anchored, not loose—a sign of new root establishment. Success! The prevention of root rot after repotting was on track.
Optimizing the Environment for Recovery
Light and air are your allies. I kept my repotted lavender in a location with at least 6-8 hours of bright, direct sunlight. Good air circulation around the pot helps evaporate surface moisture from the soil. I avoided grouping it closely with other plants during this sensitive period. I also held off on any fertilizer for at least 8 weeks; fertilizing a stressed plant can burn tender new roots.
")
What are the very first signs of lavender root rot I should watch for after repotting? The earliest sign is often a subtle wilting or drooping of the stems, even when the soil is damp. The leaves may start to lose their vibrant grey-green color, turning a pale yellow, often starting with the older leaves. The plant just looks “off” and unhappy. If you smell a musty or sour odor from the soil, that’s a major red flag.
Can I use a fungicide as a preventative treatment when repotting? You can, but it’s a backup, not a solution. I sometimes use a biological fungicide containing Trichoderma harzianum (like RootShield®), which is a beneficial fungus that colonizes roots and helps outcompete pathogenic fungi. I dust it lightly on the root ball before placing it in the new pot. However, this is no substitute for perfect drainage and correct watering. A chemical fungicide is generally not recommended as a routine preventative for home gardeners.
My lavender survived repotting but looks leggy and isn’t flowering well. What now? This is a common outcome of successful root rot prevention but suboptimal long-term care. Lavender needs “tough love.” Ensure it’s getting maximum sun. After it’s fully established (usually by the next growing season), practice aggressive annual pruning. Cut back about one-third of the green growth in early spring, never into the old, woody stems. This encourages bushy growth and more blooms. Remember, a slightly stressed lavender is a happy, fragrant, and blooming lavender.
Seeing your lavender thrive after repotting is deeply satisfying. It comes down to respecting its origins: emulate the dry, rocky, sun-baked hillsides of the Mediterranean in your pot. The right container, an aggressively draining soil mix, and the discipline to water only when truly needed are the holy trinity of success. By following these steps, you’re not just avoiding a fatal problem; you’re setting the stage for years of vigorous growth and aromatic harvests. Listen to the plant, trust the dry-down period, and you’ll have a lavender that’s as resilient as it is beautiful.
发表评论