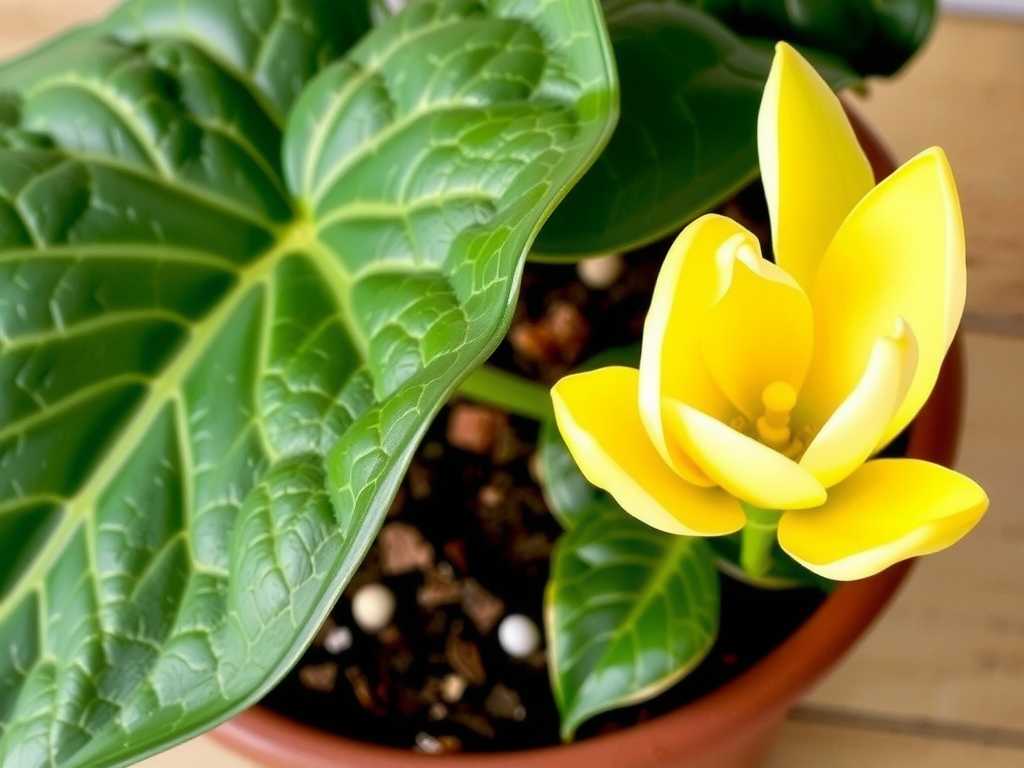
How to Prevent the Bulb Rot Problem of Hyacinths After Repotting: A Gardener’s Trial and Triumph
There’s nothing more disheartening than carefully repotting a beautiful hyacinth, full of hope for its fragrant spring blooms, only to watch it slowly succumb to mushy, rotten bulbs. I’ve been there, staring at a once-promising bulb now soft and brown, wondering where I went wrong. The transition period after repotting is critical, and preventing bulb rot in hyacinths is the single most important factor for success. Over the years, through both frustrating failures and hard-won victories, I’ve developed a reliable system. In this guide, I’ll walk you through my exact process, including the mistakes I made during a recent hyacinth repotting project and how I corrected them over a crucial two-week observation period.
Understanding Why Hyacinth Bulbs Rot After Repotting

Before we dive into the solution, we must understand the enemy. Bulb rot, primarily caused by fungi like Fusarium or Rhizoctonia, or bacteria, is almost always a moisture and environment issue. A bulb is a storage organ, and when it sits in soggy, poorly-draining soil, it essentially drowns and decays. Repotting creates stress and potential for damage, making the bulb more vulnerable. The Royal Horticultural Society (RHS) clearly states that “good drainage is essential” for bulbs to prevent basal rot. The American Horticultural Society (AHA) also emphasizes that overwatering is the leading cause of bulb failure in containers. My goal was to create an environment where the bulb felt secure and dry enough at its base to callous and root, not rot.
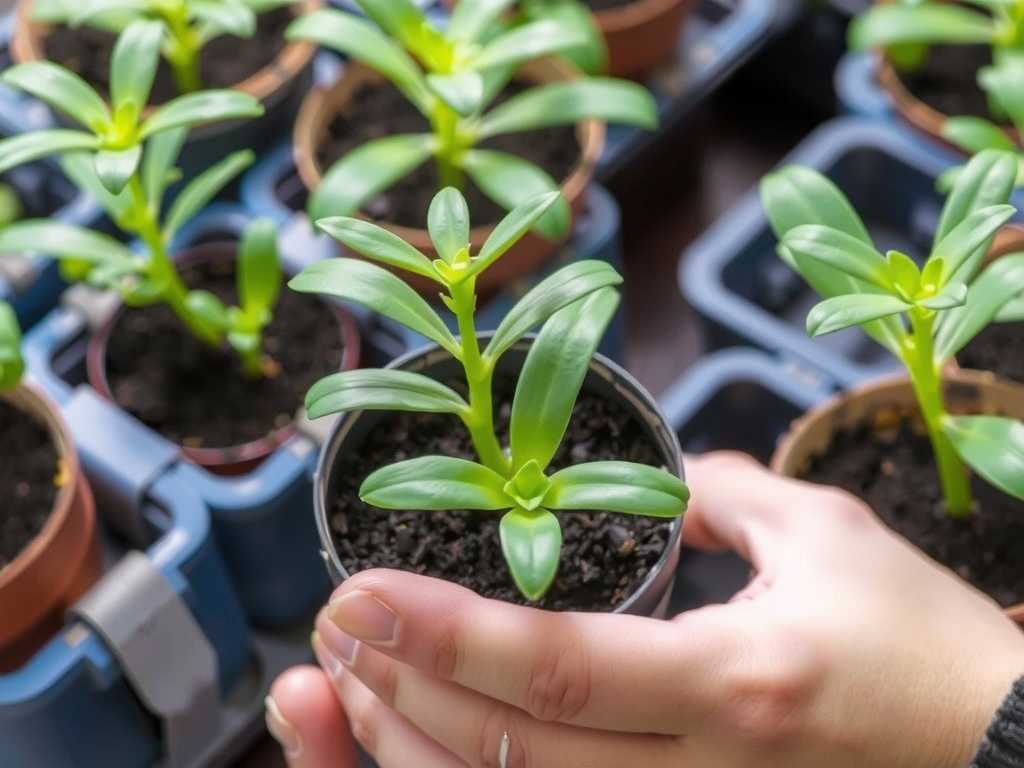
My Step-by-Step Protocol to Prevent Rot
This isn’t just theory; this is the exact method I used in my most recent repotting of three ‘Delft Blue’ hyacinth bulbs I’d forced indoors. I monitored them closely for two weeks, which is the most critical window for rot to set in or be prevented.
Phase 1: The Right Foundation – Potting Mix and Container
My past mistake was using generic, bagged garden soil. It retained too much water. This time, I created a bespoke, sharp-draining mix.
- The Mix: I combined 50% high-quality, peat-free potting compost with 30% perlite and 20% horticultural grit. The perlite aerates, and the grit ensures water flows through rapidly. I slightly moistened this mix before potting—it should feel like a wrung-out sponge, not dripping wet.
- The Container: I chose a terracotta pot with a large drainage hole for each bulb. Terracotta breathes, allowing excess moisture to evaporate through its walls. A common error is using a pot too large; excess soil holds unused water. The pot should be just wide enough to leave about 2-3 cm of space around the bulb.
Phase 2: The Repotting Act – Handling and Planting
Here’s where carelessness can cause microscopic wounds.
- Bulb Inspection: I gently brushed off old soil and inspected each bulb. One had a small, soft spot—a red flag. Using a clean, sharp knife sterilized with rubbing alcohol, I carved out the lesion until only firm, white tissue remained. I then dusted the wound with sulfur powder, a natural fungicide. This step was crucial; in the past, I would have planted it anyway and lost the entire bulb.
- Planting Depth: I planted each bulb with its “nose” (the pointed tip) just showing above the soil surface. Burying it too deep, especially in a pot, creates a damp column of soil around the neck, inviting rot. I gently firmed the mix around the bulb, ensuring it was upright and stable.
Phase 3: The Critical First Two Weeks – Watering and Environment
This is the make-or-break period. My old habit was to give them a “good drink” to settle them in. This was the kiss of death.
- Initial Watering: After potting, I gave the soil a light, targeted watering—just enough to settle the dryish mix around the roots/bulb base. I avoided pouring water directly onto the bulb’s nose. The pot felt light, not heavy with water.
- Location: I placed the pots in a cool, bright spot (about 10-12°C or 50-54°F) with excellent air circulation—on a bench in my bright, unheated garage. Warm, stagnant air is a fungus’s best friend. I avoided my warm living room at all costs.
- The “No-Water” Wait: This was the hardest part. I did not water them again until I saw clear signs of new root and top growth. I physically checked every other day by very gently tipping the pot to feel its weight and cautiously brushing away a tiny bit of topsoil to check for moisture about 2 cm down. For the first 10 days, the pots remained light and the soil below the surface was barely damp.
My Two-Week Observation Log and The “Aha!” Moment
- Days 1-3: No change. Pots light. The bulb with the treated spot looked dry and calloused.
- Days 4-7: On day 5, the two undamaged bulbs showed the tiniest green tip extension. Still no water. The repaired bulb was static.
- Days 8-10: Green growth was clear on two bulbs. On day 10, I noticed the soil was completely dry 3 cm down. Here was my potential mistake: I was tempted to water all three equally. Instead, I gave a very modest amount of water (about 2 tablespoons) only to the two growing bulbs, directing it to the soil, not the bulb. The third bulb’s soil still felt faintly damp at depth, so I left it completely dry.
- Days 11-14: The two watered bulbs surged with growth. On day 12, the third bulb finally showed a green shoot! I waited another two days until its soil was also dry before giving it its first sparing drink. By day 14, all three were firmly rooted, growing, and—most importantly—showing no signs of softness or rot. The key lesson was individualized care based on moisture checks, not a fixed schedule.
Long-Term Care for a Rot-Free Future
Once active growth is established, the risk of rot lowers but doesn’t disappear. I continued to water only when the top inch of soil was dry, always watering the soil, not the plant. I provided bright, indirect light as they grew. The cool start slowed growth, producing sturdier stems less prone to flopping and subsequent moisture issues at the base.
")
Addressing Your Top Concerns
Can I use a plastic pot? You can, but you must be doubly vigilant with watering. Ensure it has excellent drainage holes and use an even grittier mix. The moisture-retaining property of plastic is a major risk factor for bulb rot.
My bulb is already a bit soft. Can it be saved? It depends. If the rot is at the base or covers over 25% of the bulb, it’s likely too late. If it’s a small, isolated soft spot (like mine was), excise it cleanly, treat with sulfur, let it callous for a day in a dry, airy place, and then pot in barely-moist, gritty mix. Do not water until it shows signs of wanting to grow.
Is there a “best time” to repot hyacinths to avoid rot? For forced indoor bulbs, repot after flowering as you prepare them for the garden. For outdoor bulbs, repot in the fall when they are dormant. The principles remain the same: well-draining soil, careful handling, and initial moisture restraint.
Preventing hyacinth bulb rot after repotting boils down to emulating their preferred natural conditions: excellent drainage, a dryish neck, and a cool start. It’s a practice of restraint, observation, and tailored care. By focusing on the health of the hyacinth bulb through the critical post-repotting phase and resisting the urge to over-love with water, you give these fragrant beauties the strongest possible foundation for a spectacular, rot-free display. My two-week experiment proved that with the right setup and a watchful eye, success is not just possible—it’s predictable.
发表评论