How to Solve the Waterlogging Problem of Jasmine After Repotting
I love the intoxicating fragrance of jasmine, but I’ll be honest—the first time I repotted my beloved plant, I nearly killed it with kindness. The culprit? Waterlogging. That soggy, suffocating soil that turns vibrant green leaves yellow and makes roots rot away. If you’ve just repotted your jasmine and the soil stays wet for days, you’re facing the classic post-repotting waterlogging problem. Don’t panic. I’ve been there, and over a careful two-week rescue mission, I found the solutions that work.
This guide is born from my own trial, error, and eventual success. I’ll walk you through exactly what I did, step-by-step, to fix my waterlogged jasmine, sharing the mistakes I made along the way so you can avoid them.

Understanding Why Your Repotted Jasmine is Waterlogged
The goal of repotting is to give your plant a fresh start. But sometimes, our efforts backfire. Waterlogging after repotting isn’t just about overwatering; it’s often a perfect storm of new conditions.
The primary cause is a mismatch between the new potting mix, the container, and your watering routine. A soil that’s too fine or dense, a pot without enough drainage, or simply treating the plant as you did before can lead to trouble. According to the Royal Horticultural Society (RHS), waterlogging excludes air from the soil, causing roots to die from oxygen starvation. This is critical for jasmine, which thrives in well-aerated, moist but never soggy conditions.
My Step-by-Step Rescue Plan for a Waterlogged Jasmine
When I saw my jasmine’s leaves drooping and the soil still cold and wet three days after a careful watering, I knew I had to act. Here was my plan.
Immediate Action: Assessing the Damage
First, I gently tipped the plant out of its new pot. This is scary, but it’s essential. I examined the root ball. I was looking for two things: the smell of decay (a sour, musty odor) and the color and texture of the roots. Healthy roots are firm and white or light tan. Rotten roots are mushy, dark brown, or black, and they often slip off when touched.
I found a few sections starting to rot. The soil at the core of the root ball was clumpy and far too wet. My mistake was using a generic, peat-heavy potting mix straight from the bag without amending it for better drainage.
Step 1: Addressing the Root Cause (Literally)
With clean, sharp scissors, I carefully trimmed away all the soft, rotten roots. It felt drastic, but removing this diseased tissue is non-negotiable. It stops the rot from spreading. I then gently loosened the outer root ball to encourage new growth into fresh soil.
Next, I let the root system air dry for about an hour in a shaded, breezy spot. This isn’t about drying it out completely, just letting excess surface moisture evaporate. This step helps the roots recover before going back into a new environment.
Step 2: Creating the Perfect, Well-Draining Mix
This was the game-changer. I abandoned the old, soggy soil. Following advice from the American Horticultural Society (AHS), which emphasizes the importance of a tailored growing medium, I created my own mix. I combined:
- 60% high-quality, all-purpose potting soil (as a base).
- 30% perlite (for crucial aeration and drainage).
- 10% orchid bark or coarse horticultural sand (to create permanent air pockets).
This mix is loose, chunky, and drains almost instantly when you water it, while still retaining enough moisture for the roots to access. It’s the antithesis of waterlogged soil.
")
Step 3: Choosing and Preparing the Right Container
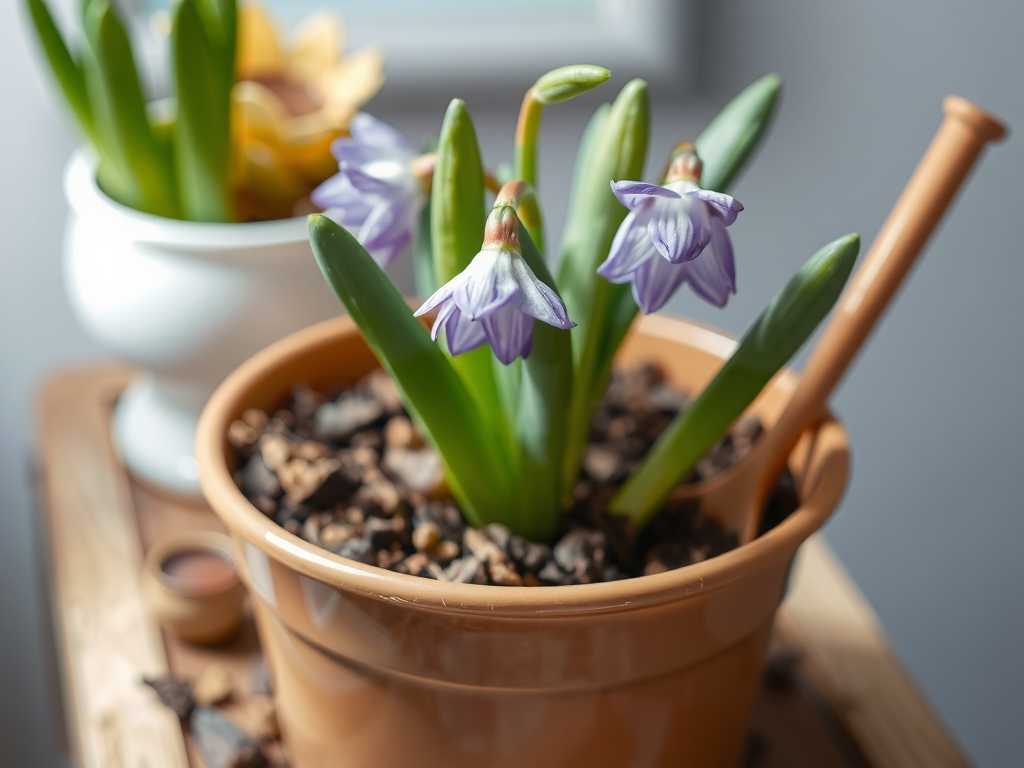
My original "new" pot was actually a bit too large and, I realized, had only one small drainage hole. I switched to a pot that was only 1-2 inches wider in diameter than the root ball I had left after trimming. More importantly, I chose a terracotta pot. Terracotta is porous, allowing the soil to breathe and moisture to evaporate from the sides.
I ensured it had multiple drainage holes. I placed a single piece of broken pottery or a mesh screen over the holes—this keeps soil in while letting water flow freely out. I did not layer gravel at the bottom; this is a common myth that can actually create a perched water table and worsen drainage.
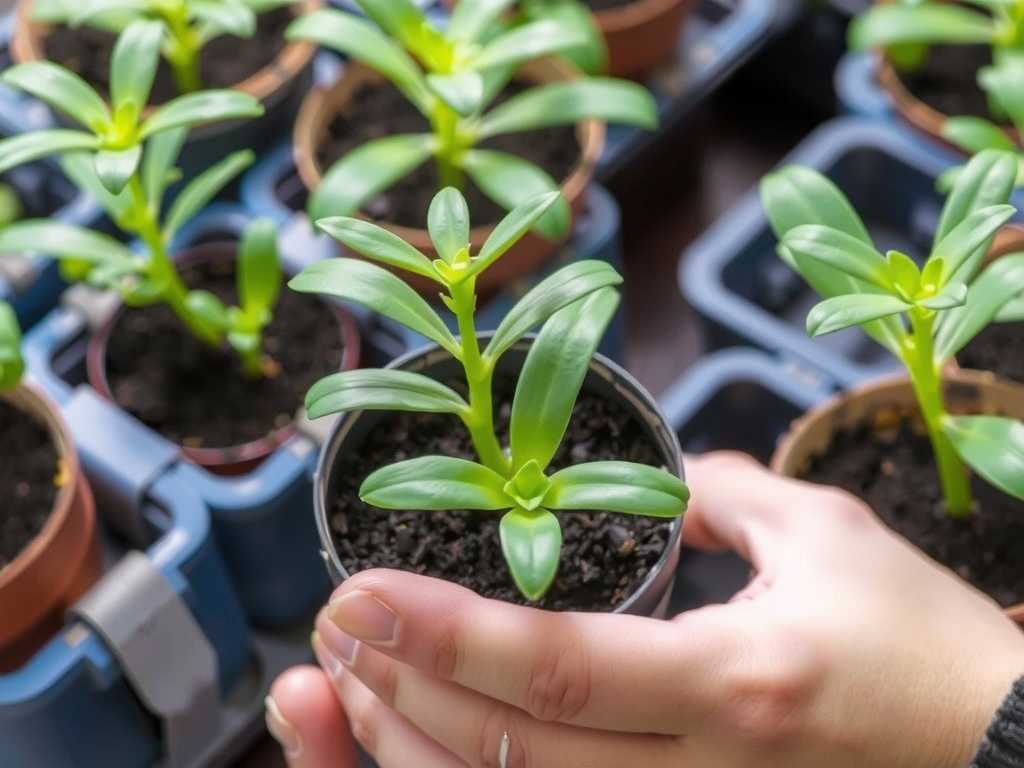
Step 4: The Correct Repotting (Again) and Initial Water
I placed a layer of my new, airy mix in the bottom of the terracotta pot. I positioned the jasmine’s root ball so it would sit at the same depth as before. Then, I filled in around the sides with more mix, tapping the pot gently to settle it—I did not pack it down firmly. Here was another key moment: the first watering after repotting. I gave it a thorough, deep watering until water ran freely from the bottom. This settled the soil and ensured the roots made good contact with their new medium. Then, I placed the pot on a stand in a bright location with indirect light and excellent air circulation.
The Critical 2-Week Observation Period
The real work began after the repot. You can’t just walk away.
Days 1-3: I resisted all urge to water again. The leaves were still slightly droopy from the stress. The top inch of the new chunky mix dried out surprisingly quickly, but I knew the moisture deeper down was what mattered. I used a simple wooden skewer, inserting it deep into the soil, to check. If it came out clean, it was time to water; if damp soil clung to it, I waited.
Days 4-7: I saw the first sign of hope: the drooping stopped. No new yellow leaves appeared. When the skewer test indicated dryness about 1.5 inches down, I watered thoroughly again. The water flowed through immediately, just as designed.
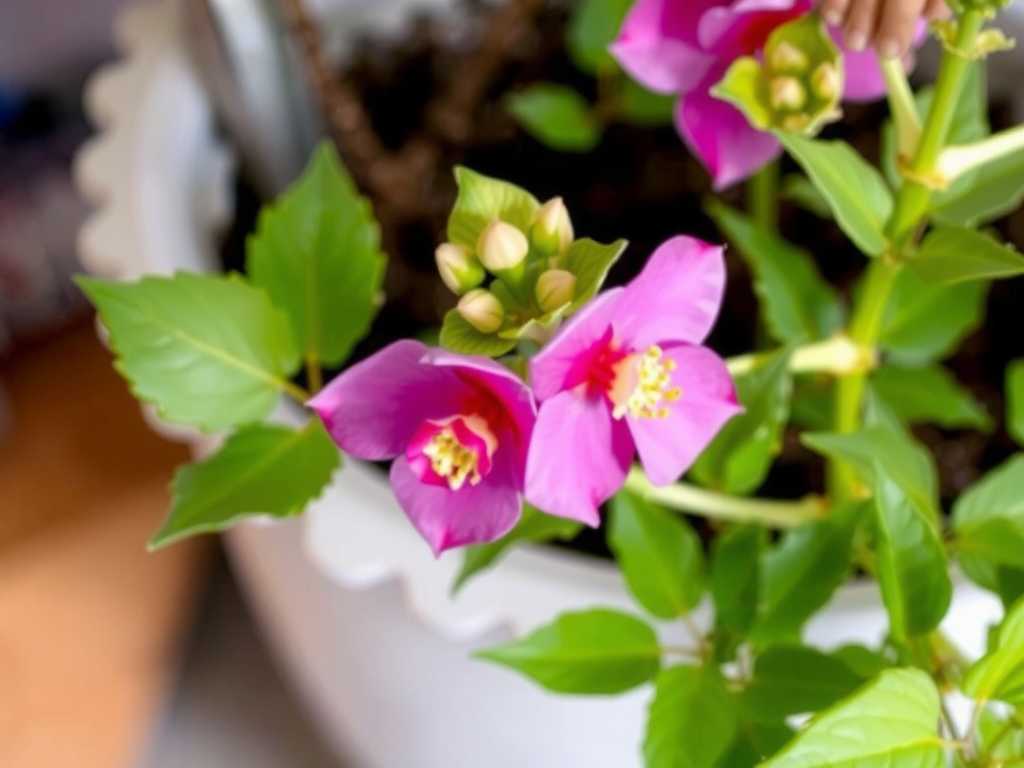
Days 8-14: By the end of the second week, I noticed the very tips of a few vines were showing tiny, new growth. This was the ultimate confirmation—the plant was no longer in survival mode but was actively growing again. My watering schedule had naturally adjusted to about once every 5-6 days, a stark contrast to the perpetually damp soil of the first failed repot.
Common Pitfalls I Encountered and How to Fix Them
- Pitfall 1: The "Just One More Drop" Mentality. After the stress of repotting, I wanted to nurture it with water. This is the fastest way back to waterlogging. Fix: Trust the skewer or finger test. Water only when needed, not on a calendar schedule.
- Pitfall 2: Ignoring Environmental Factors. I had my recovering jasmine in a spot with less light and airflow than before. Fix: I moved it to a brighter, airier space (avoiding direct hot sun). Increased airflow and light help the plant use water efficiently and dry the soil appropriately.
- Pitfall 3: Misdiagnosing Drooping Leaves. I initially thought more drooping meant it was thirsty, which would have been fatal. Fix: Remember, both overwatering and underwatering cause drooping. Always check the soil moisture first. In my case, wet soil + droop = overwatering/root damage.
Keeping Your Jasmine Thriving Long-Term
Solving the drainage issue with repotted jasmine is a long-term commitment. It’s about adopting a new care philosophy centered on excellent drainage and mindful watering. Always let the top layer of soil dry out between waterings. During cooler, low-light months, water even less frequently. Every spring, check if the roots are circling the pot; repot only when necessary, and always into a well-draining mix.
How often should I water my jasmine after repotting it? There is no set schedule. Water deeply only when the top 1-1.5 inches of soil are completely dry. Use your finger or a skewer to check. The first watering should be right after repotting, then wait until the plant indicates it needs more.
What are the best soil amendments to prevent water retention in pots? Perlite is the champion for preventing soil compaction and improving aeration. Coarse sand, orchid bark, or pumice are also excellent. Aim for a mix where at least 30-40% of the volume is these drainage materials.
Can a jasmine plant recover from root rot caused by overwatering? Yes, absolutely, if caught early. The recovery process involves removing all soft, rotten roots, allowing healthy roots to air dry briefly, and repotting in fresh, fast-draining soil. The plant will need time and careful watering to regenerate its root system and show new top growth.
Watching my jasmine bounce back over those two weeks was incredibly rewarding. The problem wasn’t my care, but the environment I had placed the roots in. By focusing on creating the perfect foundation—a breathable, well-draining home—I turned a rescue mission into a success story. Now, the scent of its blooms is even sweeter, a reminder that sometimes the best care means knowing when to hold back the water and let the plant breathe.
发表评论