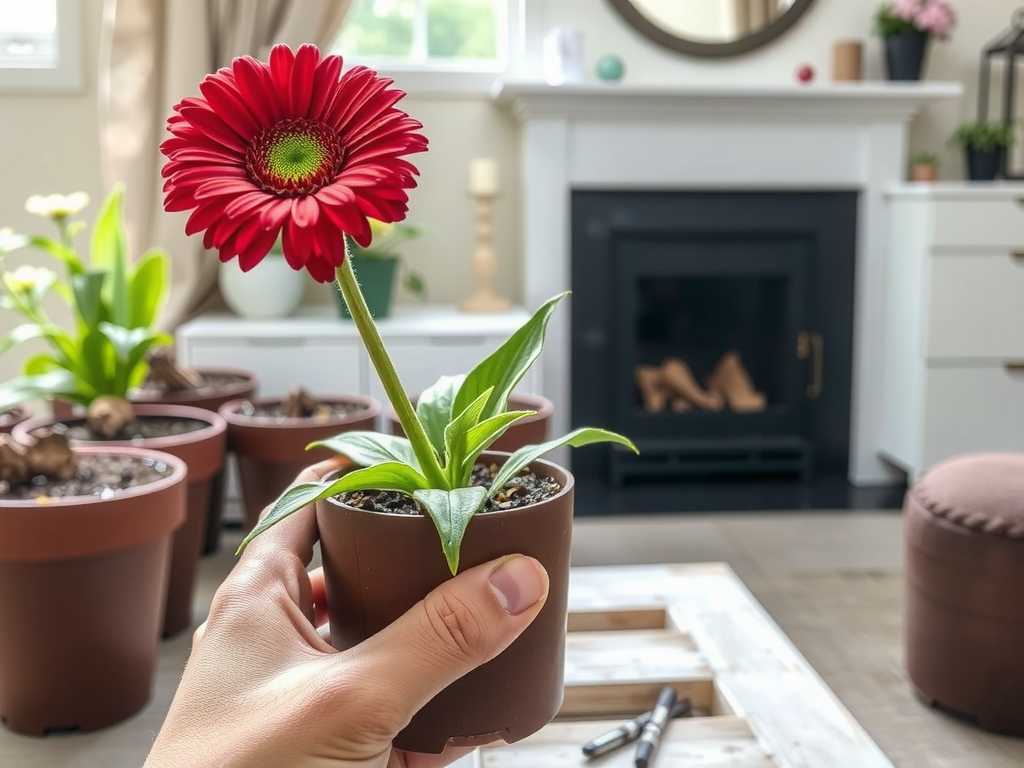
How to Solve the Soil Hardening Problem of Petunias After Repotting
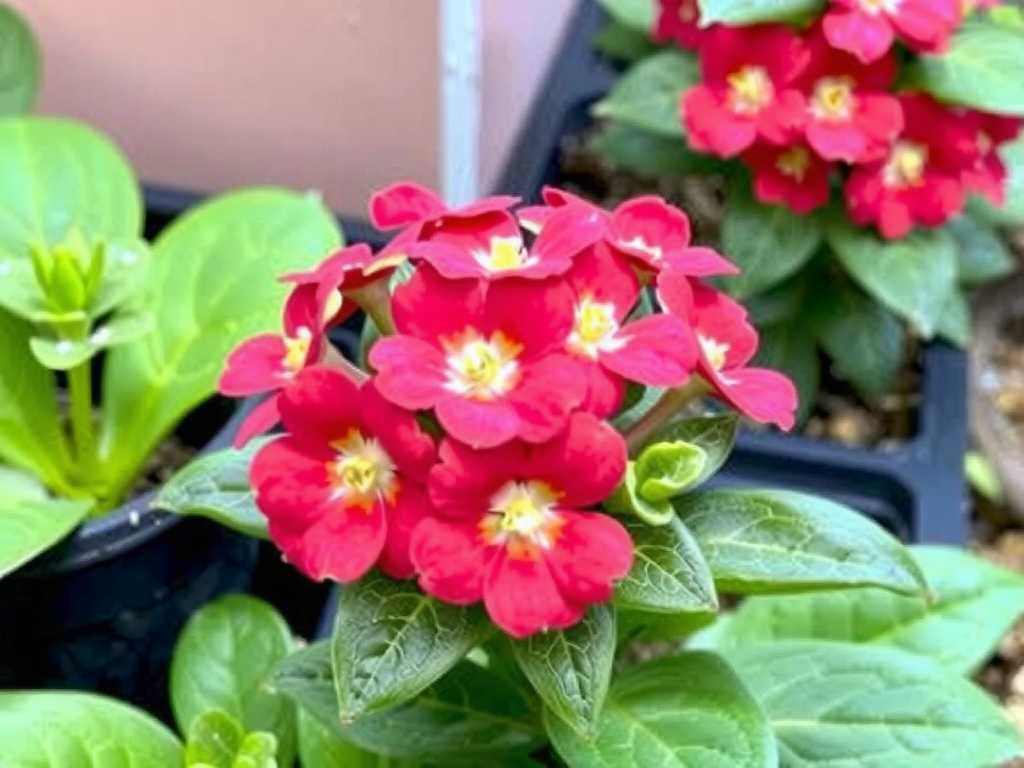
I love my petunias. Their vibrant blooms are a summer staple on my patio. But last season, I faced a frustrating issue that nearly ruined my display: soil hardening after repotting. Just a few weeks after moving my lush petunias into beautiful new containers, the soil surface turned into a pale, cracked, and impenetrable crust. Water would just pool on top and run down the sides, leaving the roots thirsty. My plants began to wilt, their growth stunted, and flower production plummeted. I knew I had to find a solution, not just a quick fix, but a lasting one. Through trial, error, and a lot of research over a dedicated two-week period, I cracked the code. Here’s my hands-on guide to understanding and fixing hardened soil for good.
Understanding Why Your Potting Soil Turns to Concrete

Before we fix it, we need to know why it happens. That concrete-like layer isn't just bad luck; it's a symptom of underlying issues. According to the American Horticultural Society (AHS), soil crusting or hardening is primarily caused by the breakdown of soil structure, often linked to poor-quality potting mix, improper watering practices, and the impact of minerals in tap water.
In my case, I made two critical mistakes. First, I used a cheap, generic potting soil that was too fine and dense. It lacked the chunky, fibrous materials needed to create air pockets. Second, I was watering frequently from above with a hard tap water source. Over time, the fine soil particles settled and bonded together, while salts and minerals from the water and fertilizer built up on the surface, cementing the particles into a hardpan. This crust creates a physical barrier, preventing water, air, and nutrients from reaching the root zone where my petunias desperately needed them.
My Two-Week Recovery Plan: A Step-by-Step Rescue Mission
I decided to tackle the problem on two of my most affected petunia containers. I committed to a 14-day observation period, documenting changes every other day. The goal was not just to break the crust but to rebuild a healthy, porous soil environment.
Phase One: The Immediate Intervention (Days 1-3)
My plants were stressed, so I needed to be gentle. I didn’t just rip into the soil with a tool, as that could damage the shallow feeder roots of the petunias.
")
- Slow, Deep Hydration: I took a fork and very gently poked a few holes around the plant, angling away from the main stem to avoid roots. Then, I employed the bottom-watering technique. I placed the pots in a shallow tray filled with lukewarm water (letting tap water sit out overnight to dissipate chlorine). The soil absorbed moisture from the bottom up for about 30-45 minutes. This slowly softened the crust without washing away more soil or compacting it further. I could actually see the moisture wicking upward, darkening the hard surface.
- Careful Surface Aeration: Once the top layer was damp and slightly softened (about an hour later), I used a small, hand-held cultivator to very lightly break up the crust. I only went about a quarter-inch deep, just enough to fracture the hard layer. This was a delicate operation.
- Top-Dressing with Organic Matter: Here was my first major insight. I created a mix of one part fine compost (screened to remove large chunks) and one part horticultural sand. I sprinkled a thin, half-inch layer of this mix over the entire soil surface and gently worked it into the cracks I’d created with my fingers. This immediately improved the look and began to introduce better texture.
Phase Two: Rebuilding Soil Structure (Days 4-14)
Breaking the crust was just emergency first aid. The real healing came from changing the soil's long-term environment.
- Switching to a Consistent Watering Routine: I stopped my haphazard daily sprinkles. Instead, I adopted the "finger test" method. I’d insert my finger into the soil up to the second knuckle. If it felt dry, it was time for a thorough, deep watering. I continued to prefer bottom-watering but would occasionally water from the top slowly, directly at the soil line, ensuring the water infiltrated. The Royal Horticultural Society (RHS) emphasizes that deep, infrequent watering encourages stronger root growth and prevents surface compaction—a principle that proved absolutely true.
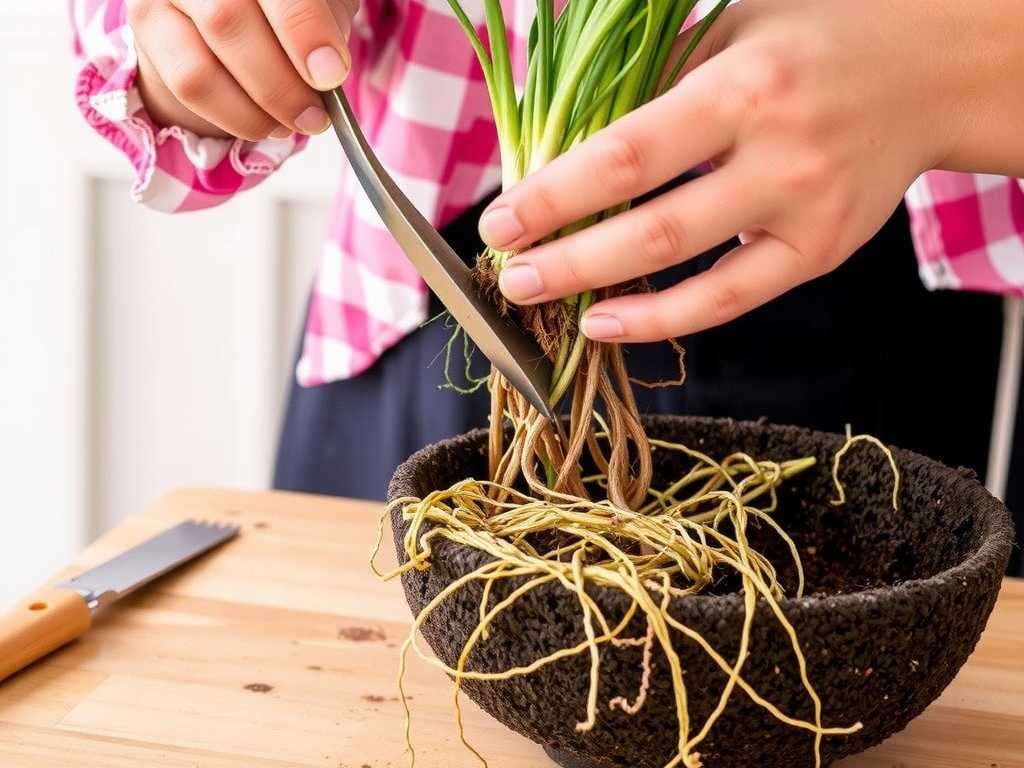
- Incorporating Soil Amendments: After a week, the plants looked perkier. To ensure the hardening didn't return, I knew I had to amend the soil in situ. I carefully scraped back the top two inches of soil from around the plant stems. I mixed this existing soil with a generous amount of perlite and coco coir. Perlite is fantastic for aeration, and coco coir retains moisture without becoming soggy. I then returned this amended mix to the pot. This was a game-changer for improving soil drainage.
- Mulching is Non-Negotiable: This was my most effective preventative step. I applied a one-inch layer of small pine bark nuggets as mulch. A mulch layer acts as a physical barrier, protecting the soil surface from the compacting force of watering, from sun-baking, and from wind. It also regulates soil temperature and moisture. Within days of mulching, I noticed the soil beneath stayed uniformly moist and friable.
The Results and The Pitfalls I Encountered
By the end of the two weeks, the transformation was clear. The soil surface was loose, dark, and crumbly. Water infiltration was instant—no more pooling. My petunias responded with a surge of new, green growth and, most excitingly, a fresh set of flower buds.
But it wasn't all smooth sailing. I hit a couple of snags:
- The Over-Enthusiastic Cultivation Pitfall: On one plant, I got impatient and tried to break the crust when it was still too dry. I ended up disturbing too many surface roots, and that plant took about three extra days to recover compared to its more gently treated neighbor. Lesson learned: Always soften with water first.
- The Wrong Mulch Mistake: Initially, I used fine shredded wood mulch. While it looked nice, it actually seemed to form its own matted layer during watering. Switching to the chunkier pine bark provided much better air circulation to the soil surface. Lesson learned: Choose an open, coarse mulch for container plants.
Maintaining Soft, Healthy Soil for the Long Term
Solving soil compaction in potted petunias is an ongoing practice, not a one-time task. My maintenance routine now includes:
- Annual Repotting: Each spring, I refresh at least the top third of the potting mix with a high-quality, well-aerated blend specifically for containers.
- Regular Fertilizer Flushing: To prevent salt buildup, which contributes to hardened potting mix, I give my pots a deep, overflow watering once a month. I water until it runs freely out the bottom for a full minute, leaching out excess mineral salts.
- Continued Observation: The finger test is my best friend. It keeps me in tune with the soil's moisture needs and alerts me to any early signs of compaction returning.
Frequently Asked Questions
Can I just add more soil on top of the hardened layer? I don't recommend it. This merely buries the problem. The hard layer will still act as a barrier, creating a perched water table and potentially causing root rot below it. It's crucial to gently break up and integrate the hardened layer with amendments.
What is the best potting mix to prevent hardening from the start? Look for mixes labeled for containers or hanging baskets. Key ingredients should include peat moss or coco coir for moisture retention, and perlite or pumice for aeration. I now avoid dense, soil-heavy "garden" mixes for my containers. A good well-draining soil for petunias is light and fluffy right out of the bag.
Are there specific fertilizers that cause more hardening? Yes, fertilizers high in soluble salts can accelerate crust formation, especially if over-applied. I've switched to using a balanced, slow-release fertilizer at planting and supplementing with a diluted liquid fertilizer every few weeks. This provides steady nutrition without the harsh salt spikes.
Watching my petunias struggle with hardened soil was a tough lesson, but it taught me to be a more attentive gardener. The health of your plants truly starts from the ground up—or in this case, from the potting mix up. By understanding the causes, acting gently but decisively to remediate the problem, and committing to preventative practices like proper watering and mulching, you can ensure your repotted petunias have the soft, welcoming, and healthy foundation they need to thrive and explode with color all season long. The difference isn't just in the soil; it's in the vigor and abundance of the blooms.
发表评论