How to Do Well Seedling Recovery Maintenance for Eustomas After Repotting
")
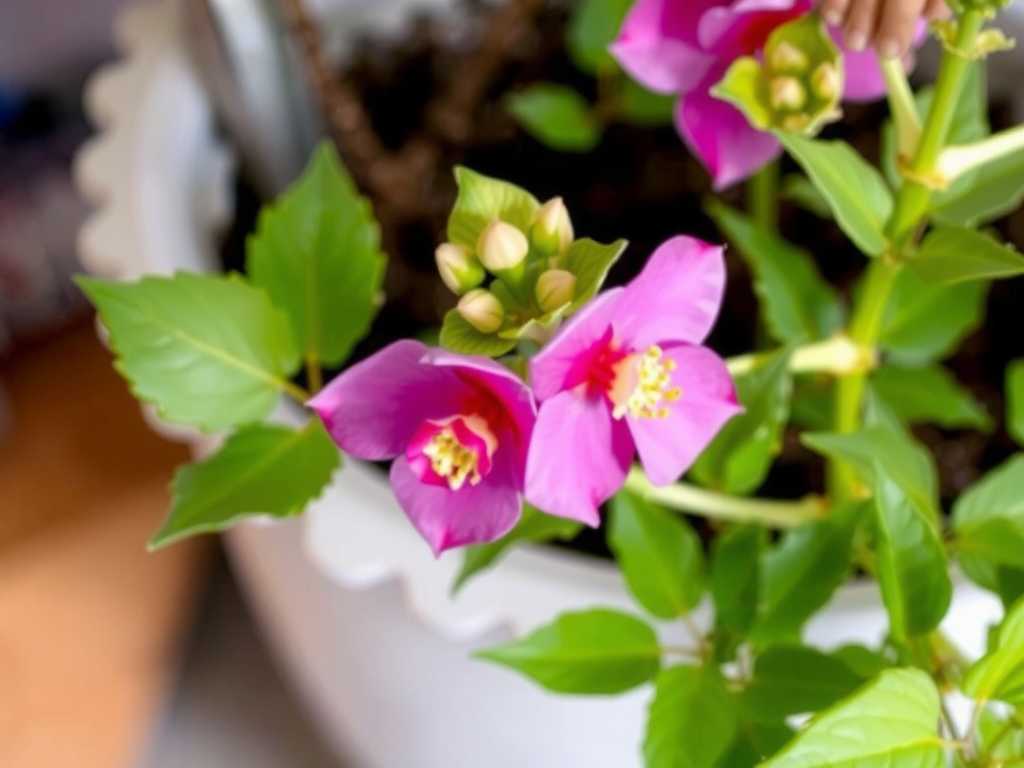
I remember the feeling all too well. You’ve just carefully repotted your precious eustoma seedlings, hoping to give them a better home for their spectacular blooms. But then, the dreaded droop sets in. Leaves wilt, growth seems to stall, and that initial excitement turns into worry. Will they survive the transition? Having nurtured dozens of these beautiful plants from fragile seedlings, I’ve learned that the post-repotting period is the most critical for their long-term health. Success hinges on a specific recovery maintenance routine. Over the next sections, I’ll walk you through my exact, step-by-step process for ensuring your eustomas not only recover but thrive after being moved to a new pot, based on my hands-on experience and careful observation.
Understanding the Shock: Why Eustomas Struggle After Repotting

First, let’s talk about what’s happening. Repotting, no matter how gentle, is a major disturbance. The Royal Horticultural Society (RHS) notes that any transplanting can damage delicate root hairs, which are responsible for water and nutrient uptake. For eustomas, which are known for their somewhat sensitive root systems, this shock can be pronounced. The plant’s immediate priority shifts from top growth to root repair and re-establishment in the new medium. During this energy-intensive process, the above-ground parts often show signs of stress. Recognizing this as a normal, temporary phase is the first step toward effective seedling recovery maintenance.
My 2-Week Recovery Protocol: A Day-by-Day Guide
My method isn’t guesswork. It’s a protocol refined through trial, error, and consistent tracking. I recently applied this to a batch of six ‘ABC Lavender’ eustoma seedlings, monitoring them closely for two full weeks.
The First 48 Hours: The Critical Settling-In Period
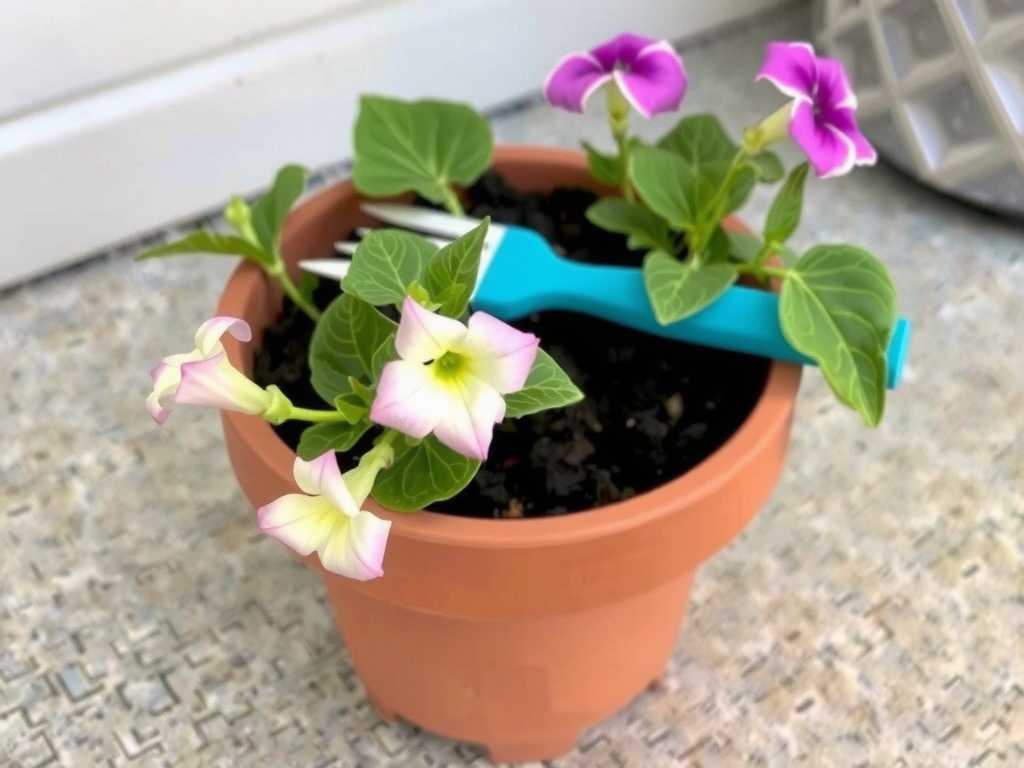
Immediately after repotting, I performed a thorough but gentle watering. The goal is to settle the soil around the roots and eliminate large air pockets, using water at room temperature. Here’s the key step I used to swear by but have since modified: I used to place them in bright, direct light to “perk them up.” This was a mistake. Direct sun now, when the roots can’t supply enough water, accelerates wilting and scorching.
- What I Do Now: I place the pots in a location with very bright, but completely indirect, light. A north-facing windowsill or a spot shielded from the sun by a sheer curtain is perfect. I also group the pots together slightly. This creates a microenvironment with slightly higher humidity, which reduces moisture loss from the leaves—a trick often recommended by interior plant specialists to ease transplant stress.
Days 3 to 7: Observing and Adjusting
This is the waiting and watching phase. I resist the urge to water again on a schedule. Instead, I check the soil moisture daily by inserting my finger about an inch deep. The top layer should feel dry before I even consider more water. Overwatering is the fastest way to kill a recovering eustoma, as soggy soil suffocates the damaged roots and invites rot.
Around day 5, my recent seedlings showed the first positive sign: the slight wilt from day one was gone, and the stems felt firm again. No new growth yet, but stability is progress. I maintained the bright, indirect light. I also made sure the room temperature stayed consistent, avoiding drafts from vents or cold windows at night. The American Horticultural Society (AHS) emphasizes stable temperatures as a key factor in reducing plant stress, which aligns perfectly with my observation.
Week 2: Encouraging a Return to Growth
By the start of the second week, the plants looked settled. This is when I made my first strategic move to encourage growth. I introduced them to very mild morning sun—perhaps just 30-45 minutes of early rays before the light became strong. I gradually increased this exposure over the next few days.
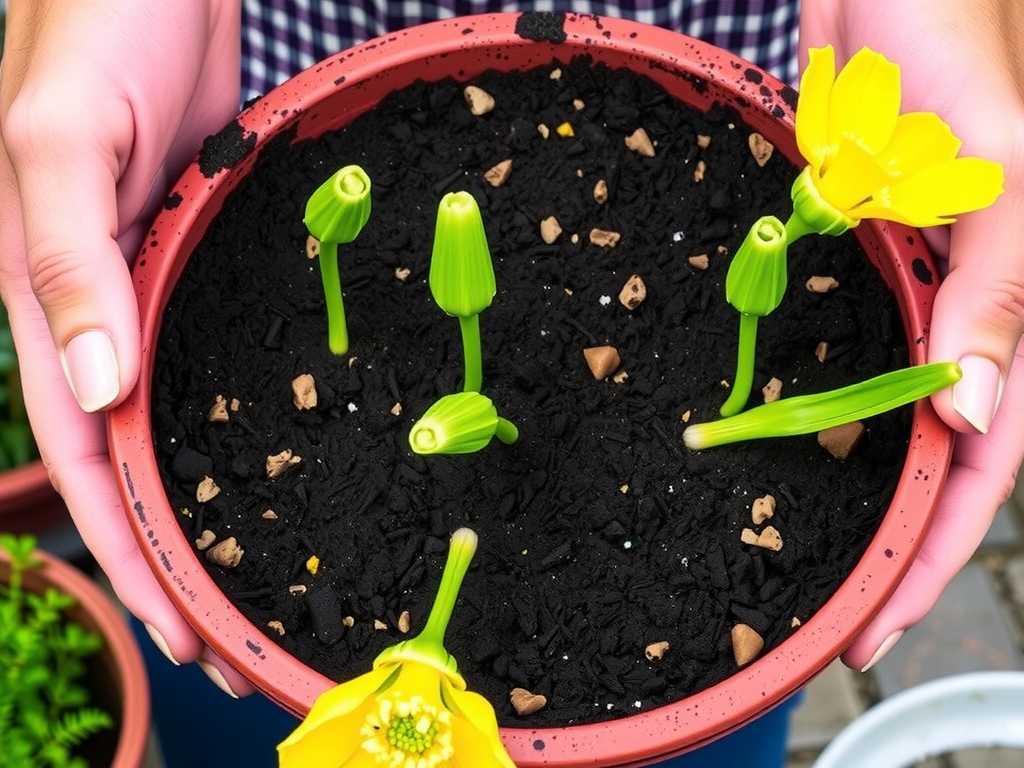
At the end of week two, I saw the ultimate reward: tiny new leaf buds forming at the growth points. This was the clear signal that the recovery maintenance for repotted eustomas was successful and the plants had shifted energy back to vegetative growth. I held off on any fertilizer; their roots were still too tender for that. The focus remained on perfect light and precise watering.
Common Pitfalls and How I Solved Them
My journey wasn’t without setbacks. Here are the big mistakes I’ve made and how you can avoid them.
- Pitfall 1: The “Helping Hand” of Fertilizer. In my early days, I thought a diluted fertilizer would give the seedlings a boost. It did the opposite, causing tip burn on the leaves. The salts in fertilizer can burn vulnerable roots. Solution: Wait at least 3-4 weeks, or until you see robust new growth, before applying a very diluted, balanced fertilizer.
- Pitfall 2: Misreading the Light Needs. As mentioned, I confused bright light with direct sun. Solution: Treat your repotted eustoma like a patient in recovery. It needs bright conditions to fuel root repair, but without the intense heat and transpiration demand of direct sun. Think of it as a “bright shade” environment.
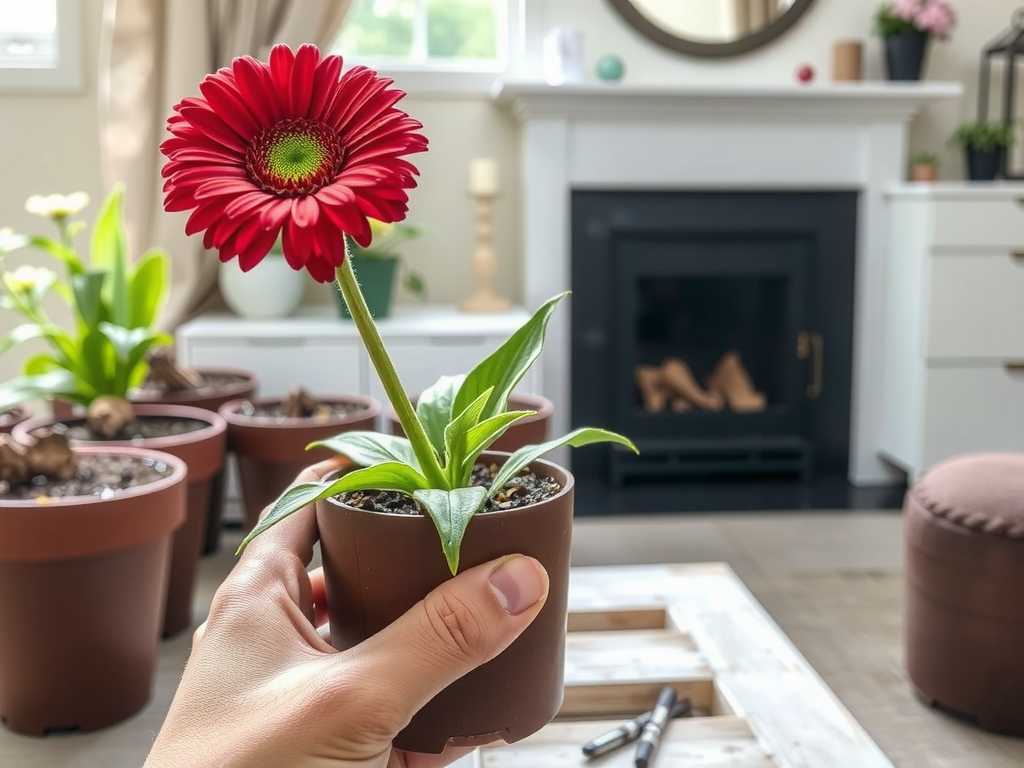
- Pitfall 3: Pot Size Over-ambition. Once, I moved a small seedling into a pot far too large. The excess soil stayed wet for too long, leading to root rot. Solution: Only repot into a container that is 1-2 inches larger in diameter than the previous one. This is crucial for proper post-repotting care for eustoma seedlings.
Sustaining Health Beyond the Recovery Phase
Once your eustoma is actively growing again, care shifts to building a strong plant. I resume a regular watering routine, always checking soil moisture first. When I begin fertilizing, I use a quarter-strength liquid fertilizer every other week. Pinching the tips when the plant has developed 3-4 pairs of true leaves encourages bushier growth, which I’ve found leads to more blooms later. Consistent care after the recovery is what transforms a surviving seedling into a stunning, flowering spectacle.
Will my eustoma seedlings always wilt after repotting? Not necessarily. Some degree of slight drooping or pause in growth is very common, but severe wilting often points to other issues like root damage during the process, extreme temperature changes, or immediate exposure to harsh light. A gentle hand and correct aftercare can minimize visible stress.
How long does it typically take for eustomas to recover fully? While you might see stabilization within a week, I consider a full recovery to be when the plant is actively putting out new leaves and stems. This typically takes 10 to 14 days under ideal conditions. The plant is fully recovered when it resumes a normal growth pattern as if the repotting never happened.
Can I use a rooting hormone when repotting to help? You can, but with caution. I’ve experimented with a mild rooting hormone gel applied sparingly to the root ball before potting. I believe it gave a slight edge in recovery speed for one batch, but it’s not a magic solution. The most critical factors remain proper technique, soil, and the recovery environment. It’s an optional step, not a replacement for good core practices.
Seeing those first new leaves emerge after the quiet recovery period is deeply satisfying. It means you’ve successfully navigated one of the trickiest phases in an eustoma’s life. By prioritizing root recovery through careful watering, providing bright but gentle light, and resisting the urge to over-care, you give these beautiful plants the foundation they need. Remember, patience is your most important tool. With this focused approach, your repotted eustomas will reward you with resilient growth and, ultimately, those breathtaking, rose-like blooms that make all the effort worthwhile.
发表评论