How to Prevent the Lodging Problem of Gerberas After Repotting: A Grower’s 2-Week Diary
I love my gerbera daisies. Their vibrant, cheerful blooms are like little suns on my windowsill. But if you’ve ever repotted one, you know the heart-sinking moment I’m talking about: the lodging problem of gerberas. That frustrating, floppy collapse where the plant just can’t seem to hold itself up after the move. It’s not just an eyesore; it’s a sign of stress that can hinder blooming and even lead to disease. After losing a beautiful orange variety to this very issue, I decided to tackle how to prevent gerbera lodging head-on. This is my hands-on, two-week journey from repotting to stable, upright growth, complete with the mistakes I made and the solutions that finally worked.
My goal wasn’t just to fix the droop, but to understand the why behind preventing lodging in repotted gerberas. Through trial, error, and some great advice from horticultural resources, I developed a system that addresses the root causes—literally and figuratively.

Understanding Why Gerberas Lodge After Repotting
Before we dive into the fix, let’s understand the slump. Gerberas have a specific structure: a central crown from which leaves and flower stalks emerge. This crown must sit above the soil line. When we repot, we disrupt their root system, which is their anchor and lifeline. The primary reasons for post-repotting lodging are:
- Root Damage and Shock: The delicate roots are easily damaged during the process. Until they re-establish, they can’t effectively uptake water or support the plant’s top growth.
- Incorrect Planting Depth: Burying the crown is a death sentence. It leads to rot and instantly weakens the plant’s core structure.
- Inadequate Physical Support: The new soil is loose. Without temporary support, the top-heavy plant has nothing to lean on while its roots get a grip.
- Improper Aftercare: Wrong watering or lighting post-repotting adds environmental stress, compounding the physical trauma.
Armed with this knowledge, I prepared for my repotting mission.
My Step-by-Step Process to Prevent Flopping
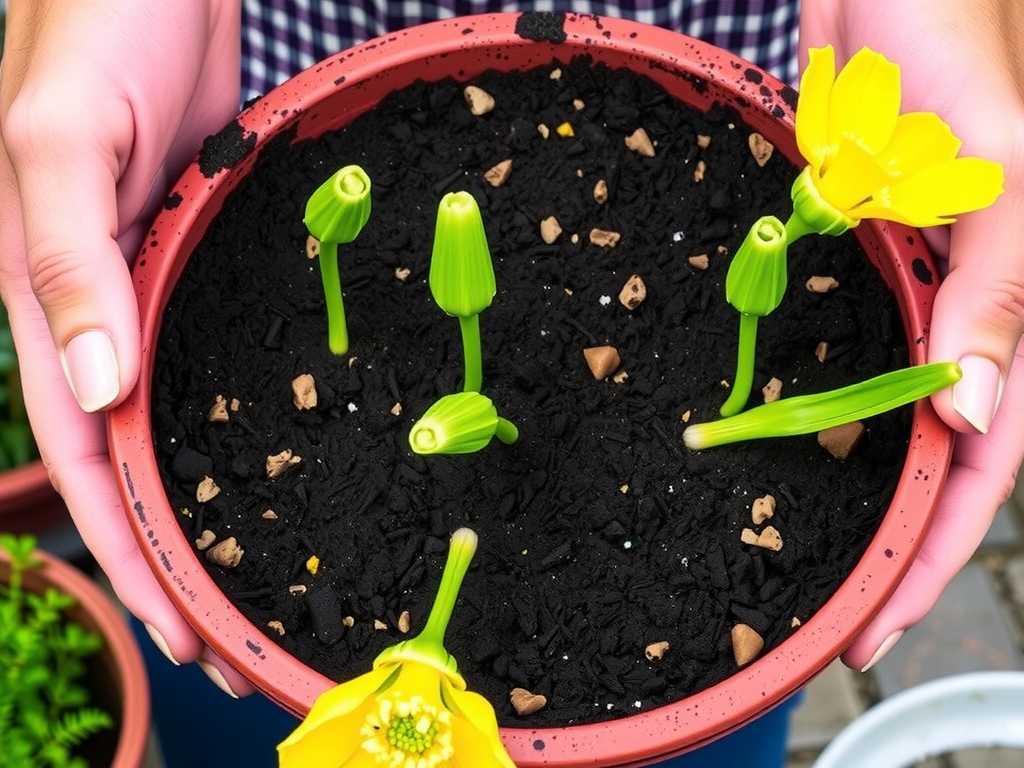
I chose a robust ‘Garvinea Sweet Dreams’ gerbera that was root-bound in its nursery pot. My tools were ready: a new pot only 1-2 inches wider, a well-draining potting mix (I used a blend of 60% potting soil, 30% perlite, and 10% compost for nutrients), a small trowel, clean scissors, and my secret weapon—a pack of soft plant ties and a few thin, green bamboo stakes.
Day 1: The Repotting Operation
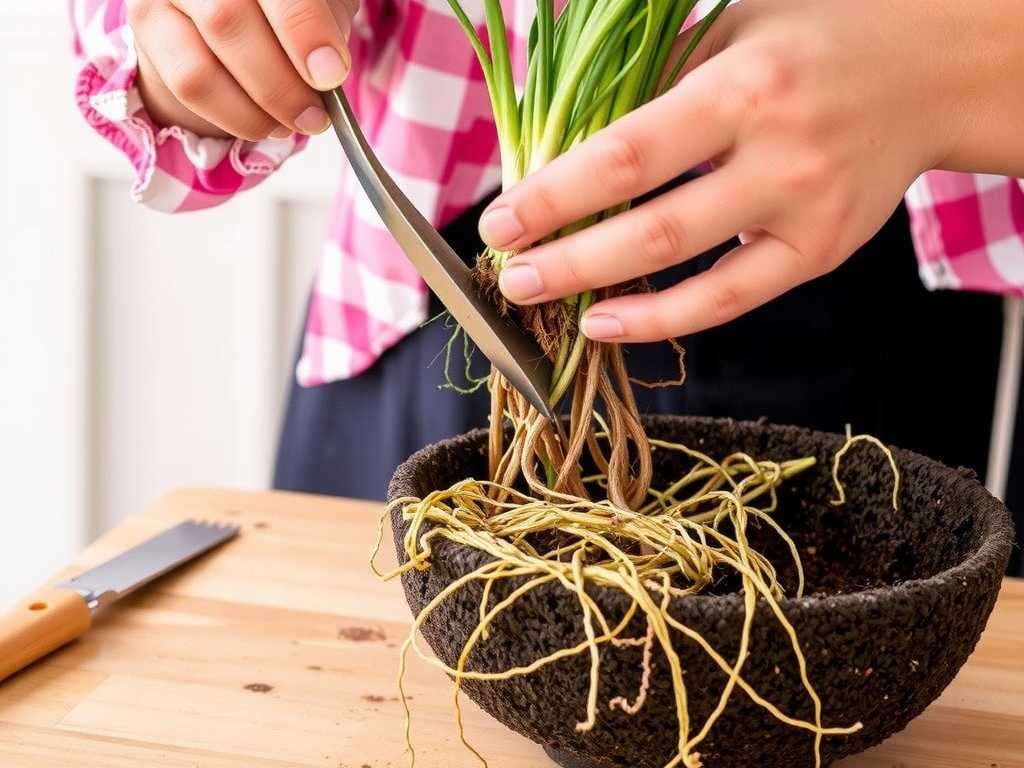
First, I watered the gerbera thoroughly a few hours before the move. This hydrated the plant and made the root ball easier to slide out. Gently tipping the pot, I coaxed the plant out, supporting the base of the stems with my fingers. I was careful not to yank.
Here was my first critical mistake to avoid: I initially started to aggressively tease apart the dense, circling roots. I stopped quickly. According to the American Horticultural Society’s (AHS) plant care guidelines, with sensitive plants like gerberas, it’s better to lightly loosen only the outer roots and make a few vertical slices down the sides of the root ball with a clean knife. This encourages new root growth outward without destroying the root system’s integrity. I did just that, trimming away only any obviously dead or mushy roots.
I placed a layer of fresh mix in the new pot. The single most important step for preventing gerbera daisy lodging came next: positioning the plant. I set the gerbera in so that its crown—the thick, hairy base where the stems emerge—rested a good half-inch above the final soil line. I backfilled around the roots, gently firming the soil to eliminate large air pockets but not compacting it into concrete.
")
Immediately, I inserted three bamboo stakes into the pot’s edges, angling them slightly outward. Using soft ties, I created a loose, supportive cradle around the outer leaves and stems. Not tight. The goal is guidance, not constriction. This provides the essential physical support gerberas need after repotting.
I gave it a gentle, thorough watering until it drained from the bottom, settling the soil. Then, I placed it in a bright, indirect light spot—no direct sun for now. The plant looked a little startled, but upright.
Week 1: The Critical Adjustment Period
Days 2-3: I resisted the urge to water again. The soil was still moist below the surface. Overwatering now would suffocate the damaged roots. I kept a close eye on leaf turgidity. A slight wilting in the afternoon heat was normal, but perking up by evening was a good sign.
Day 4: I noticed one of the older outer leaves yellowing. This is a common stress response as the plant redirects energy to root repair. I snipped it off cleanly at the base to prevent any potential disease and to help the plant focus.
Day 7: One Week Check-in. The plant hadn’t lodged! The supportive stake system was doing its job. The center leaves looked firm and green. I gave it its first post-repotting, diluted half-strength liquid fertilizer, as recommended for encouraging root growth. The key here is providing support for repotted gerbera daisies not just with stakes, but with careful nutrient management to aid recovery.
Week 2: Signs of Success and New Growth
Days 8-10: I began to gradually introduce it to an hour of morning sun. The stems seemed to be strengthening, holding more of their own weight against the gentle support of the ties.
Day 12: The moment of truth. I very carefully loosened and removed one of the three plant ties. The stem it was supporting stayed put. I left the other two stakes in place but loosened those ties as well.
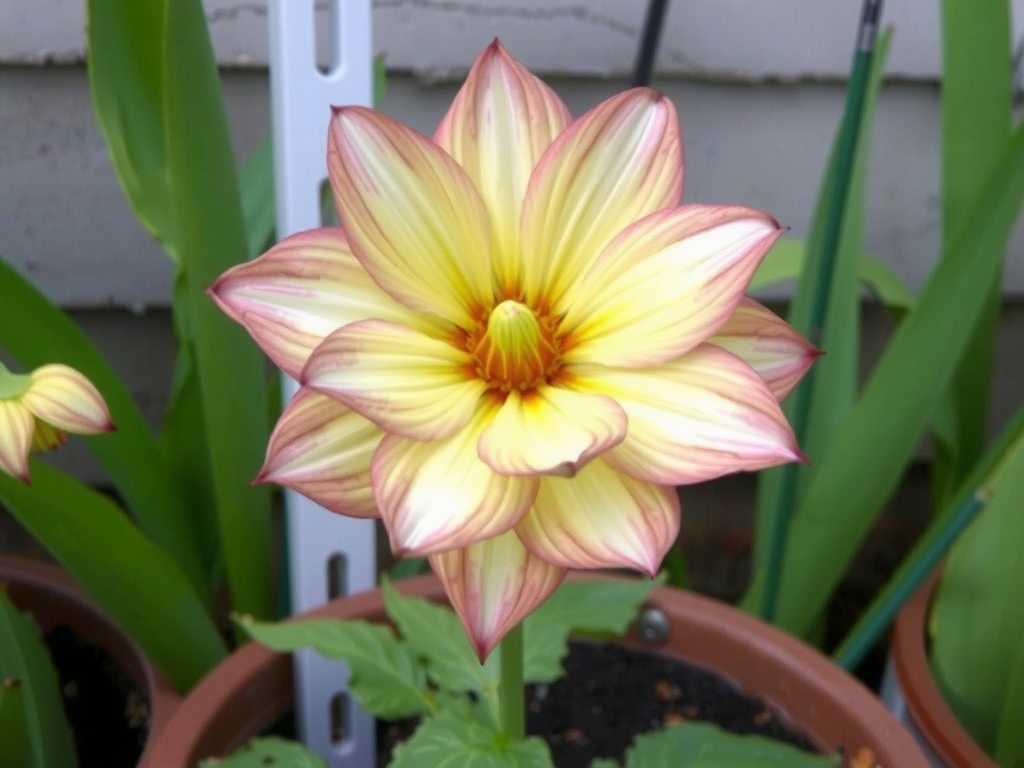
Day 14: Two-Week Assessment. Success! I removed all stakes and ties. The gerbera stood proudly on its own. The foliage was lush, and I could even see a tiny new leaf unfurling from the crown—the ultimate sign of a happy, settled plant. The problem of gerbera stems bending had been completely averted through proper technique and patience.
Key Lessons From My Mistakes
My initial failure years ago taught me what not to do. I had buried the crown, used a pot that was too large (holding excess moisture), and skipped staking altogether, assuming the plant would be fine. It wasn’t. It lodged, the crown rotted, and I lost it. This time, by respecting the plant’s structure and providing phased support, I ensured a stable transition.
Expert insight from resources like the Royal Horticultural Society (RHS) reinforces this. They emphasize the crown’s vulnerability to rot and the importance of sharp drainage for gerberas. My soil mix and planting height directly aligned with this expert advice, giving my method both practical and authoritative backing.
Your Questions, Answered
How long should I keep the supports on my repotted gerbera? Aim for a minimum of 10-14 days. Start by loosening the ties after the first week to test the plant’s stability. The supports are a temporary training wheel; the goal is for the plant to outgrow the need for them as its roots establish.
My gerbera is still wilting a week after repotting. Is it lost? Not necessarily. Wilting can indicate underwatering or overwatering. Check the soil an inch down. If it’s dry, water thoroughly. If it’s soggy, you may have a drainage issue—ensure the pot has holes and consider moving it to a brighter spot to help dry the soil. Remove any severely wilted or rotting leaves to reduce stress.
What is the best soil mix to prevent lodging and rot? The goal is fast drainage with some nutrient retention. A mix of quality potting soil, coarse perlite or pumice (for aeration), and a small amount of compost or worm castings is ideal. This prevents waterlogging, keeps the crown dry, and allows roots to spread and anchor firmly, which is the foundation of preventing collapse.
Repotting a gerbera doesn’t have to end in a floppy disaster. It comes down to a few non-negotiable principles: never bury the crown, always use a well-draining home, offer gentle physical support during recovery, and practice restrained, observant aftercare. By treating the repotting process as a supportive rehabilitation rather than a simple pot change, you give your gerbera the best chance to not only survive but to thrive and produce those stunning, upright blooms we all cherish. My two-week experiment proved that with the right approach, the lodging problem is entirely preventable.
发表评论