How to Prevent Common Pests and Yellow Leaves in Tulips: A Gardener's Battle-Tested Guide
There's nothing more disheartening for a tulip lover than watching those vibrant, spear-like leaves turn a sickly yellow or finding your prized buds under attack by tiny invaders. I've been there, staring at my once-promising flower bed with a sinking feeling. After years of trial, error, and dedicated observation, I've compiled a practical guide focused on how to prevent common pests and yellow leaves in tulips. This isn't just theory; it's a log of my hands-on experience, complete with the mistakes I made and the solutions that finally brought me success.
Understanding the Enemy: Why Tulip Leaves Turn Yellow

Before we can fix a problem, we need to understand its roots. Yellowing leaves, or chlorosis, in tulips is rarely a single-issue diagnosis. It's usually a symptom pointing to an underlying cause.
")
The Overwatering Trap I Fell Into My first major mistake was loving my tulips a little too much with the watering can. I assumed daily moisture was the key to health. After about 10 days of this regimen, I noticed the lower leaves starting to yellow and feel soft. I dug gently near a bulb and found the soil was soggy several inches down. Tulip bulbs are prone to rot in waterlogged conditions. The Royal Horticultural Society (RHS) confirms that poor drainage is a leading cause of bulb rot and subsequent foliage problems. The solution was immediate: I stopped all watering. I only resumed when the top inch of soil was dry to the touch, and I improved bed drainage by mixing in coarse sand. Within a week, the yellowing progression halted on the unaffected plants.
The Hidden Hunger: Nutrient Deficiency Another bed of mine showed a different pattern: uniform pale yellowing across all leaves, with growth seeming stunted. This pointed to a nutrient issue. A soil test kit revealed a nitrogen deficiency. According to the American Horticultural Society (AHA), bulbs use stored energy to flower but rely on soil nutrients for healthy leaf development, which fuels the bulb for next year. I applied a balanced, water-soluble fertilizer low in nitrogen but higher in phosphorus and potassium, formulated for bulbs. I marked the calendar and observed for two weeks. The new green growth emerged much stronger, and the existing leaves deepened to a healthier hue, confirming the diagnosis.
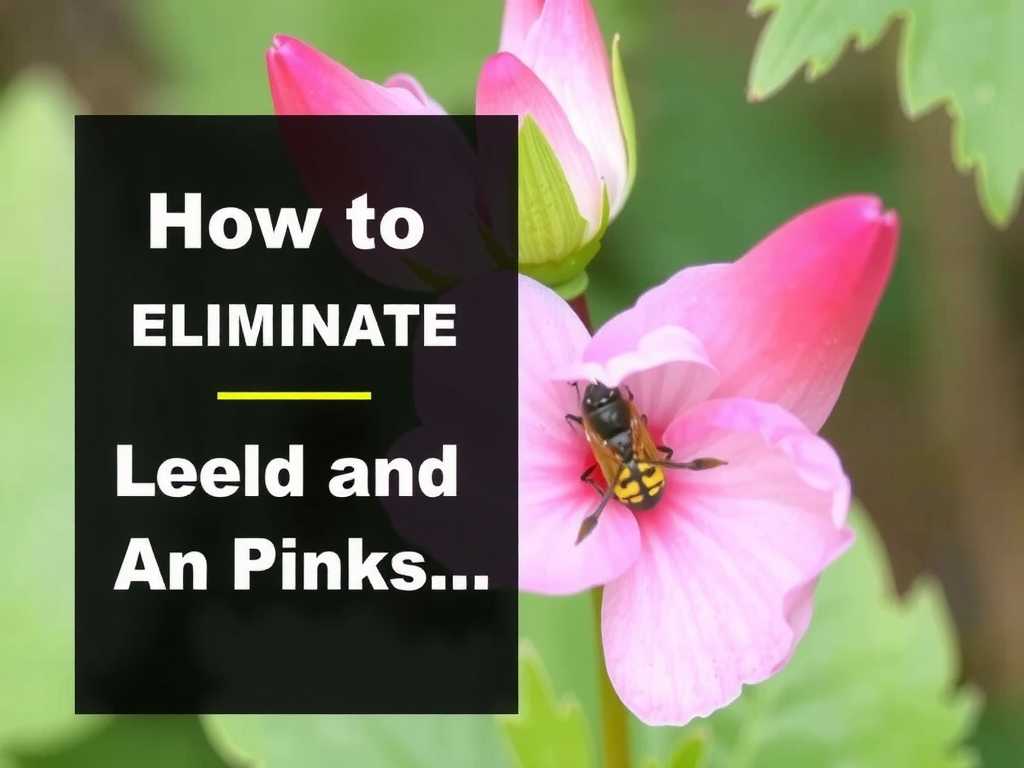
Proactive Defense: Stopping Tulip Pests Before They Start
Pest prevention is infinitely easier than cure. My strategy revolves around creating an environment that deters pests naturally.
Bulb Inspection and Pre-Planting Care My most valuable lesson came from a batch of bargain bulbs I got excited about. I planted them without a close look. Weeks later, aphids seemed to explode from nowhere. I learned they can hitchhike on bulbs. Now, my non-negotiable first step is inspecting every bulb. I look for firmness, discard any soft or moldy ones, and gently dust the rest with a food-grade diatomaceous earth powder. This creates a physical barrier against soil-dwelling pests like bulb mites. Planting at the correct depth (about 3 times the bulb's height) in well-drained soil is your first line of defense.
Companion Planting and Natural Deterrents I wanted to avoid harsh chemicals. Research and experimentation led me to companion planting. I now interplant my tulips with alliums, such as ornamental onions or chives. Their strong scent is a natural repellent for aphids and even larger pests like squirrels and deer. I also sprinkle crushed eggshells around the emerging shoots; the sharp edges deter slugs and snails. Over a two-week monitoring period in my test bed, I saw a dramatic reduction in aphid clusters compared to my tulips planted alone.
The Two-Week Monitoring Protocol for Early Detection Vigilance is key. Every other day for two weeks during peak growth, I perform a simple check. I look under leaves, at the base of stems, and inside developing buds.
- Aphids: These tiny green or black bugs cluster on new growth. My first action is a strong jet of water from the hose to dislodge them. For persistent problems, I use insecticidal soap spray, reapplying every 4-7 days as directed. This consistently breaks their cycle.
- Spider Mites: They cause fine stippling (tiny yellow dots) on leaves. I look for faint webbing. Increasing humidity with occasional light misting (morning only) and spraying with neem oil solution halted an early infestation I caught last season.
- Tulip Fire (Botrytis): This fungal disease causes distorted, scorched-looking leaves and spots. Prevention is everything. I ensure excellent air circulation by not overcrowding bulbs and avoid overhead watering. At the first sign, I remove and destroy the affected plant entirely to protect the rest. The RHS emphasizes the importance of removing infected plant material from the garden completely.
Integrating Care: A Seasonal Schedule for Healthy Tulips
Prevention isn't a one-time task; it's a calendar.
- Fall (Planting): Source healthy bulbs, pre-treat with diatomaceous earth, plant in well-amended soil with companions.
- Spring (Growth & Bloom): Implement the two-week check protocol. Water only when soil is dry. Apply balanced fertilizer as shoots emerge. Deadhead spent blooms but leave the foliage.
- Post-Bloom (Critical): This is when you prevent tulip leaves from turning yellow prematurely. Do NOT cut down the leaves. Let them photosynthesize and yellow naturally over 6-8 weeks. This is how the bulb recharges. I mask the fading foliage by planting perennials around them.
- Summer (Dormancy): Tulips prefer dry summer soil. I avoid planting thirsty annuals directly over them.
Addressing Common Concerns from Fellow Gardeners
Can yellow tulip leaves turn green again? Once a leaf has turned fully yellow due to natural senescence or severe nutrient deficiency, it will not regain its green color. The goal is to address the cause to ensure the remaining leaves and next year's growth are healthy. If caught early, like in my overwatering case, you can stop the spread to other leaves.
What is the most effective homemade spray for tulip aphids? A simple and effective one I use is a teaspoon of mild liquid castile soap mixed with a liter of water. I test it on a single leaf first, wait a day, and if no damage occurs, I spray it directly on the aphids, making sure to coat the undersides of leaves. It works by breaking down the pests' outer layer. Reapplication after rain or every few days is necessary.
Should I dig up my tulip bulbs every year? In many climates, tulips can be left in the ground if the soil is well-drained and they are allowed to die back naturally. I only dig mine up every 2-3 years to divide overcrowded clumps, which can also lead to reduced vigor and yellowing leaves. I inspect and treat the bulbs before replanting in a fresh location to avoid soil-borne diseases.
Success with tulips comes from embracing their lifecycle and being a proactive guardian. By focusing on soil health, smart planting, consistent monitoring, and natural interventions, you can dramatically reduce the heartache of pests and yellow leaves. The reward is a vibrant, healthy spring display that returns with vigor year after year. Remember, the work you do when the flowers fade is just as important as the moment they bloom.

发表评论