How to Effectively Prevent and Treat Root Rot in Lilies: A Complete Guide
Imagine walking into your garden to check on your prized lily plants, only to find them wilting, yellowing, and looking lifeless despite being watered. The soil smells damp and earthy, almost stagnant. You gently dig around the base and discover the worst nightmare for any gardener: the bulbs are soft, mushy, and brown. This is Lily Root Rot Prevention and Treatment 101, and if you are reading this, you likely suspect your plants are suffering.
Root rot is a silent killer. It attacks the foundation of the plant underground before showing visible signs above the surface. By the time you see a sad-looking stem, the infection might already be advanced. However, do not despair. With the right knowledge, you can save your plants and protect future blooms.
Understanding the Enemy: What Causes Lily Root Rot?
To master Lily Root Rot Prevention and Treatment, you must first understand the pathogen. Root rot is not caused by a single issue but is usually a combination of environmental factors and fungal invaders.

The Fungal Culprits
The most common villains are Fusarium species, Pythium, and Rhizoctonia. These fungi thrive in wet, poorly aerated soil. They enter the lily bulb through tiny wounds caused by insects, gardening tools, or natural cracks. Once inside, they choke the plant’s vascular system, preventing water and nutrients from moving up the stem.
The Environmental Triggers
Fungi are opportunists. They wait for the perfect storm:
Overwatering: Lilies hate "wet feet."
Heavy Soil: Clay or compacted soil traps moisture.
Poor Drainage: Low-lying areas where water pools.
Cool, Damp Springs: Slow growth allows fungus to outpace the plant.
According to horticultural research from the Royal Horticultural Society, soil temperature and moisture are the two biggest variables in the spread of bulb decay. When soil moisture exceeds field capacity for more than 24 hours, the risk of infection spikes by over 80%.
Early Warning Signs: Identifying the Problem
Effective Lily Root Rot Prevention and Treatment relies heavily on early detection. Since the damage starts below ground, you need to look for subtle clues.
Above Ground Symptoms
Stunted Growth: The plant looks smaller than its neighbors.
Yellowing Leaves: Often starts at the tips and moves downward (chlorosis).
Wilting: Especially during the heat of the day, even if the soil is wet.
Soft Stems: The base of the stem feels mushy rather than firm.
Below Ground Symptoms
If you suspect trouble, gently brush away the soil. Healthy roots should be white or tan and firm.
Discoloration: Roots look brown, black, or grey.
Texture: They will be slimy or stringy and pull away easily from the bulb.
The Bulb: It will be soft to the touch, like a rotten onion, rather than hard and papery.
Prevention: The Best Cure
The old adage holds true: an ounce of prevention is worth a pound of cure. Proactive Lily Root Rot Prevention and Treatment strategies are far more effective than trying to revive a dead bulb.
1. Site Selection and Soil Preparation
Lilies demand well-draining soil. If you have heavy clay, amend it with coarse sand, perlite, or organic compost to improve structure. Raised beds are an excellent solution for areas with high rainfall.
Pro Tip: Test your drainage by digging a hole, filling it with water, and timing how long it takes to drain. If it takes longer than 4 hours, you need to amend the soil or move the lilies.
2. Proper Planting Depth and Spacing
Plant bulbs at a depth of three times their height. This ensures they are deep enough to stay cool but not so deep that they sit in a cold, wet pocket.
Spacing: Ensure bulbs are spaced 6 to 8 inches apart. Good airflow between plants reduces humidity levels around the foliage and soil surface.
3. Watering Discipline
This is the most critical factor in Lily Root Rot Prevention and Treatment.
Water deeply but infrequently.
Allow the top 2 inches of soil to dry out before watering again.
Avoid overhead watering. Wet foliage encourages fungal spores to splash down into the soil. Use a soaker hose or water at the base of the plant.
4. Using Fungicides Preventatively
For gardeners with a history of rot, applying a fungicide early in the season can be a lifesaver. Many growers search for the best organic fungicide for bulbs to avoid harsh chemicals.
Copper Fungicide: A standard organic option that creates a protective barrier on the bulb surface.
Sulfur: Effective against many soil-borne pathogens.
Trichoderma: A beneficial bacteria that eats harmful fungi. This is often found in high-quality biological soil amendments.
Treatment: Saving an Infected Lily
If your prevention methods failed and you are now facing the mushy reality of rot, immediate Lily Root Rot Prevention and Treatment action is required. Can you save the plant? It depends on the severity.
Step 1: Stop Watering Immediately
Let the soil dry out as much as possible without causing the plant to desiccate completely. This starves the fungus of the moisture it needs to spread.
Step 2: Unpot or Dig Up
If the lily is in a pot, tip it out. If it is in the ground, use a garden fork to lift the clump carefully. Shake off as much soil as possible to expose the damage.
Step 3: Surgical Removal
Using sterilized pruning shears (wipe with rubbing alcohol between cuts), excise all rotted tissue.
Cut back until you see healthy, firm tissue.
If the basal plate (the bottom of the bulb where roots attach) is mushy, the bulb is likely a goner.
If the rot has reached the center of the bulb scales, discard it to prevent spreading spores to other plants.
Step 4: Chemical or Organic Drench
Soak the remaining healthy bulb and roots in a fungicidal solution for 15-30 minutes.
Commercial Option: A solution of thiophanate-methyl or mancozeb.
DIY Option: A mixture of 1 part hydrogen peroxide (3%) to 3 parts water, or a dusting of ground cinnamon (a natural fungicide).
Step 5: Repot in Fresh Medium
Do not reuse the old soil. It is teeming with spores. Plant the treated bulb in a new pot with fresh, sterile potting mix or garden soil amended with compost. For potted lilies, ensure the new container has adequate drainage holes.
Advanced Care: The Recovery Phase
After performing Lily Root Rot Prevention and Treatment surgery, the plant is in shock. It has lost its root system and needs energy to regenerate.
Managing Moisture
Keep the soil barely moist—just enough to keep the roots from drying out. Overwatering now will almost certainly kill the weakened plant.
Nutrient Support
Do not fertilize immediately. Fertilizer salts can burn the new, tender roots. Wait until you see new growth emerging from the soil surface. Then, apply a balanced, slow-release fertilizer or compost tea.
Temperature Control
Lilies recover best in moderate temperatures (60-70°F). If you are saving lilies from root rot during a heatwave, provide shade cloth to reduce stress on the limited root system.
Specific Scenarios: Pots vs. Ground
The approach to Lily Root Rot Prevention and Treatment varies slightly depending on where your lilies are growing.
Container Gardening
Potted lilies are at higher risk because water cannot escape the pot.
The "Finger Test": Always stick your finger into the soil. If it feels wet an inch down, wait.
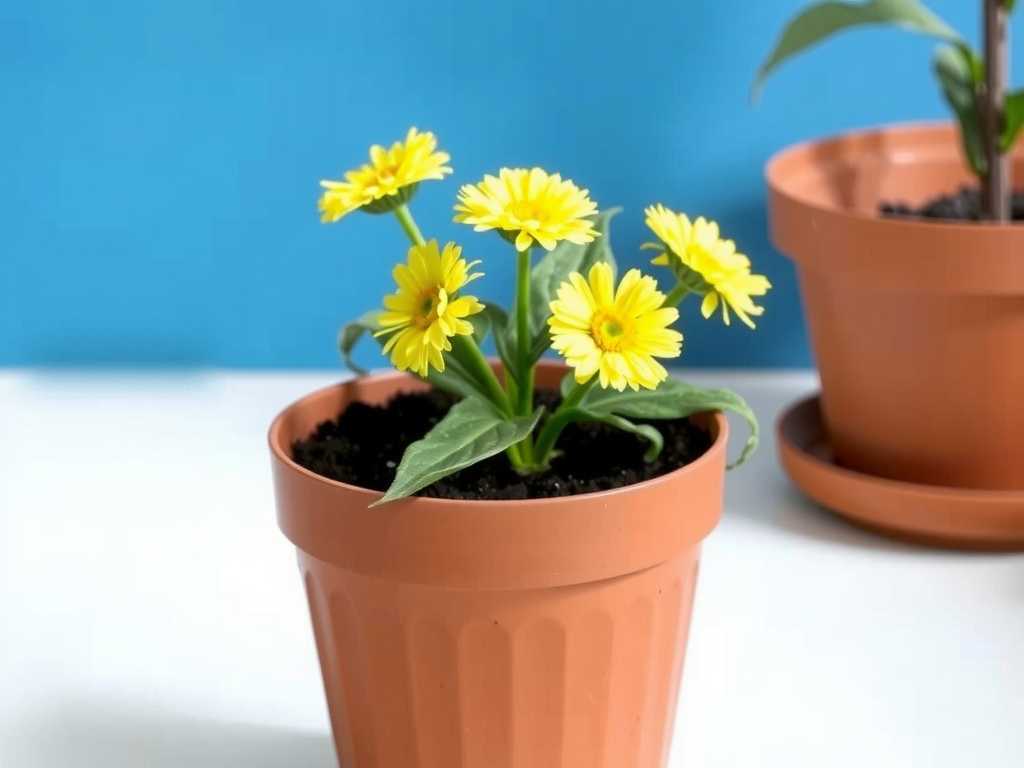
Potting Mix: Never use garden soil in pots. It compacts and suffocates roots. Use a specific "bulb and cactus" mix.
Winter Care: Ensure pots are not sitting in saucers of water during dormancy.
In-Ground Gardening
Mulching: Apply a 2-inch layer of bark mulch to regulate moisture. However, keep the mulch 3 inches away from the stem to prevent stem rot.
Crop Rotation: Do not replant lilies in the same spot if you lost one to rot. Wait 3 years or treat the soil heavily with solarization (covering with clear plastic to heat the soil) before replanting.
")
Long-Term Strategies for Healthy Bulbs
Once you have mastered the immediate Lily Root Rot Prevention and Treatment, focus on long-term health.
Choosing Resistant Varieties
Some lily species are more prone to rot than others. Asiatic lilies and Oriental lilies are generally robust, but some hybrid varieties are delicate. Research lily bulb rot symptoms specific to the variety you are planting.
Biological Controls
Introducing beneficial nematodes or Bacillus subtilis (like the product Serenade) into the soil can create a suppressive environment where harmful fungi struggle to establish. This is a cornerstone of sustainable Lily Root Rot Prevention and Treatment.
Sanitation
Always clean your tools after working with infected plants. Fungal spores can hitch a ride on your trowel to the next healthy plant. Remove plant debris in the fall, as spores overwinter in dead leaves.
Frequently Asked Questions
1. Can I eat a lily bulb that has slight rot?
Absolutely not. Lily bulbs are toxic to humans and pets regardless of their condition, but a rotting bulb contains high concentrations of mycotoxins produced by the fungus. Dispose of it safely away from compost piles.
2. How long does it take for a lily to recover from root rot?
Recovery is slow. You may not see above-ground growth for several weeks. If the bulb is firm and planted in warm soil, give it up to 4 to 6 weeks. If no shoots appear by then, the bulb has likely succumbed.
3. Is hydrogen peroxide effective against lily rot?
Yes, a 3% hydrogen peroxide solution can kill surface fungi and oxygenate the root zone. However, it is a contact killer; it will not cure a systemic infection inside the bulb. It is best used as a preventative soak or for very early-stage treating fungal infections in lilies.
Mastering Lily Root Rot Prevention and Treatment is about respecting the plant's biology. Lilies are resilient perennials capable of storing energy in their bulbs for years. By ensuring they are planted in well-draining soil, watered correctly, and monitored for early signs of distress, you can enjoy their vibrant blooms season after season. Remember, dry bulbs are happy bulbs. If you suspect rot, act fast, cut out the bad tissue, and give your lily a fresh start in clean soil.
发表评论