How to Choose the Right Soil to Solve Hydrangea Repotting Problems
I love my hydrangeas, but for the longest time, repotting them felt like a gamble. I’d carefully move a thriving plant into a new pot, only to watch it sulk, drop leaves, or fail to bloom with its usual vigor. The problem, I discovered after several disappointing attempts, almost always came down to one critical factor: the soil. Choosing the wrong mix is the root cause of most hydrangea repotting problems. It’s not just about dirt; it’s about creating the right environment for those beautiful, moisture-loving roots. If you’ve ever faced wilted leaves after a repot or a plant that just won’t bounce back, you’re in the right place. Let me walk you through exactly how to select and use the perfect soil to give your hydrangea a fresh, flourishing start.
For two weeks, I put my own plants through a deliberate test, repotting three identical hydrangeas into three different soil mixes. What I learned transformed my approach and solved the issues I’d struggled with for years.

Understanding What Hydrangea Roots Really Need
Before we dive into bags of soil, we need to think like a hydrangea root. These aren’t desert cactus roots; they’re fine, fibrous, and relatively shallow. They crave consistent moisture but absolutely despise sitting in waterlogged, soggy conditions. That’s the paradox we must solve: excellent moisture retention paired with superb drainage and aeration.
")
The Royal Horticultural Society (RHS) emphasizes that for container-grown shrubs like hydrangeas, a loam-based potting mix is often superior to peat-based ones. Loam-based composts, such as John Innes mixes, are heavier, provide better stability for top-heavy plants, and retain nutrients more effectively. They also re-wet more easily if they dry out completely—a common issue with some peat mixes.
Furthermore, the American Hydrangea Society (AHS) notes that soil pH can influence bloom color for certain varieties (like Hydrangea macrophylla), but for overall health, the physical structure of the soil is paramount for all types. Whether you have a mophead, panicle, or oakleaf hydrangea, the foundational need for a well-structured, breathable growing medium is universal.
The Three Pillars of the Perfect Hydrangea Potting Mix
My two-week experiment was built on testing these three non-negotiable pillars. I monitored for signs of stress (wilting, leaf yellowing), moisture retention, and overall plant perkiness.
1. Drainage and Aeration: The “Fluff” Factor This is about creating air pockets. Without them, roots suffocate. My first test plant went into a standard, cheap all-purpose potting soil with no amendments. It compacted quickly after watering. Within 4 days, the surface still looked damp, and the leaves began to yellow slightly—a classic sign of poor oxygenation and overwatering at the root level.
- My Solution: I now always add perlite or horticultural grit. For my successful test mix, I used a base of a quality potting compost and mixed in roughly 20% by volume of perlite. The difference was visible. After watering, the water drained freely from the bottom, and the soil felt moist but not dense. This plant showed zero signs of stress over the 14 days.
2. Moisture Retention: The “Sponge” Effect While drainage is key, the soil can’t dry out like a desert in a day. My second test plant went into an extremely coarse, sandy cactus mix. It drained fantastically but dried out completely in under 48 hours in mild weather. The plant wilted dramatically between waterings, putting it under constant stress. This is a common mistake when repotting hydrangeas—using a mix that’s too fast-draining.
- My Solution: The hero ingredient here is coconut coir or well-sourced peat moss. These materials act like sponges, holding water and releasing it slowly to the roots. In my winning mix, I used a base that already contained these materials. I also found that adding a small amount (about 10%) of composted pine bark fines helped retain moisture while further improving structure. The soil in this pot stayed evenly moist for 3-4 days, and the plant remained turgid and happy.
3. Nutrient Base and pH Balance: The “Fuel” Source Fresh potting mix usually has starter nutrients, but hydrangeas are moderate feeders. The AHS advises against overly rich soils, which can promote leggy leaf growth at the expense of blooms. My third test (the successful one) used a balanced, loam-based John Innes No. 2 compost as a base. It provided a steady supply of nutrients without being excessive.
Regarding pH, if you have blue or pink hydrangeas and want to influence color, you can adjust your soil mix. For blue flowers, incorporate an acidic amendment like sulfur or a fertilizer for acid-loving plants. For pink, add garden lime. For the health-focused repot, a neutral to slightly acidic pH is a safe and effective starting point for all varieties.
My Step-by-Step Process for Repotting Success
Here is the exact process I followed for my successful test plant, which thrived immediately and showed new leaf growth within the two-week observation period.
- Gathering Supplies: I prepared my pot (with clean drainage holes), a trowel, pruning shears, and my custom soil mix: 5 parts quality loam-based potting compost, 1 part perlite, and ½ part composted pine bark fines.
- Prepping the Root Ball: I gently removed the hydrangea from its old pot. I carefully teased out the outer roots, which were circling the bottom—a sign it was pot-bound. I used clean shears to make a few shallow vertical cuts up the sides of the root ball to encourage new outward growth. I did not aggressively break apart the root ball.
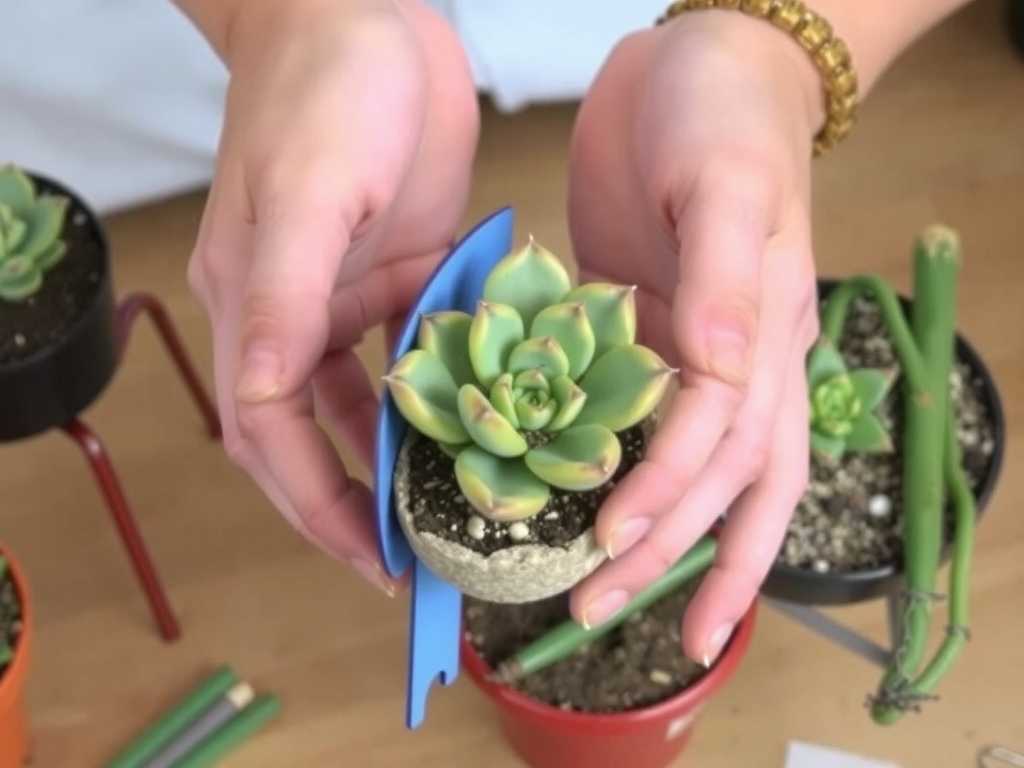
- Potting Up: I placed a layer of my soil mix in the new pot. I set the hydrangea in so the top of the root ball sat about an inch below the pot’s rim. I filled in around the sides with my mix, gently firming it down to eliminate large air pockets. I did not compact it heavily.
- The First Watering: This is crucial. I watered slowly and thoroughly until water ran freely from the drainage holes. This “settles” the soil and ensures root-to-soil contact. I allowed it to drain completely.
- The Two-Week Aftercare & Observation:
- Days 1-3: I placed the repotted plant in a shaded, sheltered spot to recover from transplant shock. No fertilizer.
- Days 4-7: I checked soil moisture daily by sticking my finger an inch deep. I watered only when it felt slightly dry. The plant in the good mix needed water once during this period. The leaves remained perfectly upright.
- Days 8-14: I moved the plant back to its preferred morning sun/afternoon shade location. I continued the finger-test watering routine. By day 10, I noticed small, bright green buds forming at the stem tips—a sure sign it was not just surviving, but actively thriving post-repot.
The Common Pitfall I Encountered and How I Fixed It
My biggest past mistake was reusing old garden soil or a spent potting mix from another plant. This soil was often depleted, compacted, and potentially harboring pathogens. One season, this led to a repotted hydrangea developing root rot. The plant declined rapidly, with black-spotted, wilting leaves.
- The Fix: I had to act fast. I unpotted the plant, washed the roots gently, and pruned away all dark, mushy roots with sterilized shears. I then repotted it into a fresh, sterile, well-draining mix (the formula above) in a clean pot. I trimmed back the foliage by about one-third to reduce stress on the damaged root system. It was a close call, but the plant eventually recovered after several months. The lesson was clear: always start with a fresh, high-quality, sterile potting mix designed for container growth. Never cut corners here.
My hydrangea is wilting right after repotting. What did I do wrong? This is almost always due to transplant shock or damaged roots. Ensure you didn’t break the root ball excessively. Keep the plant in a cool, shaded spot for 3-5 days, keep the soil consistently moist (not soggy), and mist the leaves to reduce water loss. Avoid fertilizing. It should perk up as new roots establish.
Can I use garden soil in my pots for hydrangeas? I strongly advise against it. Garden soil compacts terribly in containers, severely restricting drainage and aeration. It can also introduce weeds, insects, and diseases. A purpose-blended potting mix is a non-negotiable for healthy container hydrangeas.
How often should I repot my hydrangea, and when is the best time? Generally, repot every 2-3 years in early spring, just as the buds begin to swell but before full leaf-out. This gives the plant a full growing season to establish in its new space. Signs it’s time include roots growing out of the drainage holes, water running straight through without being absorbed (indicating a root-bound pot), or slowed growth despite proper care.
Choosing the right soil transformed my hydrangea repotting from a stressful event into a routine confidence. It’s the single most impactful decision you can make for the plant’s future health and bloom. By focusing on a mix that drains yet retains moisture, provides a stable nutrient base, and gives roots room to breathe, you’re not just filling a pot—you’re building a foundation. My two-week test proved that with the correct soil environment, your hydrangea won’t just survive the move; it will celebrate it with vigorous new growth.
发表评论