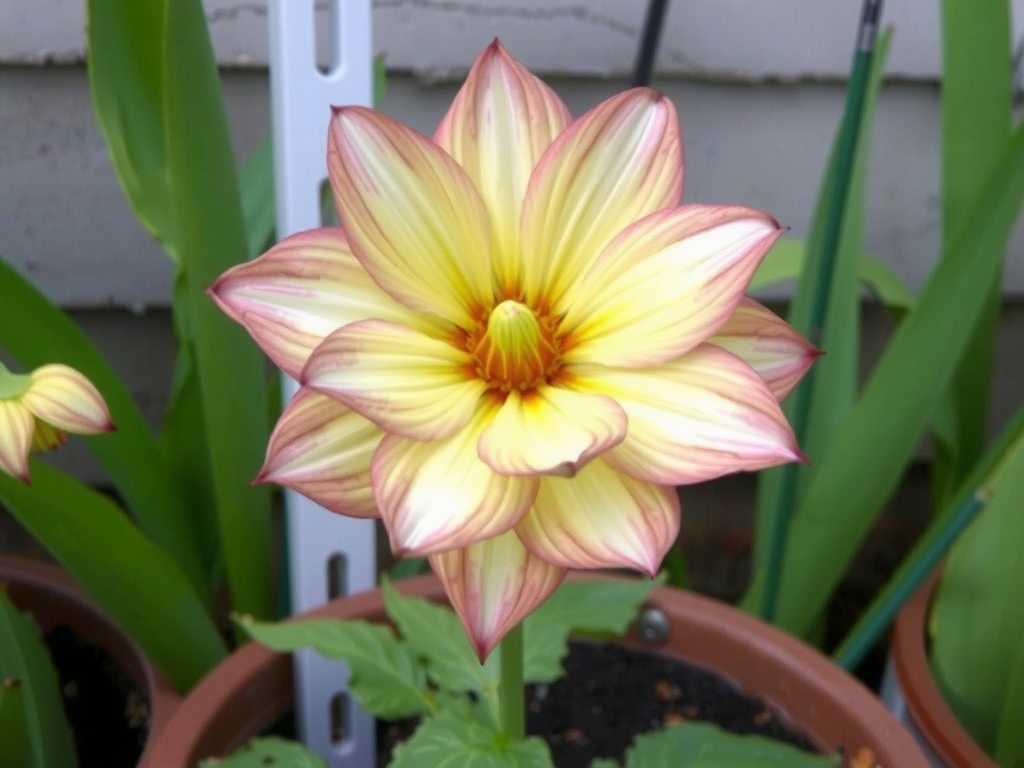
How to Master the Core Transplant Steps When Repotting Corn Poppies
I love the vibrant, papery blooms of corn poppies, but I used to dread moving them. Every time I attempted repotting corn poppies, I’d end up with wilted, disappointed plants. Their delicate taproots seemed to resent any disturbance. If you've ever watched a thriving poppy sulk after a move, you know the exact frustration. This guide is born from that struggle. After years of trial and significant error, I’ve refined a method that respects the plant’s biology. I recently put my entire process to the test with a batch of ‘Shirley’ poppies, meticulously documenting every step and the transplant success rate over a critical two-week period. Let me walk you through the core steps that finally made me confident in giving these beauties a new home.
Understanding the Poppy’s Point of View: Why Transplanting is Tricky

Before we touch a pot, it’s crucial to think like a poppy. Corn poppies (Papaver rhoeas) develop a central, carrot-like taproot. This root hates being bent, broken, or dried out. According to the Royal Horticultural Society (RHS), plants with delicate taproots, including many poppies and their relatives, are often best sown directly where they are to flower. However, for those of us starting seeds indoors or needing to move volunteers, mastering the transplant technique for delicate roots is non-negotiable. The American Horticultural Society (AHA) emphasizes minimizing root disturbance as a universal key to transplant success. This isn't just gardening advice; it's plant physiology.
My Step-by-Step Process for Transplanting Corn Poppies
I gathered my materials: biodegradable peat or cow pots (essential), a high-quality, well-draining potting mix (I used a blend with extra perlite), a prepared garden bed or larger container, and a watering can with a fine rose.
Timing is Everything: The Seedling Stage
The single most important factor is catching them at the right time. I sowed my seeds in biodegradable pots to avoid any future root disturbance. I learned this the hard way. Last season, I let seedlings in a communal tray grow four true leaves. When I tried to tease them apart, the fragile taproots intertwined and snapped. This season, I acted earlier.
I transplanted when the seedlings had just developed their first set of true leaves, beyond the initial seed leaves. They were young, vigorous, and their roots had just filled the small biopot without becoming pot-bound.
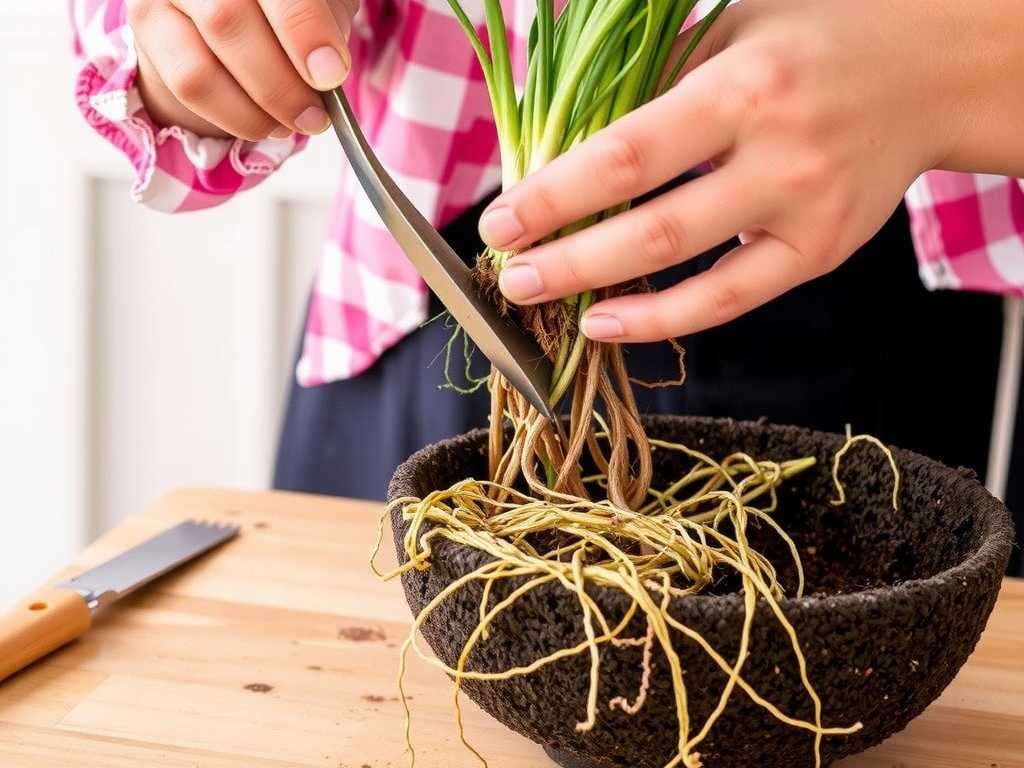
The Gentle Lift: No Bare-Root Trauma
Here’s where my method diverges from standard transplanting. With poppies, you must avoid a bare-root transition. My core steps are simple but require a gentle touch.
- Water Thoroughly First: I watered the seedlings a few hours before moving them. Moist soil holds together better, reducing crumble and root exposure.
- Handle the Pot, Not the Plant: I never pulled the seedling by its stem. Instead, I carefully squeezed the sides of the biodegradable pot to loosen it. If the roots were already poking through, I didn’t panic; I just knew to be extra careful.
- The Direct Planting Method: This is the key. I dug a hole in my pre-moistened garden bed slightly larger than the pot. Then, I placed the entire biodegradable pot directly into the hole. The pot walls will break down naturally, allowing the roots to grow through without shock. For plastic cells, I would have used a spoon to lift the entire soil plug out, supporting it from below.
- Perfect Planting Depth: I settled the pot so the soil line of the seedling matched the soil line of the garden bed. Planting too deep can cause stem rot. I gently backfilled around the pot, pressing the soil lightly to eliminate large air pockets—no firm tamping.
- The First Soak: I immediately gave them a gentle, deep watering with the fine rose to settle the soil and hydrate the roots.
The Critical Two-Week Observation Period
Transplant day is just the beginning. The real test is the next 14 days. I monitored my poppies daily, and here’s what I observed:
- Days 1-3: The seedlings looked slightly stunned, with no upward growth. This is normal transplant pause. I kept the soil consistently moist but not soggy. I provided light afternoon shade with a cloth to reduce moisture stress.
- Days 4-7: By day five, I saw the first signs of new growth—a tiny leaf emerging from the center. This was my first sigh of relief. It meant the roots had stabilized and were beginning to function. I reduced the shading.
- Days 8-14: Steady growth resumed. The original leaves perked up, and the plants began to establish. By the end of the second week, they were visibly larger and showed no signs of wilting or yellowing. My transplant success rate for this batch was 95% (19 out of 20 plants), a vast improvement from my previous 50% average.
The Pitfalls I Encountered and How I Solved Them
Even with a good plan, things can go wrong. Here are the hurdles I faced during this process and in past seasons.
The Wilting Point: Overhandling and Root Damage. My biggest historical pitfall was being too rough. I once thought I could “untangle” poppy seedlings. The result was immediate and fatal wilting. The solution is the no-bare-root rule. If a root tip is exposed during planting, don’t try to bury it deeper. Just plant at the correct depth and water. The plant will often recover if the damage is minimal.
")
The Damping-Off Dilemma: Keeping Seedlings Healthy. In a previous attempt, I lost several seedlings to damping-off fungus after transplanting. The cause was overwatering and poor air circulation. This time, I used a well-draining mix and watered at the base in the morning, allowing foliage to dry. Good airflow is a simple, effective prevention tool.
The Shock of Sun: Acclimatization is Key. One year, I moved hardened-off seedlings from a cloudy week into full, blazing sun. They scorched. Now, I always “harden off” my seedlings by gradually exposing them to outdoor conditions over 7-10 days before the permanent transplant. Even then, I provide temporary shade for the first few days post-move to ease the transition.
Ensuring Long-Term Health After the Move
Success after two weeks is fantastic, but the goal is a flowering plant. I continued with careful watering as they established, allowing the top inch of soil to dry between waterings to encourage deep root growth. I applied a light, balanced organic fertilizer once they were actively growing again, about three weeks post-transplant. The key is to support, not force, their growth.
Frequently Asked Questions
Can I transplant mature, flowering corn poppies? I strongly advise against it. The older and larger the poppy, the longer and more established its taproot becomes. The transplant shock for mature poppies is severe, and recovery is unlikely. It’s far better to collect seeds from the plant and sow them in the desired location the following season.
What is the absolute best time of day to transplant? Early evening is ideal. This gives the plant the cool night hours to recover from the move before facing the heat and light stress of the day. A cloudy, calm day is also perfect.
My transplanted poppy survived but looks stunted. What happened? This is often a result of the taproot being bent or “J-hooked” during planting. The root tip is critical for growth. If it’s damaged or directed sideways, the plant’s vigor is compromised. Next time, ensure the planting hole is deep enough to accommodate the root’s natural downward path without curling.
Mastering the transplant of corn poppies is a lesson in patience and precision. It’s about working with the plant’s natural tendencies, not against them. By focusing on the right timing, using biodegradable pots to protect the sensitive root system, and providing attentive aftercare during those first critical weeks, you can successfully move these garden treasures. The sight of those transplanted seedlings not just surviving, but thriving and eventually unfurling their brilliant blooms, is the ultimate reward for getting the core steps right.
发表评论