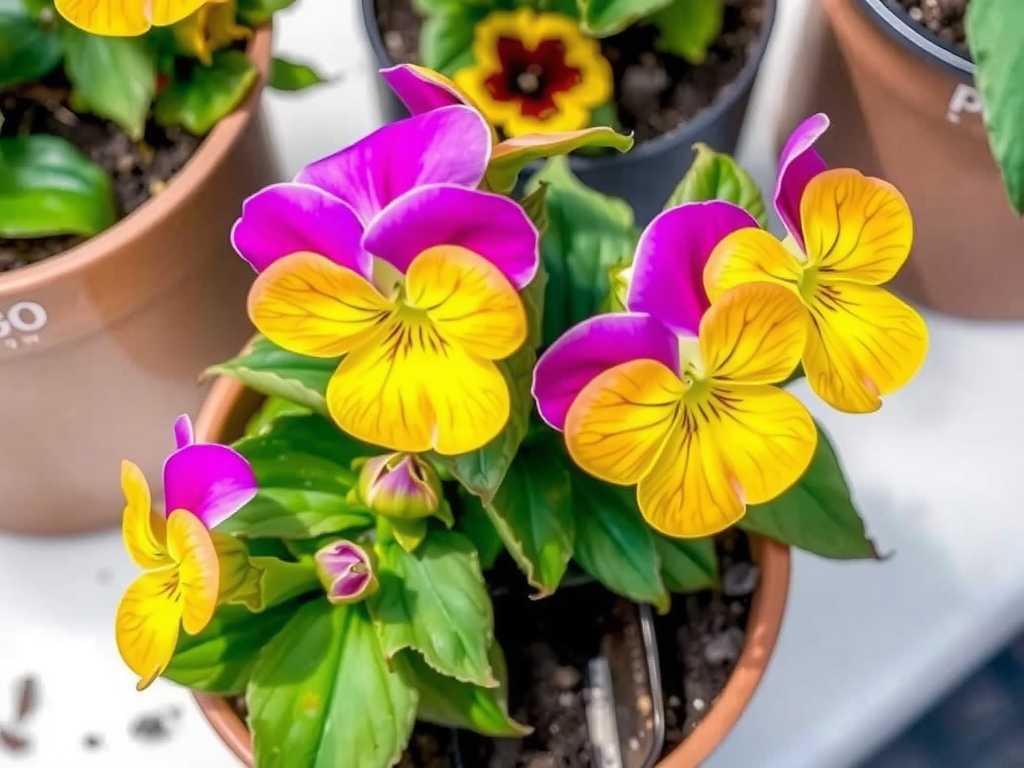
How to Solve the Shortened Flowering Period Problem of Pinks After Repotting
There’s nothing more disheartening than carefully repotting a beloved pink, only to watch its promised burst of blooms stall or fade away far too quickly. If you’ve found yourself asking, “Why is my pink’s flowering period so short after repotting?” you’re not alone. I’ve been there, staring at a healthy-looking plant with disappointingly few, fleeting flowers. The issue of a shortened flowering period post-repotting is a common frustration, but it’s absolutely solvable. Through trial, error, and a lot of patient observation over multiple seasons, I’ve pieced together a reliable method to not just recover, but actually enhance bloom longevity. This guide is born from my hands-on experience, including the mistakes I made and the two-week recovery plan that consistently delivers results.
Understanding the “Transplant Shock” and Bloom Connection

First, let’s understand why repotting often leads to a shortened flowering period. Repotting, even when done carefully, is a major stress event for the plant, often termed “transplant shock.” The plant’s energy and resources are abruptly redirected from top growth (like flowering) to re-establishing its root system in the new environment. It’s a survival mechanism. According to the Royal Horticultural Society (RHS), root disturbance can interrupt the hormonal signals that trigger and sustain flowering. Essentially, the plant pauses its “show” to focus on rebuilding its “foundation.” My goal became clear: minimize this shock and support the root system so the plant could resume its floral display as swiftly as possible.
My Step-by-Step Solution for Maximizing Bloom Time
My process isn’t just about the repotting day; it’s a holistic approach that starts before the move and continues for weeks after. Here is the exact sequence I follow.
Phase 1: The Pre-Repotting Preparation (The Foundation)
Timing is everything. I never repot a pink when it is in full, heavy bloom. The stress is too great. I look for the lull between flowering cycles or very early in the growing season. I also “pre-hydrate” the plant by watering it thoroughly the day before repotting. A well-hydrated plant handles stress better.
")
Choosing the right soil mix was a game-changer. A generic potting mix failed me, leading to poor drainage and stressed roots. Now, I use a well-draining, slightly alkaline mix, as recommended for pinks. My personal blend is two parts quality potting compost, one part horticultural grit or perlite, and a handful of lime to sweeten the soil. This ensures the roots have the airy, free-draining environment they crave, preventing waterlogged conditions that immediately shorten bloom life.
Phase 2: The Repotting Day – Gentle Handling is Key
My tools are ready: a clean pot with excellent drainage (only one size larger than the previous), my soil mix, and a pair of sanitized snips. I gently tip the plant out, supporting the base of the stems. Here’s the critical part: instead of aggressively teasing apart the root ball, I only gently loosen the very outer roots and any that are visibly circling. If the roots are densely packed, I make a few shallow vertical cuts down the sides of the root ball with a clean knife. This encourages new root growth outward without causing massive damage.
I place the plant at the same depth it was growing before, fill in with my mix, and firm it gently—no tamping down hard. A deep, thorough watering after potting helps settle the soil and eliminates air pockets. This is where I made an early mistake: I used to add fertilizer right away. This can burn new roots and force leafy growth at the expense of flowers. Now, I water with plain water or a very weak seaweed extract solution for root stimulation only.
Phase 3: The Critical Two-Week Recovery and Observation Period
This is the most important phase to solve the shortened flowering period problem. I treat the newly potted pink like a patient in recovery.
- Week 1: The Quiet Zone. I place the plant in a spot with bright, indirect light—no direct, hot sun for at least 5-7 days. Direct sun amplifies stress on a compromised root system. I resist the urge to water again until the top inch of soil feels dry. The focus is on letting the roots seek out moisture and establish. I remove any flower buds that were present at repotting time. This feels counterintuitive, but it’s vital. It signals the plant to invest energy in roots, not in sustaining those blooms, which would likely be short-lived anyway.
- Week 2: Encouraging Signs. By the second week, I look for signs of new growth—a fresh, green tip on a stem is a great indicator. This tells me the roots are functioning. I can now gradually move the plant back to its preferred full-sun location over a few days. I continue my careful watering regimen. At the end of week two, if the plant looks perky and is showing new growth, I apply a half-strength, balanced liquid fertilizer. The American Horticultural Society (AHA) notes that a balanced feed (with equal parts Nitrogen, Phosphorus, and Potassium) supports overall recovery without over-driving leafy growth.
Sustaining the Blooms: Post-Recovery Care
Once the plant is actively growing again, I switch my fertilization strategy to encourage flowering. I use a fertilizer with a higher phosphorus content (the middle number on the package) every two weeks. Consistent deadheading—removing spent flowers immediately—is non-negotiable. This prevents the plant from putting energy into seed production and instead prompts it to generate new flower buds. Consistent moisture is key; I never let the soil dry out completely, as drought stress will immediately abort flowers.
Common Pitfalls I Encountered and How I Fixed Them
- The Pitfall of Overwatering: In my anxiety to help, I overwatered. This led to yellowing leaves and a complete halt in flowering. The fix was simple: I learned to check soil moisture with my finger and ensured the pot had can’t-fail drainage.
- The Wrong Pot Size: Upsizing to a pot that was too large meant the soil stayed wet for too long, causing root rot and no flowers. Sticking to a pot just 1-2 inches wider in diameter solved this.
- Neglecting Light Transition: Moving a shocked plant immediately back into full sun scorched the leaves and withered buds. Implementing the “bright indirect to direct sun” transition over a week made a dramatic difference in plant vigor and subsequent bud set.
Will fertilizing right after repotting help my pink flower longer? No, it will likely do the opposite. Fertilizer can damage tender new roots and shift the plant’s focus to foliage. Wait until you see new growth, usually after 10-14 days, before applying a very diluted, balanced feed.
How long should I expect to wait for blooms after repotting? If you repot at the right time (not mid-bloom) and follow a recovery protocol, you can see a new flush of flower buds forming within 3-5 weeks. The first bloom cycle might be slightly lighter, but the longevity of each flower should be normal or even improved due to the healthier root system.
Is it better to just not repot my pinks to avoid flowering problems? While avoiding repotting sidesteps short-term shock, eventually a root-bound plant will suffer more, producing fewer and poorer-quality blooms. Strategic, careful repotting is a long-term investment for sustained, prolific flowering.
Solving the shortened flowering period after repotting boils down to understanding and mitigating transplant shock. By preparing the right soil, handling roots with minimal disturbance, and implementing a structured two-week recovery plan that prioritizes root establishment over immediate blooms, you give your pinks the best foundation. My experience shows that a little patience post-repotting, focusing on the plant’s hidden needs beneath the soil, leads to a far more spectacular and enduring display above it. The vibrant, long-lasting blooms that follow are well worth the careful effort.


发表评论